I’ve outsourced my offer to sell / swaparea and expanded it to Position⁴.
1 Like
Thank you very much for taking all that time to answer me. The A5 and S8 look interesting but what would be their prices?
I have tried the easy-installer. For a long time, I could not get it to detect my phone. I was getting stuck on the screen “Looking for your device”.
After searching around and some trial and error, I finally managed to get it to detect the phone and to proceed to downloading the necessary files.
I went back and forth to replicate it, to confirm what the solution was.
Not sure if that is specific to my setup (using easy-installer 0.8.3-beta on Ubuntu 18.04, connecting to a Galaxy S7 running Android 8.0.0).
I had to combine three things I had failed to understand I had to do (I may have missed some info on that?).
-
on the desktop, I had to manually give USB access to the easy-installer.
-
on the phone, I had to enable the “USB debugging mode”.
-
on the phone, when the easy-installer launched “Looking for your device”, I had to respond to a pop-up to confirm that I allowed USB debugging from my desktop
Give USB access to the easy-installer
On the desktop, I had to manually give USB access to the easy-installer, and reboot after doing so (for some reason it would not work until had done a reboot).
Once I had installed the easy-installer, I had to do:
sudo snap connect easy-installer:raw-usb
sudo reboot
Maybe this access is normally granted automatically, but for some reason it did not happen on my ubuntu 18.04?
Enable USB debugging
The action “Enable the Developer mode (Part 1)”, with its 3 steps, worked fine and resulted in the Developer mode being enabled (or rather, actually, in my case, telling me that it was already enabled).
The action “Enable the Developer mode (Part 2)”, again with 3 steps, I found a bit confusing. First about what it was meant to do, since the Developer mode had already been enabled by the previous action. So I understood the objective of the action being to do whatever would be the result of performing the action’s third and last step “Tapping on Android debugging”. First problem, searching for “debug” did not return any “Android debugging” entry I could tap. It did return a “USB debugging” entry, but tapping it was only taking me to the list of “Developer options” settings and showing me the current setting for “USB debugging”, but not actually changing any settings.
What I actually ended up doing in lieu of this “Enable the Developer mode (Part 2)” is more like:
- Enable USB debugging
- Open the settings menu again
- Type “Debug” in search bar
- Tap on “USB debugging” search result
- Enable/allow “USB debugging”
Allow USB debugging access from my desktop
When the easy-installer launched “Looking for your device”, a pop-up appeared on the phone, but I had missed it because it did not stay very long. It asked to confirm that I allowed USB debugging from the specific desktop the easy-installer was “calling from”. I needed to see it and to tap OK for the easy-installer to find and recognise the phone.
If the pop-up had disappeared, I could make it reappear by disabling and re-enabling USB debugging in “Developer options” settings.
Maybe some we could have some warning about this step on the “Looking for your device” screen?
/
Hope this helps. Happy to do further testing, or provide documented test report with screenshots.
Now, once I got past these hurdles, the installation failed… 
It could be linked to my device and Android build. Possibly related to S7 install trouble. But I will look into that another day.
3 Likes
My host machine: Kubuntu 20.04 LTS 64-bit. My Samsung Galaxy S7 - “herolte” wasn’t recognized immediately (see also Fig. 11). Sometime I will try the tool again to be surprised by a positive result.
Thanks for the detailed feedback @AntoineGuichard pl check again when free and let us know if you are still facing issues or if the installation completed succesfully. I believe some of the warnings you mentioned do appear on the screens . May be in our future versions we will make them appear more often.
Thanks @archje.
My Samsung Galaxy S7 is a “herolte” too as far as I understand (SM-G930F, Android 8.0.0, Baseband G930FXXS6ESI6, Build R16NW.G930FXXS6ESI4).
The easy-installer detects the phone, shows the message “Your SM_G930F is compatible with /e/ OS” and downloads source files e-latest-herolte.zip, e-latest-herolte.zip.sha256sum, twrp-3.2.3-0-herolte.img, and twrp-3.2.3-0-herolte.img.sha256sum.
Then it shows the screen “Connect device and start download mode”
When I get the blue screen on the phone and press “Volume up” to access the download mode then:
On the phone side:
- A blue-green screen shows “Downloading…”, with at the top left in very small letters I cannot guarantee to read entirely correctly:
ODIN Mode
Download speed: fast
Product name: SM-G930F
Current binary: Samsung official
System status: Official
FRP lock: off
Secure download: enabled
Warranty void: 0 (0x000)
RP S0REV: 0:6 K:4 S:5
On the easy-installer side:
-
Shows step “Unlock OEM”, then
-
Very briefly shows again the screen “Connect device and start download mode”, then
-
Very briefly shows a screen “Recovery installation”, then
-
Shows a screen “the installation encountered an error”, with options “Try again” and “Send [log?] to support”
Trying again restarts the loop.
I sent the log to Support.
/
When I reboot the phone, it restarts Android 8.0.0. So nothing erased, all good.
I will try again tonight, after looking around for possible relevant info on the forum 
Have a good day
1 Like
@AntoineGuichard, thanks for your detailed feedback. They’re important!
If “herolte” boots again with stockROM Android 8.0.0 after this whole procedure, then TeamWin - TWRP Recovery wasn’t installed - and only the original Android Recovery is available.
After flashing TWRP must immediately reboot into TWRP again, so that TWRP remains permanently in the device as a custom recovery. If the partitions /system and /data aren’t deleted, /e/ OS ROM will not work properly.
Whether the script considers all this, I can not comment at this moment.
See you next time.
Thanks @archje
It looks like I have, at least, a problem with the easy-installer not being able to write to the phone.
libusb: error [_get_usbfs_fd] libusb couldn't open USB device /dev/bus/usb/006/121: Permission denied
libusb: error [_get_usbfs_fd] libusb requires write access to USB device nodes.
I had always launched the easy-installer via my GUI. In Kubuntu: open KMenu, start typing easy-in… then select the program to launch it.
I discovered that if launched the easy-installer directly from the command line (in BASH console, type $ easy-installer), the console continued to output information about the commands and steps.
So I could have, side by side (see screenshot below): (1) the window running the easy-installer’s graphical user interface; and (2) the BASH console showing commands and/or steps followed.
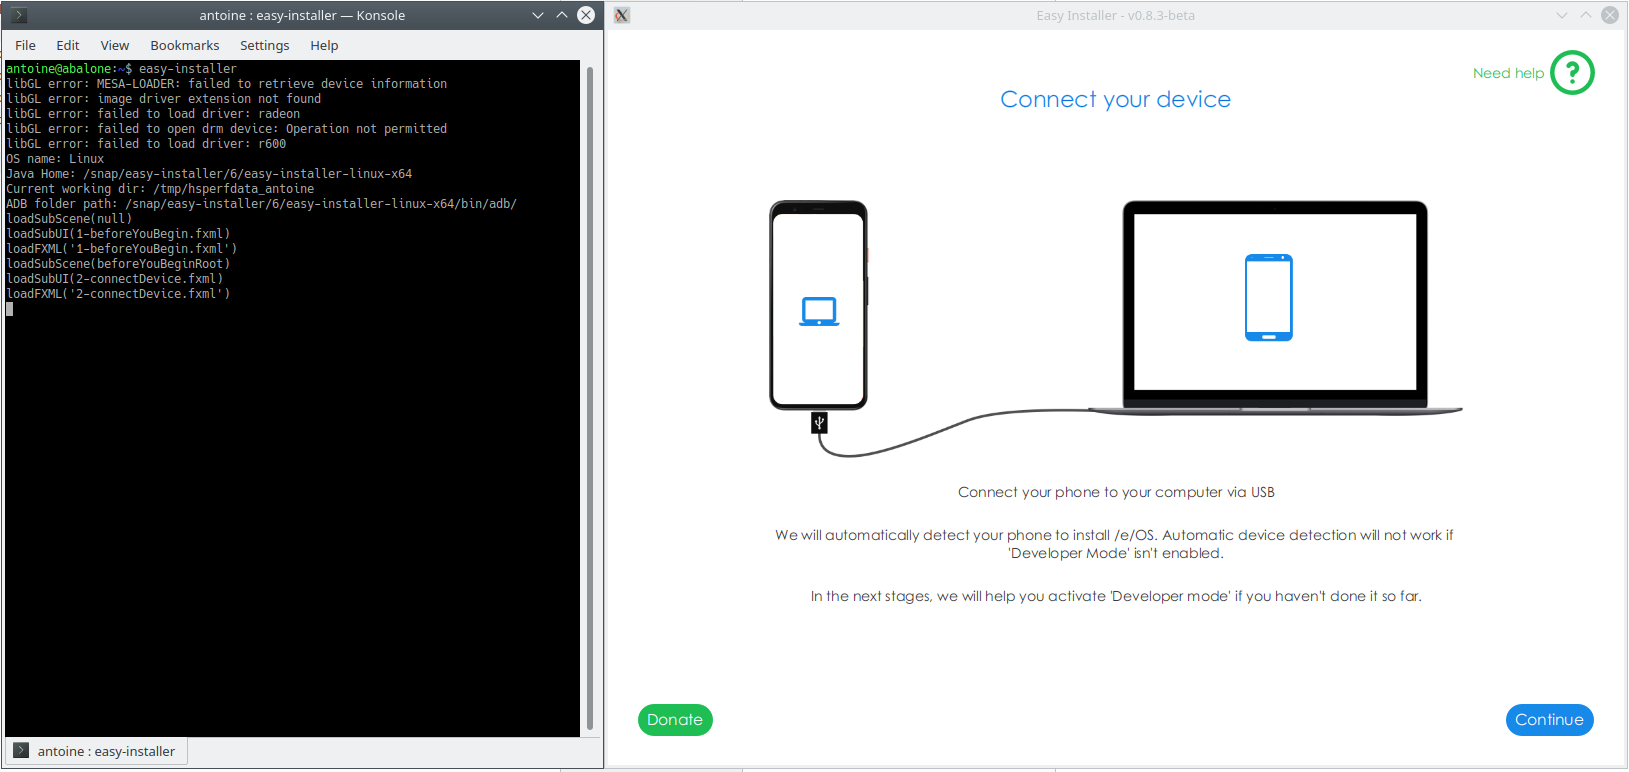
More informative and useful for debugging ![]()
Using that method, I ran a new attempt at installation, which failed exactly as before.
What the console showed, from when the screen “Downloading /e/OS and necessary files” showed “Download is complete, you are now ready to install /e/OS on your phone!”, just before clicking on continue:
loadSubScene(downloadSceneRoot)
loadSubUI(6-flashScene.fxml)
loadFXML('6-flashScene.fxml')
execAndReadOutput() : /snap/easy-installer/6/easy-installer-linux-x64/bin/scripts/wait-download.sh
Splitted command: /snap/easy-installer/6/easy-installer-linux-x64/bin/scripts/wait-download.sh /snap/easy-installer/6/easy-installer-linux-x64/bin/
Process started

Heimdall path: /snap/easy-installer/6/easy-installer-linux-x64/bin/heimdall
Update UI for/snap/easy-installer/6/easy-installer-linux-x64/bin/scripts/wait-download.sh
onStepStart

Download mode detected
FlashThread.handleResult()
execAndReadOutput() : /snap/easy-installer/6/easy-installer-linux-x64/bin/scripts/oem-unlock.sh
Splitted command: /snap/easy-installer/6/easy-installer-linux-x64/bin/scripts/oem-unlock.sh /snap/easy-installer/6/easy-installer-linux-x64/bin/
Update UI for/snap/easy-installer/6/easy-installer-linux-x64/bin/scripts/oem-unlock.sh
onStepStart
Process started
averageTime is: 8

Heimdall path: /snap/easy-installer/6/easy-installer-linux-x64/bin/heimdall

libusb: error [_get_usbfs_fd] libusb couldn't open USB device /dev/bus/usb/006/121: Permission denied

libusb: error [_get_usbfs_fd] libusb requires write access to USB device nodes.

ERROR: Failed to access device. libusb error: -3

OEM unlocked
FlashThread.handleResult()
execAndReadOutput() : /snap/easy-installer/6/easy-installer-linux-x64/bin/scripts/wait-download.sh
Splitted command: /snap/easy-installer/6/easy-installer-linux-x64/bin/scripts/wait-download.sh /snap/easy-installer/6/easy-installer-linux-x64/bin/
Process started

Heimdall path: /snap/easy-installer/6/easy-installer-linux-x64/bin/heimdall
Update UI for/snap/easy-installer/6/easy-installer-linux-x64/bin/scripts/wait-download.sh
onStepStart

Download mode detected
FlashThread.handleResult()
execAndReadOutput() : /snap/easy-installer/6/easy-installer-linux-x64/bin/scripts/install-recovery.sh
Splitted command: /snap/easy-installer/6/easy-installer-linux-x64/bin/scripts/install-recovery.sh /home/antoine/snap/easy-installer/common/sources/twrp-3.2.3-0-herolte.img /snap/easy-installer/6/easy-installer-linux-x64/bin/
Update UI for/snap/easy-installer/6/easy-installer-linux-x64/bin/scripts/install-recovery.sh
onStepStart
Process started
averageTime is: 6

Heimdall path: /snap/easy-installer/6/easy-installer-linux-x64/bin/heimdall

Heimdall v1.4.2


Copyright (c) 2010-2017 Benjamin Dobell, Glass Echidna

http://www.glassechidna.com.au/


This software is provided free of charge. Copying and redistribution is

encouraged.


If you appreciate this software and you would like to support future

development please consider donating:

http://www.glassechidna.com.au/donate/


Initialising connection...

Detecting device...

libusb: error [_get_usbfs_fd] libusb couldn't open USB device /dev/bus/usb/006/121: Permission denied

libusb: error [_get_usbfs_fd] libusb requires write access to USB device nodes.

ERROR: Failed to access device. libusb error: -3
FlashThread.handleResult()
script_error_unknown
onFlashError
onFlashStop
ResetNextButtonEventHandler
Stage is closing
onStop
FlashThread.cancel()
Command.cancel()
Not too sure where to go from there.
You can try to run the tool as root, type sudo for the command you used before. This should not the way it should run, just to see if it works.
I am pretty sure “Mom and Dad” would freak out big time at this stage  . But I am sure it will work like a charm very soon
3 Likes
I had tried that, even though I knew I should not… but it did not let me.
$ sudo easy-installer
mkdir: cannot create directory '/run/user/0': Permission denied
No protocol specified
No protocol specified
Exception in thread "main" java.lang.reflect.InvocationTargetException
        at java.base/jdk.internal.reflect.NativeMethodAccessorImpl.invoke0(Native Method)
        at java.base/jdk.internal.reflect.NativeMethodAccessorImpl.invoke(Unknown Source)
        at java.base/jdk.internal.reflect.DelegatingMethodAccessorImpl.invoke(Unknown Source)
        at java.base/java.lang.reflect.Method.invoke(Unknown Source)
        at java.base/sun.launcher.LauncherHelper$FXHelper.main(Unknown Source)
Caused by: java.lang.UnsupportedOperationException: Unable to open DISPLAY
        at javafx.graphics/com.sun.glass.ui.gtk.GtkApplication.lambda$new$6(Unknown Source)
        at java.base/java.security.AccessController.doPrivileged(Native Method)
        at javafx.graphics/com.sun.glass.ui.gtk.GtkApplication.<init>(Unknown Source)
        at javafx.graphics/com.sun.glass.ui.gtk.GtkPlatformFactory.createApplication(Unknown Source)
        at javafx.graphics/com.sun.glass.ui.Application.run(Unknown Source)
        at javafx.graphics/com.sun.javafx.tk.quantum.QuantumToolkit.startup(Unknown Source)
        at javafx.graphics/com.sun.javafx.application.PlatformImpl.startup(Unknown Source)
        at javafx.graphics/com.sun.javafx.application.PlatformImpl.startup(Unknown Source)
        at javafx.graphics/com.sun.javafx.application.LauncherImpl.startToolkit(Unknown Source)
        at javafx.graphics/com.sun.javafx.application.LauncherImpl.launchApplicationWithArgs(Unknown Source)
        at javafx.graphics/com.sun.javafx.application.LauncherImpl.launchApplication(Unknown Source)
        ... 5 more
Some decent progress.
I saw that a second “plug” of the easy-installer snap was inactive: easy-installer:adb-support.
I activated that manually as well (in addition to easy-installer:raw-usb):
$ sudo snap connect easy-installer:adb-support
And rebooted (not sure I am meant to need that, but I seemed to need it for raw-usb).
This time, installation went smoothly until it paused to ask if I wanted to create an e.email account or if I already had one.
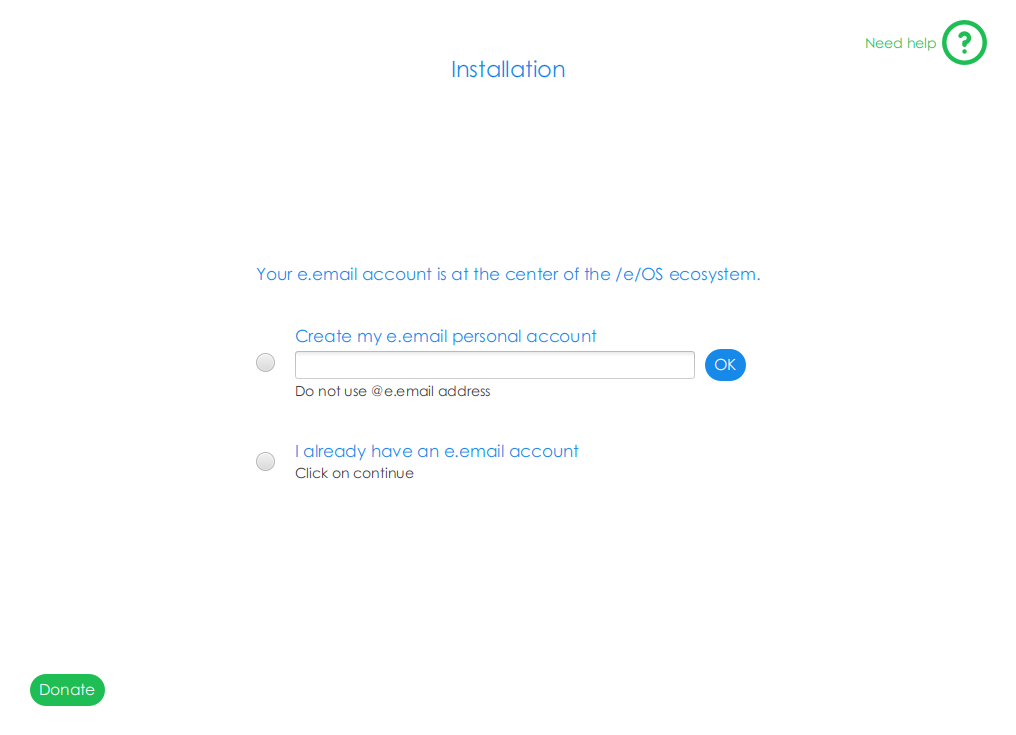
I selected “I already have an e.email account”.
The screen did not have any “Continue” button, so I clicked on the “OK” button next to the “Create my e.email personal account”, thinking that had to be what acted as the “Continue” button for that screen.
It did nothing but unselect the “I already have an e.email account” option. But when I re-selected it, a “Continue” button appeared.
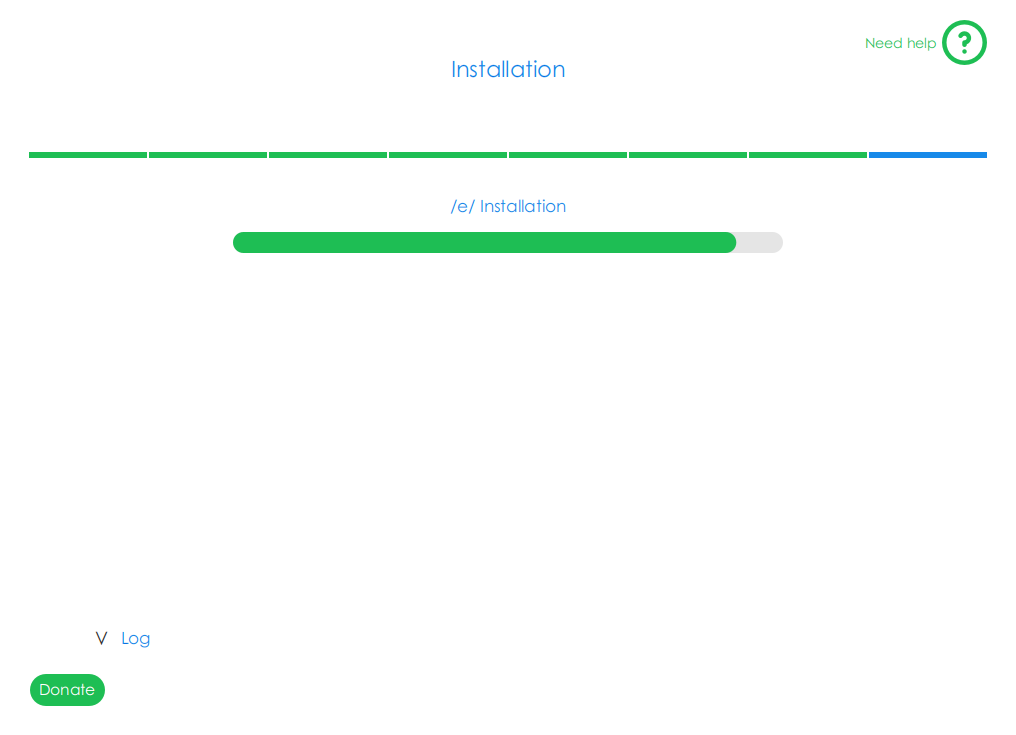
I clicked on “Continue”, expecting to next see a form asking for my e.email account details.
Instead, the installation progress screen came back, and has been frozen since (over an hour ago):
The console spurts out “Recovery” every second or so (and it quickly filled my console buffer, so I cannot see the log of what happened):
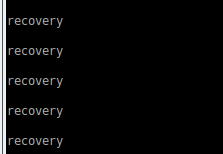
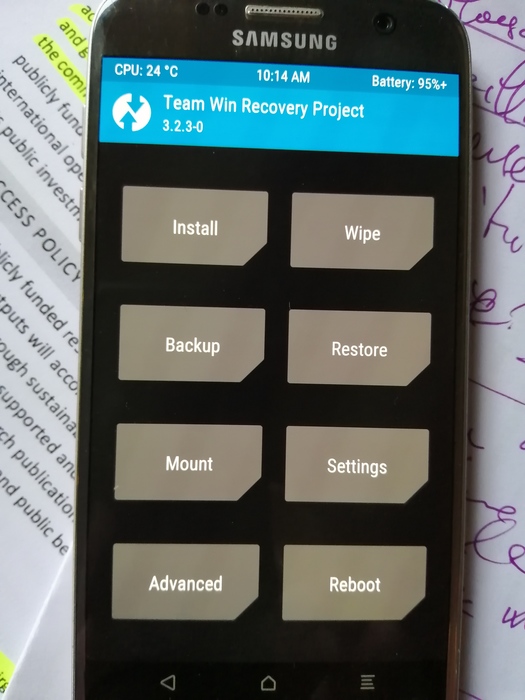
The phone shows the Team Win Recovery Project screen:
If anyone has a suggestion about what to do next, don’t hesitate ![]()
1 Like
What for ?
Testing/debugging the easy installer ?
Or installing /e/OS on your phone ?
To finish installing /e/OS on the phone.
Since then, the easy-installer screen has changed and tells me that “installation is over” and implies that the phone is rebooting.
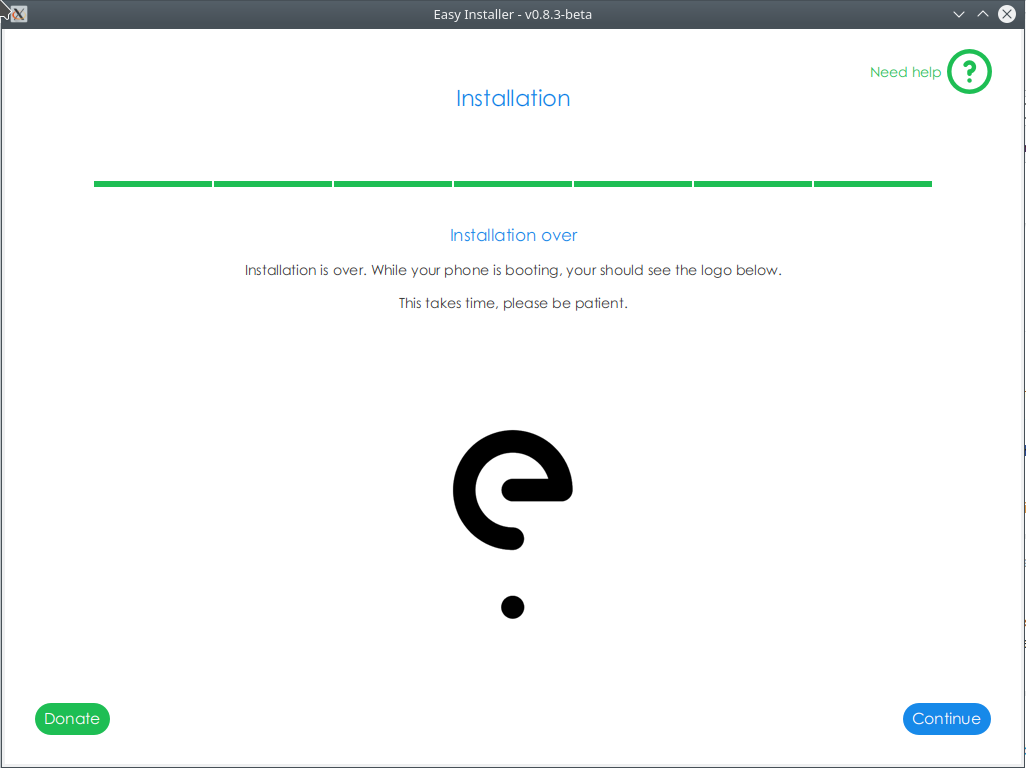
But the phone is not rebooting - it still shows the TWRP menu screen.
If choosing “install” from the TWRP menu, cannot find any /e/ zip image. Seems the easy-installer did not install it.
Hi @Manoj. Ok, will do that later today.
Should I report just that last problem, or also (in same or different tickets) the need to activate raw-usb and adb-support plugs for the snap and to enable USB debugging on the phone?
You can club the issues into one single bug. The developer has been asked to look into the issues being raised here and on Gitlab so it will be addressed.
Done. Issue 1296: https://gitlab.e.foundation/e/backlog/-/issues/1296
Could not figure out how to file it under label “easy-installer” though.