Boot_a not getting flashed on OnePlus 9 (LE2115)

OK, so recovery on slot b and to answer your question: I don’t know of a way to look at logs while booting. But I don’t know much about logs at all really tbh.

I have some thoughts about diagnosing the problem here, but first a very quick run down about flashing a/b devices.

Basically there are two sets of the same partitions, as you have noticed: a and b. And there is a shared area for data. A few years ago a/b set up was simpler , but now it is complicated by virtual partions and another version of fastboot exisiting on the device (called fastbootd), which as far as I understand (which ain’t much!) does some resizing and juggling of system partitions as part of the flashing process. Normally we don’t get involved with that. I’ve tried things in fastbootd before and it did not end well.

Recovery does not have it’s own partition; it lives in the boot partition. When flashing a recovery on the phone you are flashing over the boot partition, and usually it’s the boot partition on the the currently active slot.

In a normal install you then reboot the new recovery , sideload the os and reboot system when it completes. The installation is directed to the other slot so that when you reboot you will be on the other slot. With eOS (and many other custom roms) there will be a recovery included in the fresh install.

So to go back to your installation above I can see that you have done all the right things according to e’s instructions, including steps 7 and 8 (which should not happen in my opinion, more on that in a moment. EDIT: see post #31 below ), and you have ended at install completed with status 0; which is good.

But obviously, something is wrong.

The phone should have booted up to e and you would have been on the other slot, slot_a.

Before going further I think we need to try and establish what os the phone was running when you started.

If it was android 12 that might explain the problem. Trouble is, I don’t think you would have been able to even flash the recovery in that case. But I’ve never tried it, so don’t know for sure.

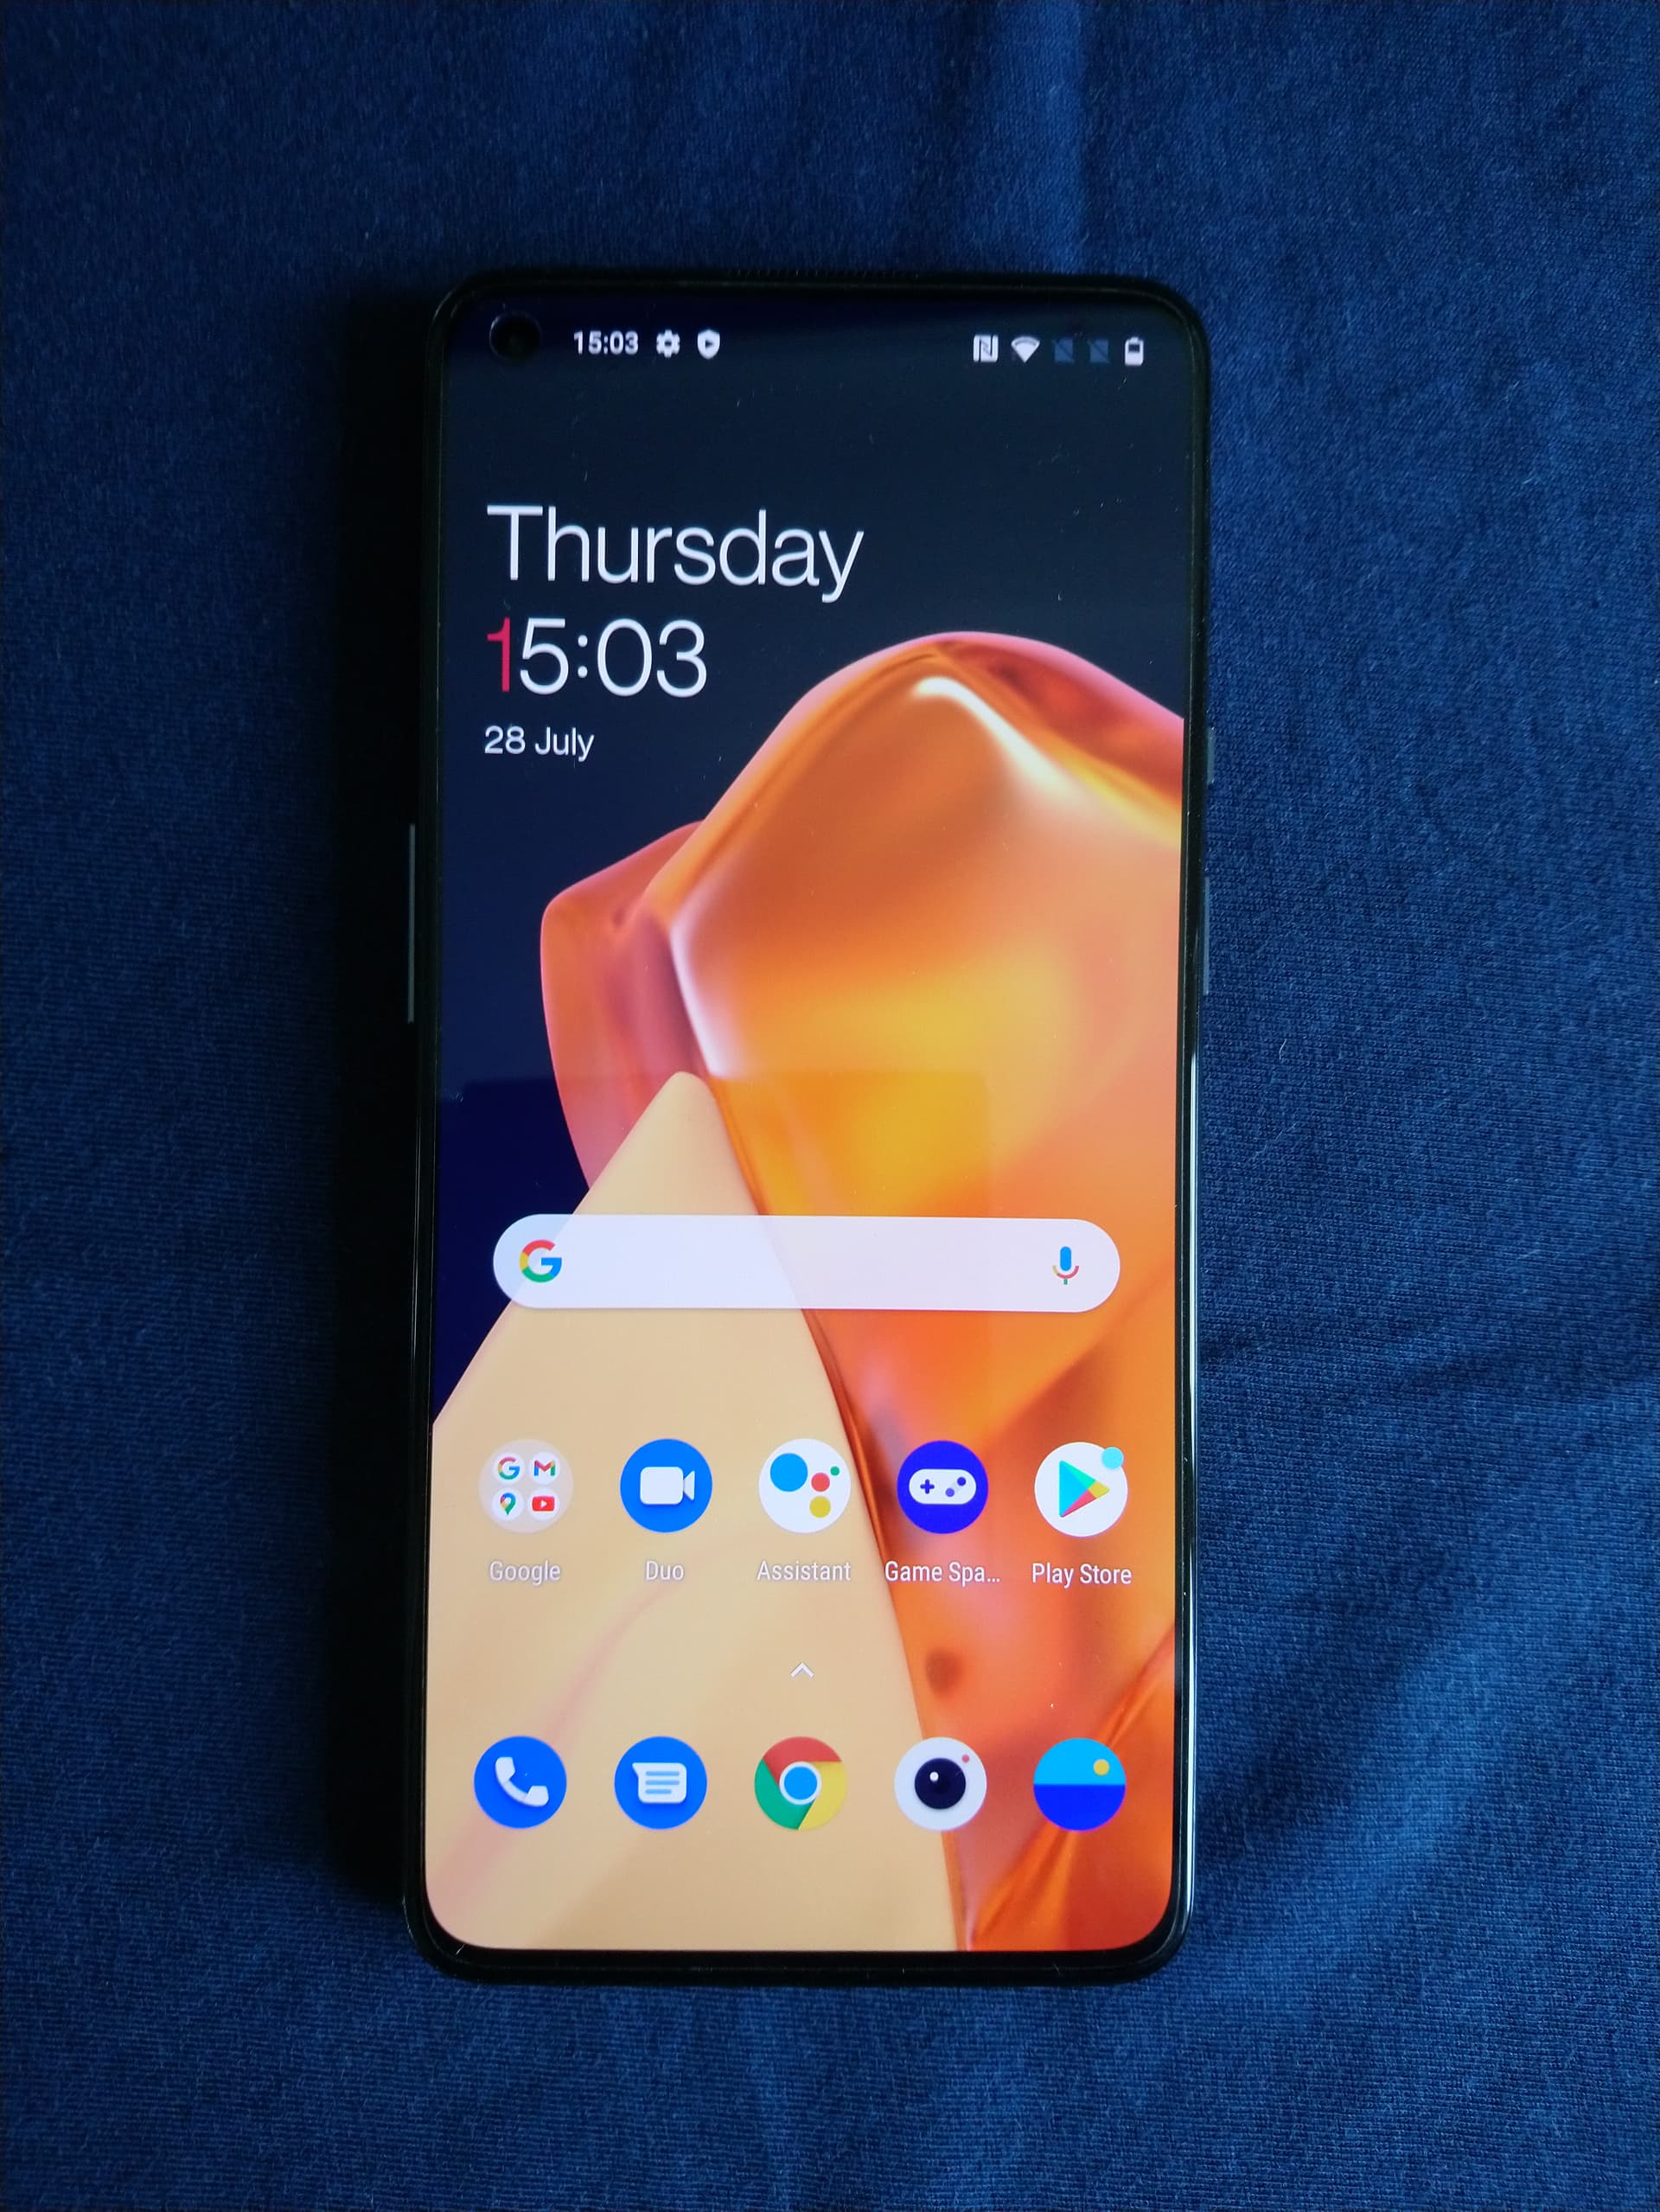
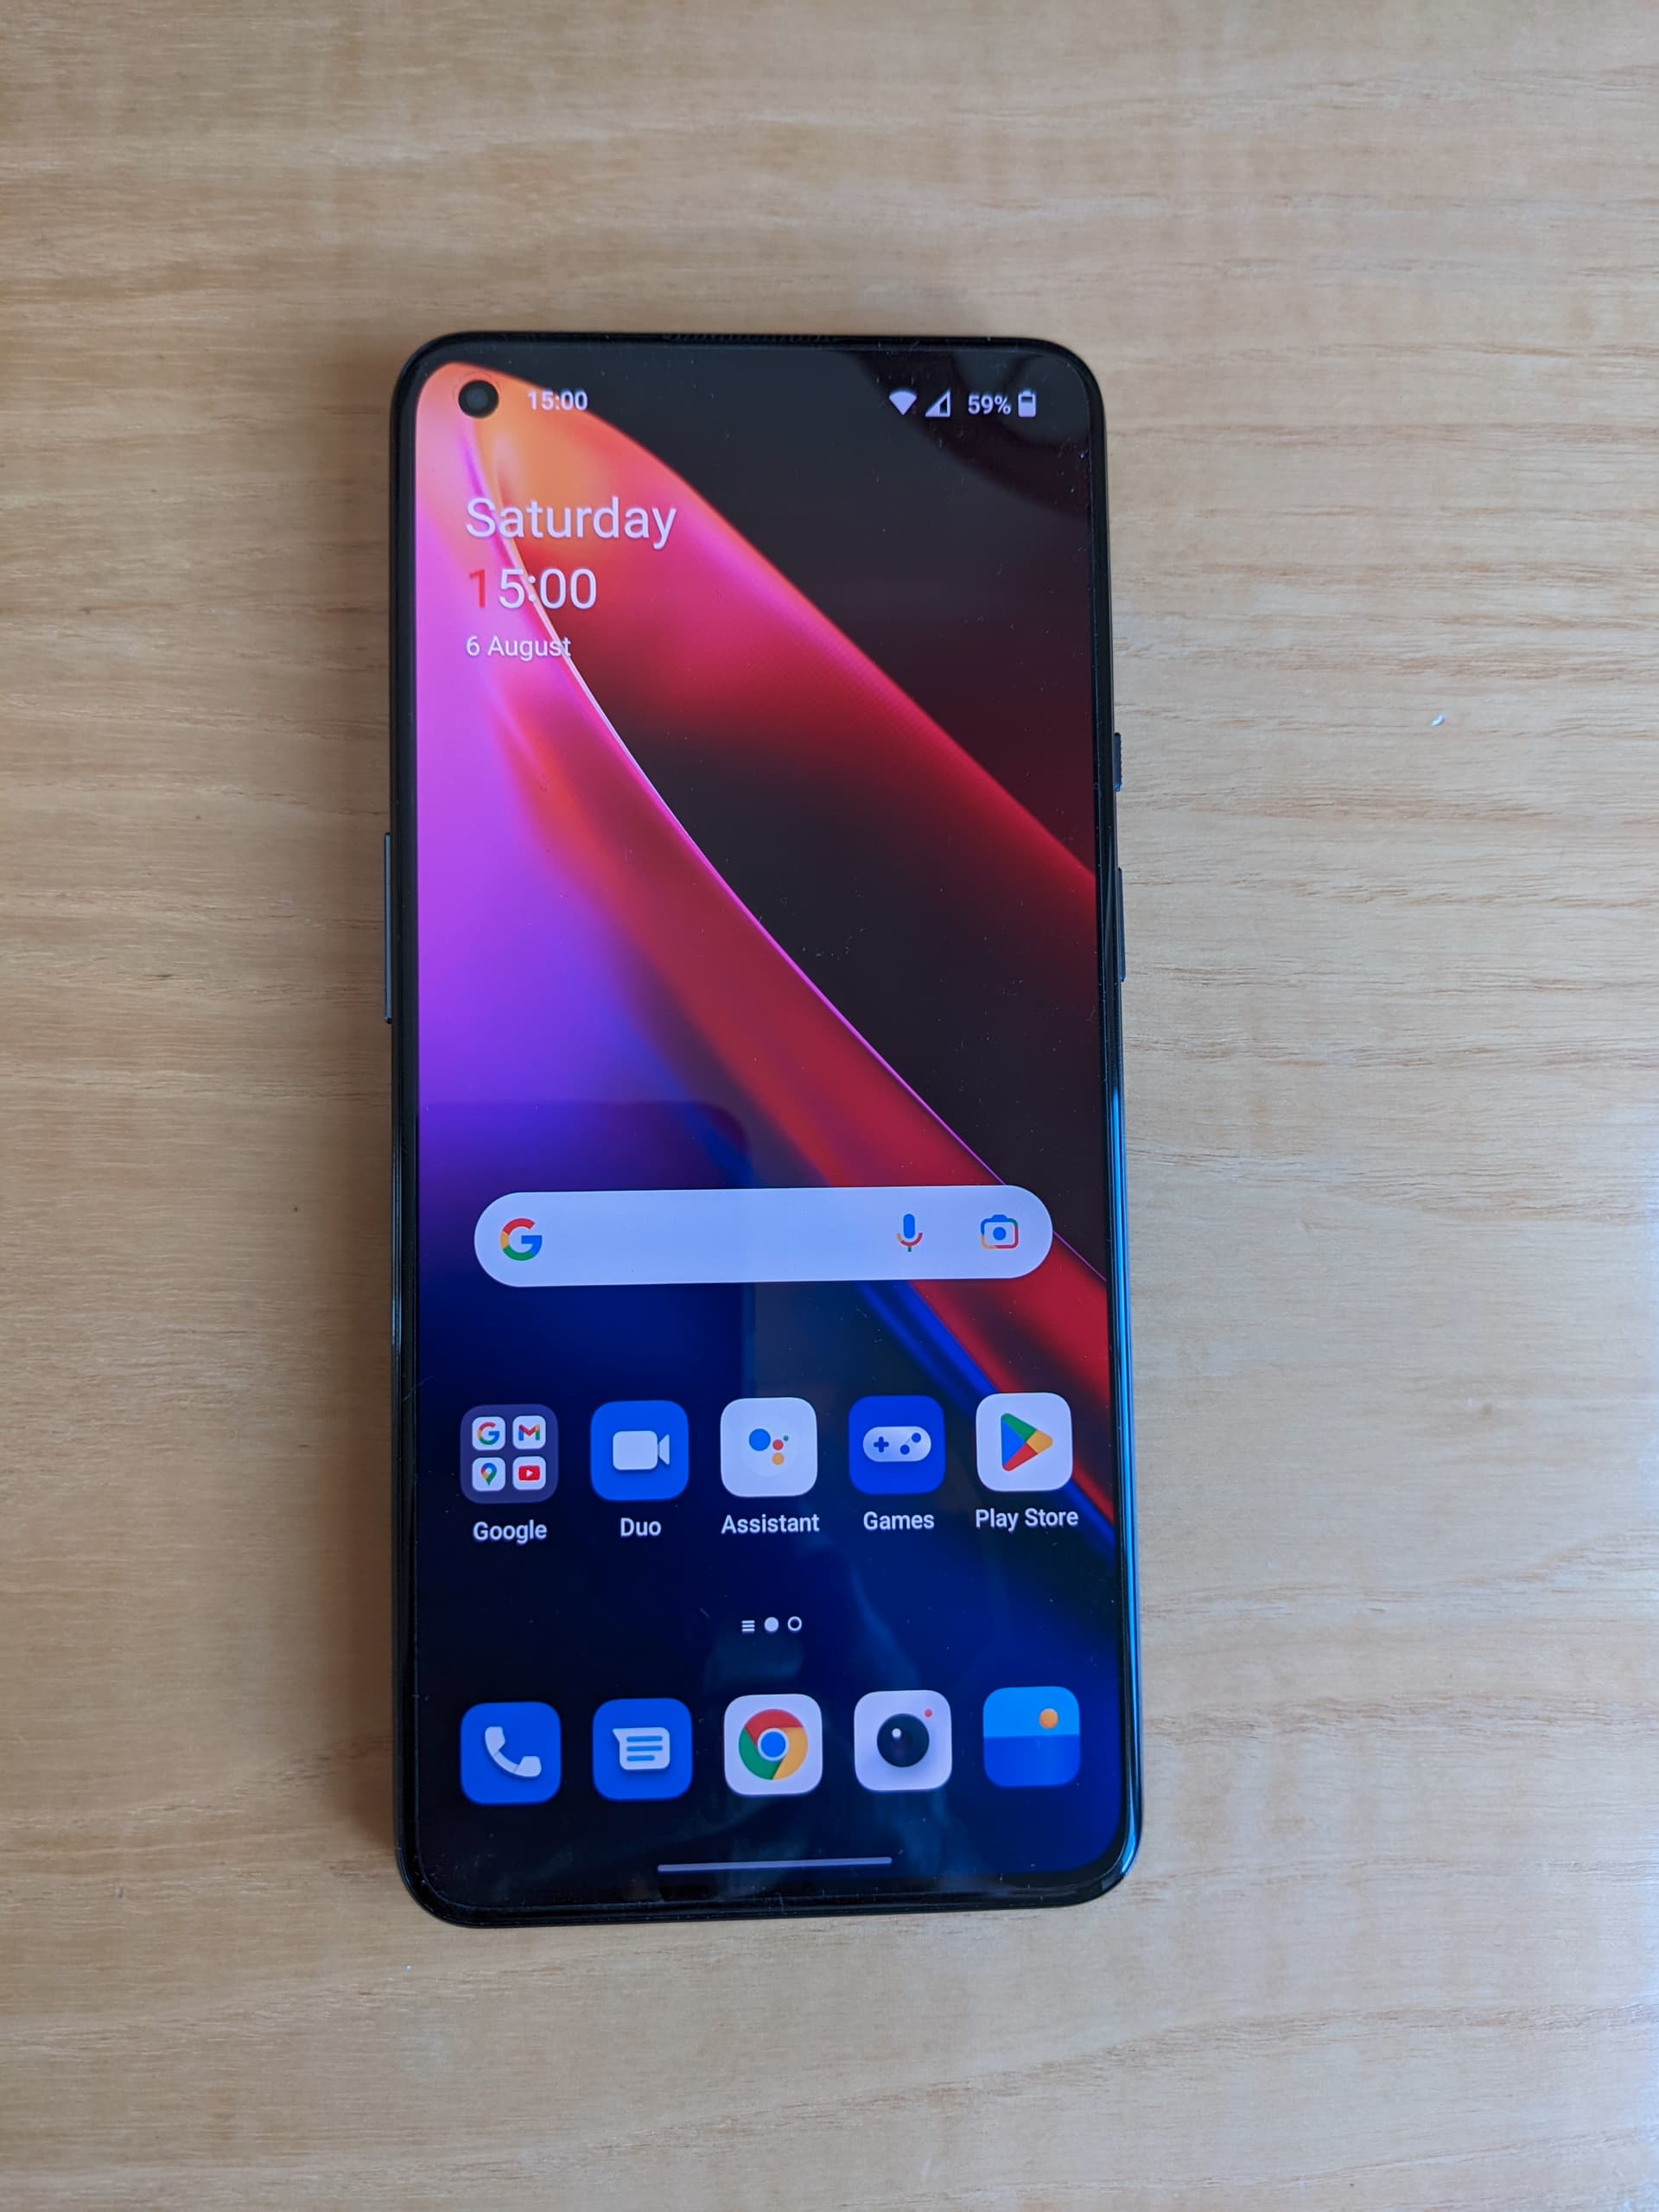
I’ll find a couple of images of oneplus9 on 11 and 12, but they are stock screens/launcher . Might help to jog your memory. :wink:

OOS 11 at the top, 12 underneath.


I’m really thinking it was 12, that second one looks like it fairly close. I only had it turned on long enough to turn on developer options. I did look at the OS version but I simply can’t recall (this is embarrassing…) but I do remember the android 12 Easter egg come up when tapping on it (Here's the Android 12 Easter egg which is quite 'timely' - Android Authority). Does that mean it was OOS 12?

Yep, 'fraid so. Your phone is on android 12. I didn’t know about this Easter Egg business although I’ve heard the phrase before and seen a system app with that name in various installs. So thanks for that, one lives and learns!

Installing eos-r is not viable at the moment but there are options…

  1. Return To Stock via MSM tool. Needs windows to run and flash. It’s a powerful tool and would put OOS 11.4.4 onto slot_a and relock the bootloader. I found it quite difficult to get MSM working on windows (me too pop! os user), but once it’s set up properly it’s a great option to have in reserve for oneplus devices.

Then you would need to upgrade to the last OOS 11 version which is 11.10.10 and preferably make sure it’s on both slots, before installing eos-r. This is the target stock os/version for installing eos-r.

  1. Install Lineage or Lineage for Microg 19.1 and wait for eos-s. Difficulty with this is not knowing which build of OOS 12 you are on at the moment. Was the device completely up to date or is it behind, on one of the first 12 builds; we don’t know.

Flashing a recovery over OOS12 requires different steps, see the instructions..

  1. Really not sure about this but I might be tempted to try it if I knew I had MSM tool as a fallback in the event of bricking! But would it be possible to boot the eos recovery using the method in the LOS instructions and flash an OOS downgrade zip (repo of OP9 roms available in this xda thread)? Don’t know.

Many ways to skin a cat.

1 Like

Very Cool! I had read a little about the MSM tool but never had used it before. I ran it on a windows PC that I have access to and I know am on Oxygen OS 11.2.4.4.LE25AA and there is a new version available LE2115_11.C.48_1480_202204082112 (what ever that means) Should I update to that and then reinstall /e?

How would one tell if it is in both?

No. That’s android 12

I cannot connect to forum on home network since yesyerday eve. So data and mobile for now.

Well done getting 11.2.4.4.

OOS makes it easy to do local upgrades on device.

Get 11.10.10 from oneplus.

Excuse brevity . Typing on phone.

Put the rom onto phone in root directory of file mgr.

Make sure its filename ends .zip

Open system updater

Memory fuzzy here, but find setting for local upgrade

Once booted into 11.10.10, repeat the process

Itll be on both slots now

Skip the copy partions step when installind eos

That did it! My data is now my data! :wink:

I upgraded to 11.10.10 twice as you said and from there it was smooth sailing following the installation documentation for the OnePlus 9.

This quoted part is what solved my problem so I marked it as the solution.

Many thanks for your help! This post actually helped me fix a T-Mobile OnePlus 9 (LE2117) that I had bricked, so thanks for that too!

1 Like

That’s a great result with the TMob as well, congratulations! It’s probably not long before eos 12 will be out for the OP9 so you’ll be able to do it all again. :joy:

I’ve edited a couple of my posts above just now. I missed putting in a link when I referenced an XDA thread containing a repo of all the Oneplus 9 builds.

Also I didn’t complete my ramblings about steps 7 and 8 in your post with the photo where you were prompted to sideload the rom a second time. Now I’m not 100% certain about this but I think this “feature” of the install can be avoided by rebooting to recovery directly after the copy partitions script has completed. Before factory resetting. Call it Step 4a. At least that is what I do and I’ve never had to sideload the rom a second time.