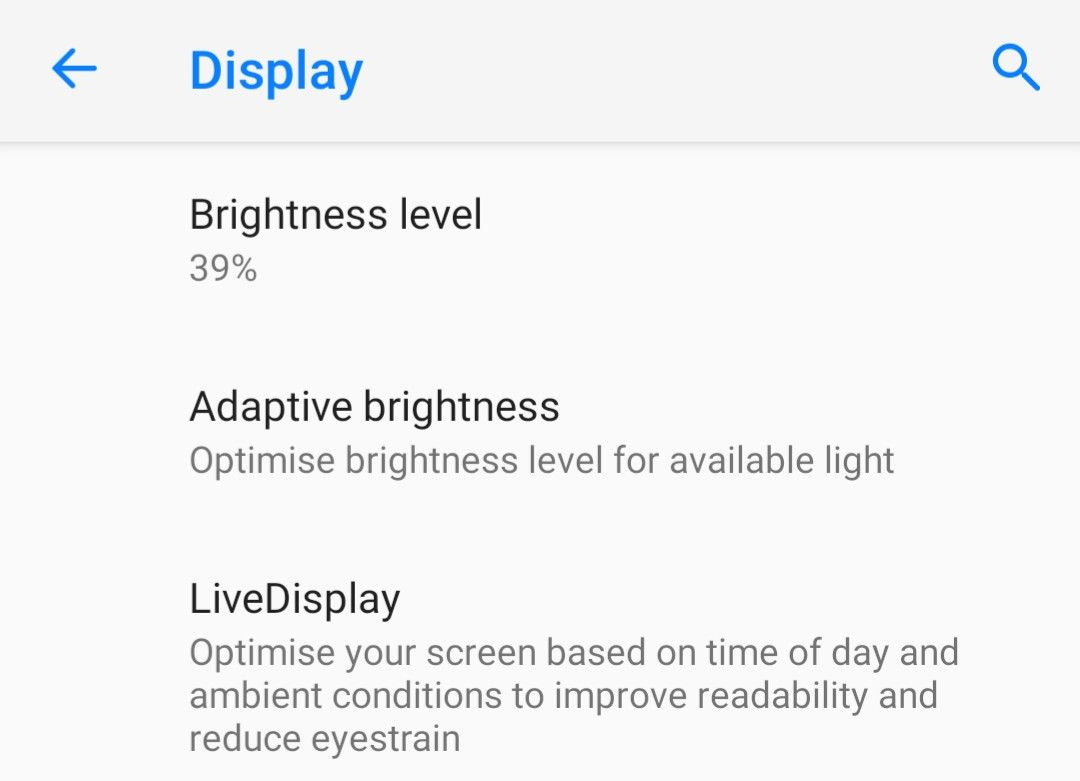
These modes enable a specific light filter that dims blue light emitted by your smartphone’s screen to substantially reduce strain on your eyes preventing damage owing to prolonged use. It also helps you stay mentally relaxed as it is easy on the eyes.
There exists ‘Blue light filter’ apps with malicious trackers in proprietary or alternate Apps Store, it is recommended not to use those. As most of these apps won’t help you much versus ‘Day/Night’ display mode that is available built-in since Android 7.1 or newer.
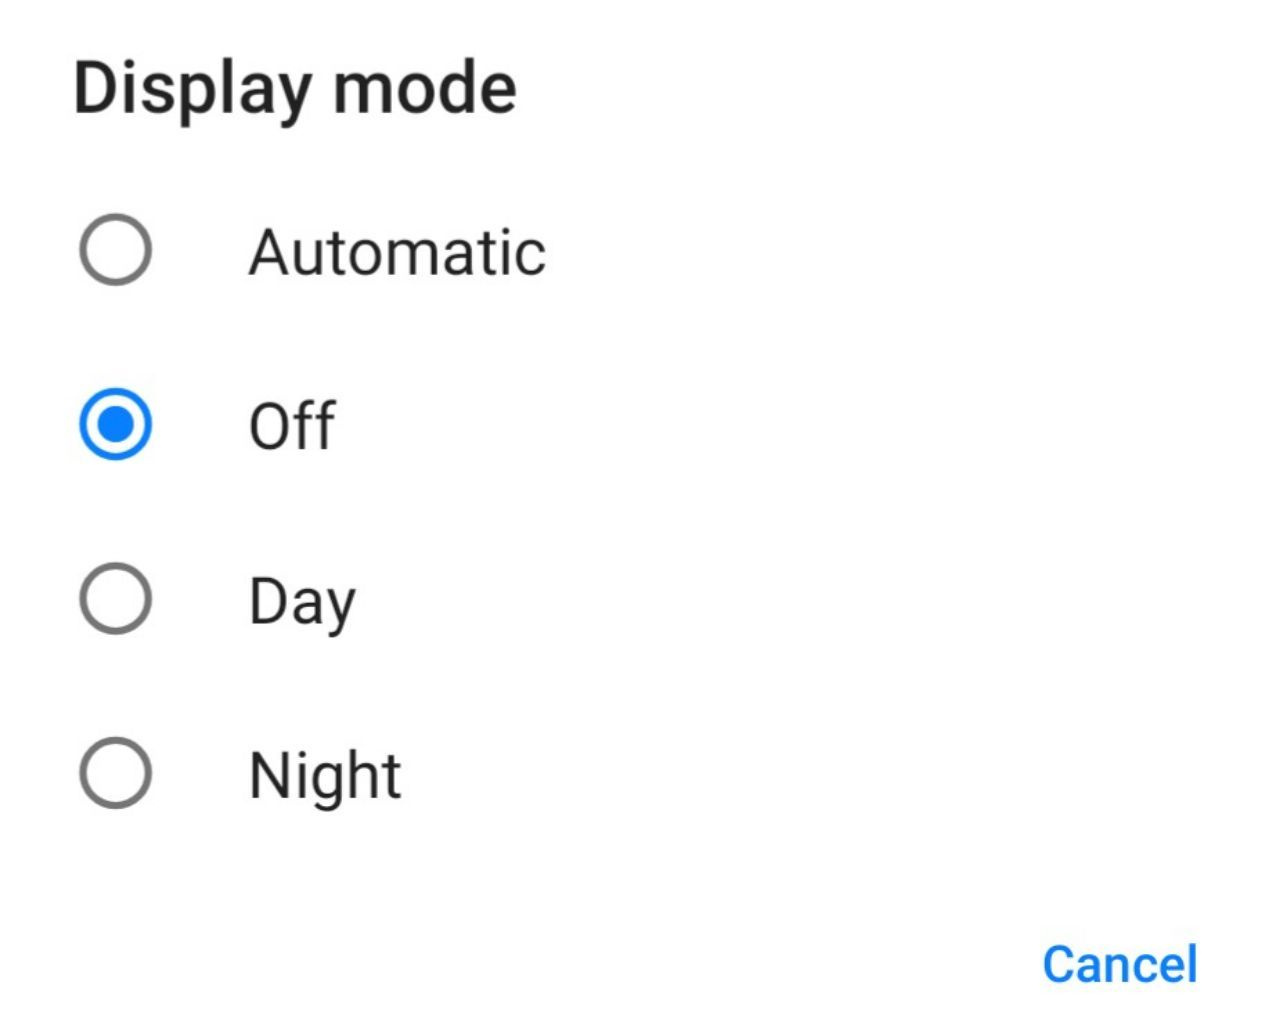
Display modes when activated turns the screen yellowish or reddish depending on the implementation as seen in the image below with mode turned ON on the left vs OFF on the right.
Night mode is not to be confused with system-wide dark skin or theme.
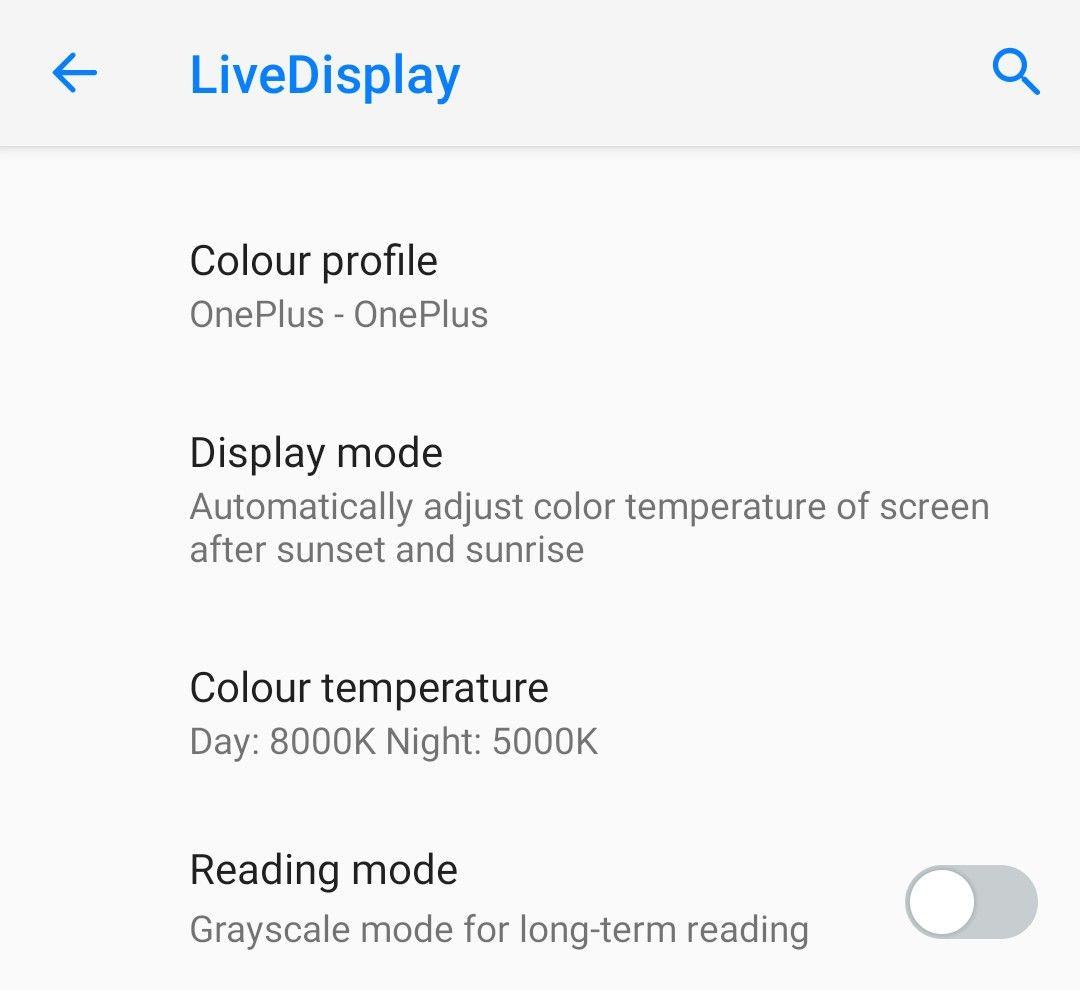
Reading Mode
In LiveDisplay settings itself there is a dedicated ‘Reading mode’ that enables ‘Grayscale’ display mode for long-term reading. This mode also eliminates blue light, which is well-known to cause drastic impact on your sleep cycles and eyes.
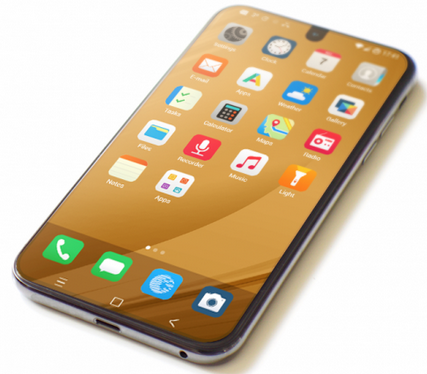
Phones with big screens or Phablets are being used for reading emails, e-books and e-newspapers by many users. The above ‘Reading mode’ can really come in handy for the same.
Thank you very much. I usually use mi monitor in “reading mode” since I discovered that it’s much better for my eyes. It’s very nice knowing that the same thing is available in my loved /e/ phone.
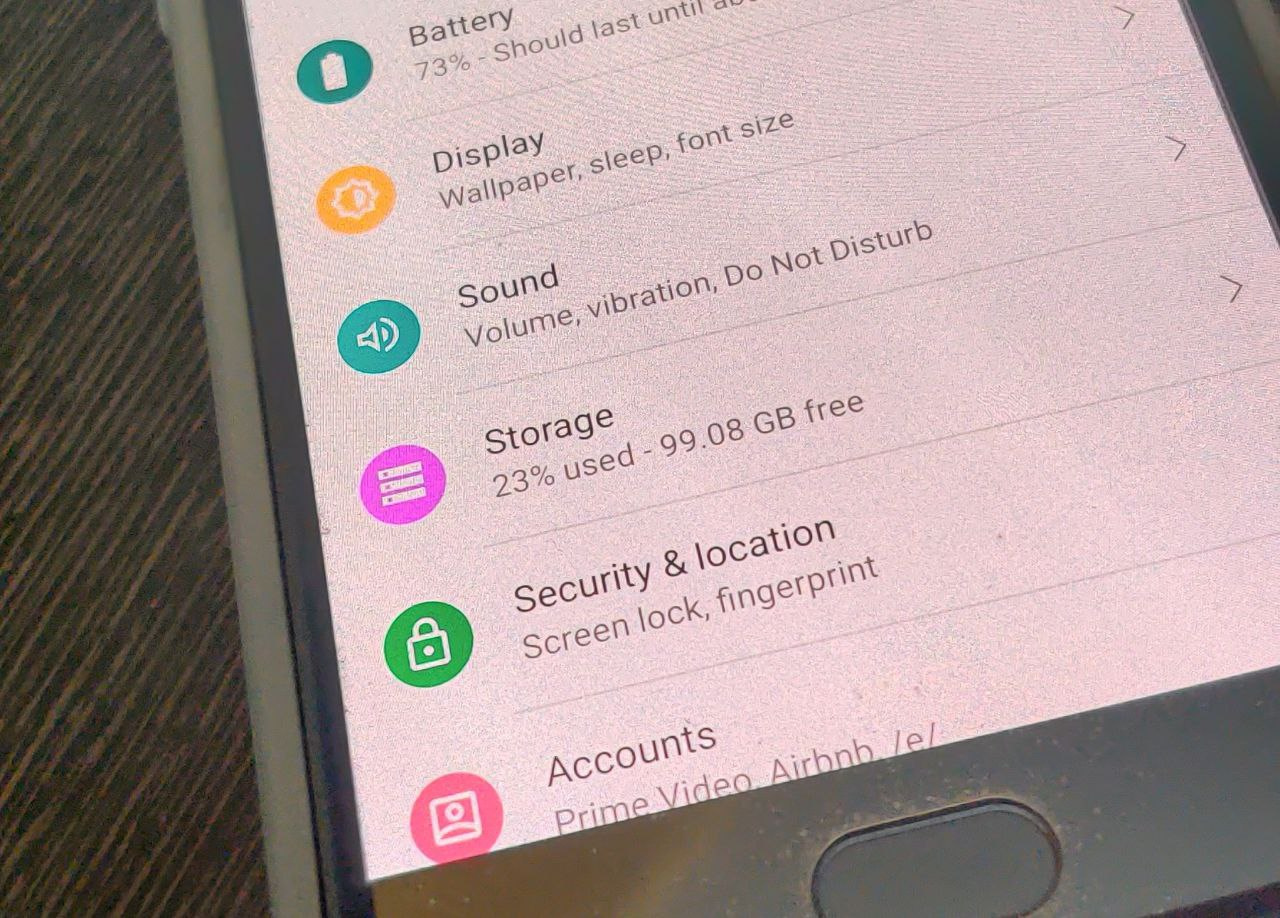
or enhance its visual performance. Shown here using the example of Samsung Galaxy S7 Edge with /e/ OS e-0.8-nougat.
What is DPI? – DPI stands for “dots per inch” and is a measure of digital screen pixel density.
There’s multiple methods that could help you set DPI density to even extreme low or high levels. One of them is following.
The steps below will help you easily Change DPI Density with no-root permissions.
In order to access the setting, you must first enable Developer options on your device. So go to “Settings” > “About phone” and start tapping 7x continuously on the “Build number” until you see the “You’re a developer now” toast notification.
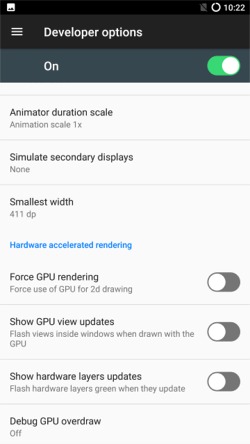
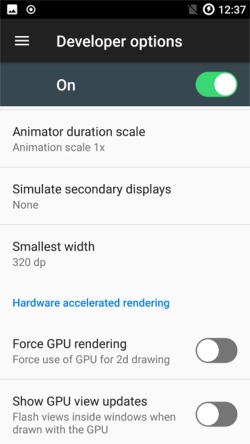
Now that you have enabled Developer options, you can access them by going to Settings > Developer Options (e-0.8-n-2020041549770-dev-nougat) or Settings > System > Developer Options.
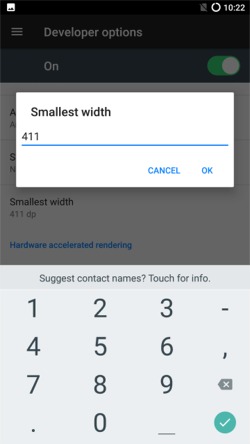
Scroll down the list until you find the “Smallest width” setting under the “Drawing” section.
Now you will be shown the default DPI value for your device.
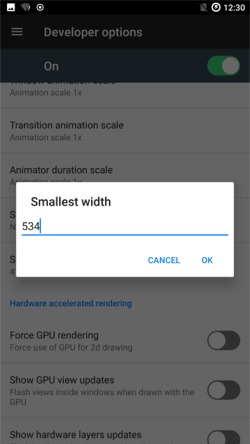
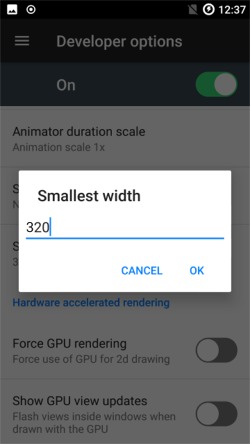
Edit this value and enter the custom value according to your choice. The bigger the value; the smaller the UI elements will get, and vice-versa.
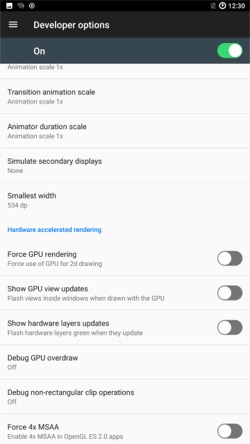
For my Samsung Galaxy S7 Edge - “hero2lte” SM-G935F, 5,5" Display, the current value is 411 dp (1920x1080px). While if I change it to 534 dp (2560x1440px), the content scales down to a smaller size. So if I change it to 320 dp (1280x720px), the content grows larger.
Note that the value you enter will always be changed to the closest safe DPI value for your device. So if you open this setting again, don’t be surprised if you see the value a little different than you entere