Mission:
Learn to quickly migrate from Gmail by Google to e.email by /e/
Prerequisites:
- /e/ account [A Paid account is recommended if you do a lot of email for more storage]
- A computer running any modern desktop OS like GNU/Linux, macOS, ChromeOS, Windows, *BSD etc.
- Patience to fiddle around with Gmail and /e/ account’s web settings
- Optionally, smartphone running /e/OS
Let’s roll.
In nutshell, you are going to transfer existing emails from Gmail and forward new emails to /e/mail account from now on. The goal is to retain current emails for future reference and eventually get rid of your Gmail account completely.
Note: Please download full mail data from Google account before you continue. Official information is available here. A Gmail specific guide is available here too.
1. Transfer current emails from Gmail and forward new to /e/mail
[a] Forwarding new emails to @e.email
Once you have started download process for your Gmail data and stored it safely with redundancy. The first thing you need to do in your Gmail settings is to ‘Add a forwarding address’.
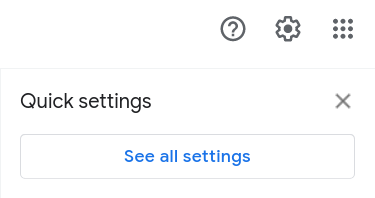
In order to do so, access webmail of Gmail on a desktop PC. Click on gears-like icon from top-right to open Quick settings. Click on ‘See all settings’ therein to continue.
Under Settings, click on Forwarding and POP/IMAP to Add a forwarding address under sub-heading Forwarding.

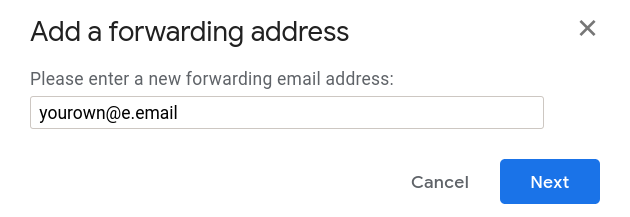
Enter your @e.email address and click Next to continue.
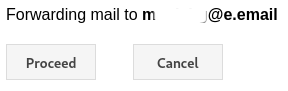
Click Proceed to continue.
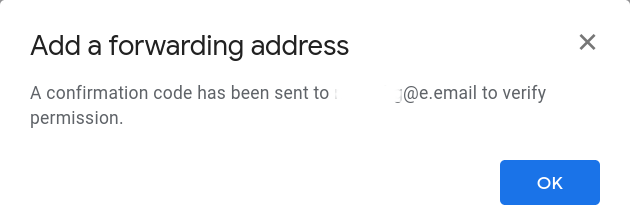
Click OK to check Inbox of /e/mail for confirmation code.
Enter the confirmation code from Gmail Team to Verify your forwarding address.
![]()
![]()
Finally, under Forwarding, forward all incoming emails to ‘@e.email’ forwarding address and request Gmail to delete their copy as seen in the image below.
![]()
Click Save Changes to continue with above forward settings for Gmail.
![]()
[b] Pop all current mail from Gmail
Pro Tip: You can also use mbox files provided in download data on Gmail by Google to access all your emails in a supported email client.
Pop is a form of email access protocol where your emails are full downloaded by the email client along with attachments. You need to pop all mail from Gmail on a device that you primarily use for checking all your emails and process things, preferably a laptop or desktop. Although, there is nothing wrong in using a smartphone either.
In Gmail Settings, click on Forwarding and POP/IMAP to Enable POP for all mail under sub-heading POP download.

Click Save Changes to continue with above POP download settings for Gmail.
![]()
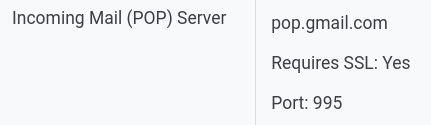
POP download all mail from Gmail on a stable device with decent Internet speed and storage availability. Instructions to configure your favorite email client with POP access for Gmail is here. Just need to change the Incoming Mail Server details from IMAP to POP, if pre-configured.
Once the POP is complete. All your emails from Gmail is now available on your primary device’s email client for offline use.
[c] Transfer Contacts
A guide for this is available here.
2. Filter and communicate about change-in-email to Contacts using /e/mail settings
When you write from the new /e/mail address, your contacts will reply back to @e.email and not Gmail any more. But, just in case you still get emails to Gmail. It is best you filter it out and communicate about change-in-email to untill it eventually stops.
Access webmail of /e/mail to click on gears-like icon to bottom-left to open Settings
![]()
Select Folders to click on Create Folder
![]()
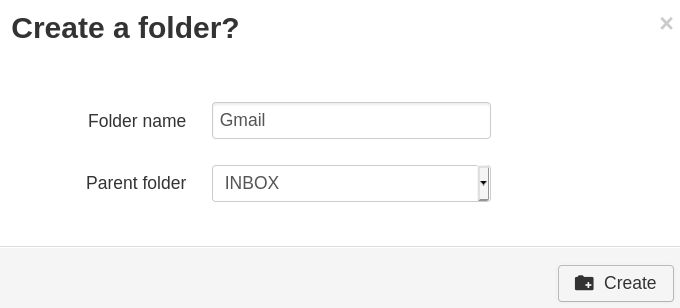
Enter Gmail as Folder name and select INBOX as Parent folder. Click Create to continue.
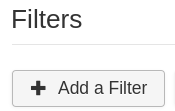
In Settings, select Filters to Add a Filter
Enter details as seen in the image below and click Done to continue.
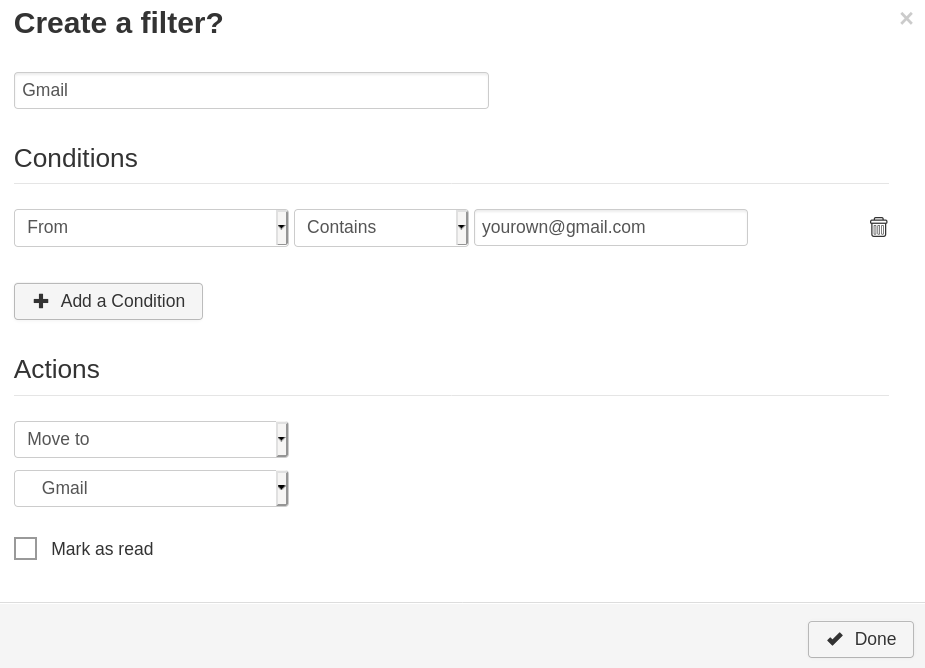
Any new emails from your Gmail to @e.email will now land in Gmail folder of your Inbox.
![]()
This way you can filter out Contacts who are still reaching out to you via your old Gmail address and communicate them about your privacy-oriented @e.email account more efficiently.
3. Change email to /e/mail. Take your own time before you delete Gmail.
You should change email for all your online accounts including bank, school, college, social media, job, news, blog etc over time to @e.email. Do not rush things. Start with everything that comes to your mind and then slowly change email for things that you see email notification for in Gmail folder, in case you forgot.
You should only delete your Gmail account once its existence is technically irrelevant to you. Once you are satisfied that no further communication via your dated Gmail account is required at all.
Also, it is important to Sign up for new online accounts using your /e/mail account only. Keep in mind while filling out physical forms too.
Thanks for reading!