…Enter suggestions to improve documentation in this category. Do not raise bugs or issues here…
Dear @Manoj
i tried to install and didn’t succeed with linux.
Still in windows i have to use the vbmeta.img from the LineageOS Website, because i couldn’t find any in the zip file provided in Downloads.
best wishes
2 Likes
Thanks for reporting this @jalmer. Let me pass this feedback on to the build team to resolve.
1 Like
-
Your feedback seems to not find its way into the installation manual
-
At the moment a72 has Android 14, not 13. I don’t know if this changes something.
-
I followed the manual and I think I bricked my phone at the last sentence of the section “Installing a custom recovery using”. There where you have to do things immediately. You can not do this, because the phone REstarts but the manual says it will go off and then you can start it.
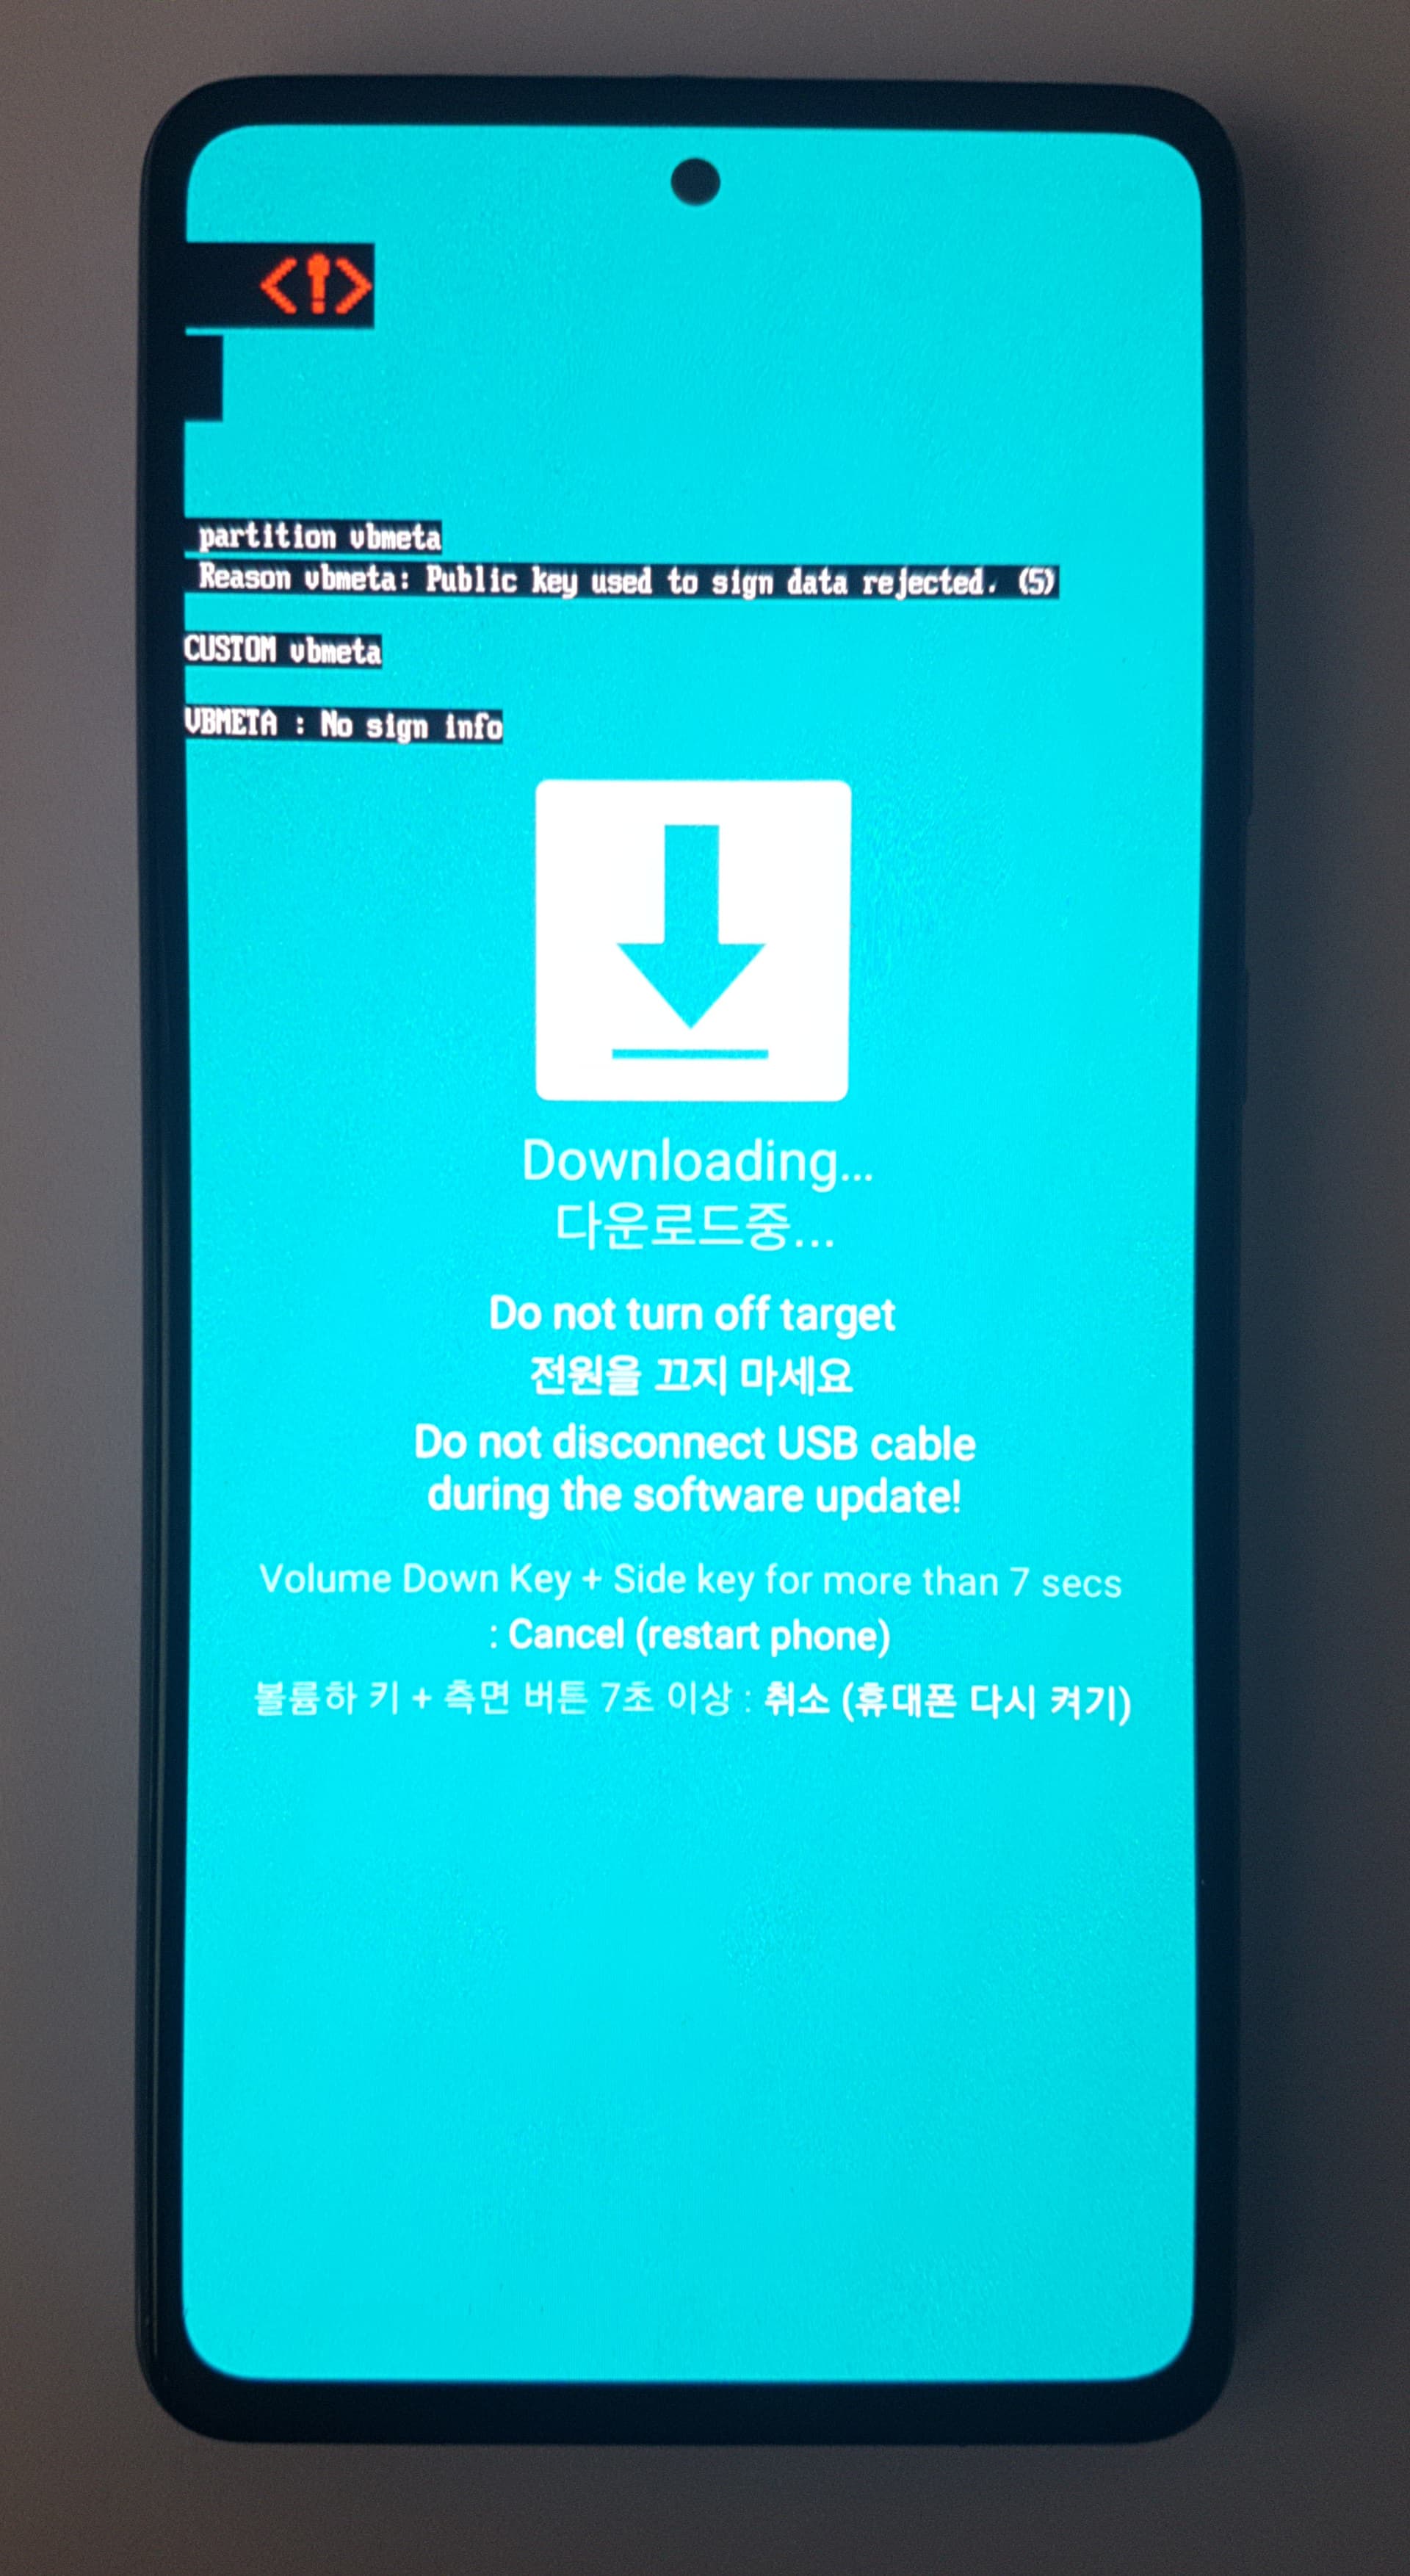
Installing vbmeta.img again leads to an “blocked by OEM” error. Any vol+, vol-, power button combination leads to the same screen.
Well it is critical … the install page Install /e/OS on a Samsung Galaxy A72 - “a72q” includes this advice:
Before installing /e/OS on the Samsung Galaxy A72 a72q for the first time, install the latest stock OS version 13 build on the device.
The comment is marked Tip: … it would better be marked Caution or Warning.
It is hard to brick a Samsung … probably best to follow this guide to try to restore a Stock ROM Revert Samsung Device to stock ROM on Windows PC.
At certain stages of Samsung ROM development downgrade might be possible.
It is possible this was caused by the phone doing a “Protective” factory reset and USB debugging / OEM unlock has reverted to disallowed / locked.
1 Like
Luckily you were right, finally it works. ![]()
Everyone how was afraid, too: All four back cameras and two front cameras are working ![]()
Android 14 was no problem.
Important: Use the new Odin Version, I think 3.14.4. The old Version in the manual did not work.
Sadly I can not totally recall -why- it works now but here are my memories:
Installing a custom recovery using Odin
- Caution: Do not wipe anything if you don’t see TWRP. It seems I used the Samsung wiper and killed the phone…
- At point 14. do not forget to disable auto restart. Then DO NOT REMOVE THE USB-C cable to the PC because it worked for me and it was the only difference to the 10 times it does not work. I saw it in one YT Video.
- Button magic:
- AP is downloaded on your phone (and it does not restart because you disabled it in Odin in the second tab)
- Then push VOL DOWN and POWER for 8 seconds like the display tells you
- When your phone gets black, immediately switch to VOL UP. Keep POWER all the time
- Yellow warning appears, keep everything for 20 seconds (to be sure)
- Leave keys, then this message disappears immediately
- Push VOL UP and POWER again, red text appears
- Red text goes away, then release your keys
- Now there are three possibilities:
- You see TWRP, then do the next step
- You see the original OS again, then start at 1. again
- You see the original wiper, then reboot and start at 1. again
Installing /e/OS from recovery
-
- There was no System partition. I wiped Cache and Data instead.
- Then in point 7. everything stops at 20%, so I canceled, wiped Cache and Data again and the first two points I don’t remember the name of. Again in point 7. at “ADB sideload” I checked the first two checkboxes to wipe and started the sideload again. This time it works. I think now there was more space on the system partition but this is just a guess.
Good luck everyone ![]()
I successfully installed /e/ on my A72, however the documentation could do with an update. I’ll list out the changes I made, hopefully it might help someone. Overall pretty easy.
I used Windows. I suspect Linux probably would have worked though, just using Heimdall instead of Odin. The A72 comes with android 14, this wasn’t an issue, despite what the documentation says.
- there is no vbmeta image file, it is already a .tar in the download.
- quick tip- a frequent problem with Samsung phones is that OEM unlocking is invisible. This is easily solved by setting the phone date to at least 2 months ago and disabling auto-updates.
- I used the most recent version of Odin (v3.14.4), not the one recommended.
- the recovery is e-recovery not TWRP. This is actually even easier than TWRP. Just Factory Reset>Format Data then return to Home Screen. Then Apply Update>Apply from ADB. Then sideload the /e/OS.zip.
Good luck!
Dear @Manoj , dear friends,
I have successfully installed /e/ OS in a Samsung Galaxy A72. Since I had some troubles I want to share them and the way we went through them. My phone had android 14.
1º In the Downloads section of the instructions there is still a lack for the file “vbmeta.img” which is needed a little bit later in the point 3 of the section Pre-Install Instructions.
I took it from the installation instructions of Lineage OS for same device: LineageOS Downloads
Since I don’t know what is exactly this file I didn’t know if that file for any of the available versions of Lineage OS was fine or if I should choose a version and date similar to the /e/ OS version I was going to install. I finally opted for choosing a similar date, in this case: lineage-22.1-20250127-nightly-a72q-signed.zip
@Manoj I would like to have a little clarification on this because if we have to face the same situation in the future with this same model or another one it would be really interesting to know it the vbmeta.img file is the same for all the versions of the same device or we have to choose the file of a version with some criterion (like date or whatever).
2º In order to do part of the Pre-Install Instructions we also consulted this site: How To Unlock Samsung Galaxy A72 Bootloader - NaldoTech
I paste it here just in case it could be useful for somebody.
3º Many times, when executing adb devices we got the device and other item called “emulated something”. We found that restarting the adb server erased that emulated item although it appeared again after some time (and we restarted the adb server again).
4º Following the previous comments here we downloaded the last available version of Odin. @Manoj I think this should be advised in the instructions.
5º Getting the device appearing in Odin with a COM port took some attempts, but just closing the program an reconnecting the phone.
6º Point 14 of the section “Installing a custom recovery using odin” could be pretty challenging since it requires some ability with the phone buttons and having very clear the steps to do and their order. I got it at the first attempt but I think it was because I read it carefully and I practiced twice mentally. I think this ir properly explained in the instructions but I just wanted people to make sure they take proper preparation and care at this point.
The rest of the process was smooth and simple.
Now, I proudly have a new /e/ OS running device at home.
Thank you to the community for such a nice work.
¡Good luck!
1 Like
Checking on the vbmeta file with the build team. Will update the response.
I managed to follow the process from Linux (NixOS 24.11 FWIW).
I followed this suggestion:
Also, instead of using Odin 3 and all of that, I downloaded Odin4 CLI from here. Unzip it and open a terminal.
Now, the whole process of selecting an AP and saving uploading it to the phone while in download mode is replaced by:
./odin4 -a path-to-file.tar
At certain points I had to unplug the cable and plug it back (OF COURSE, NEVER WHILE TRASNFERRING DATA).
Apart from these details, it all worked fine! Thanks everyone.
1 Like