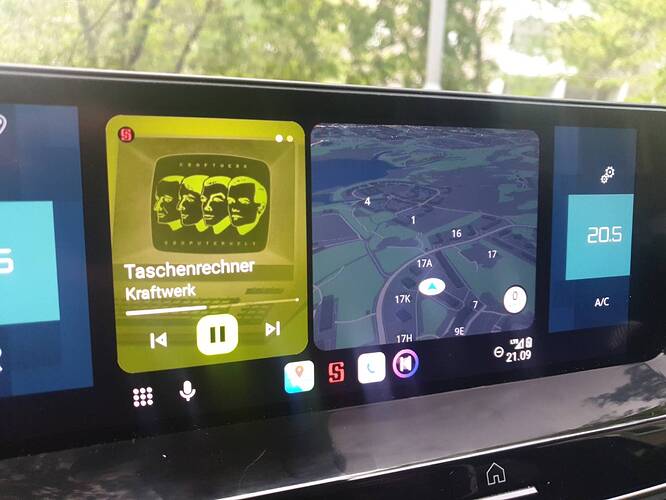
This guide explain how to install Android Auto (AA) on ROM with built in MicroG support without root and make navigation Apps work.
This process is tested with e/os 2.9-s (Android 12) on Galaxy S8 and Galaxy S7 Edge devices.
I have tried AA flashing along with clean ROM flash. I have not tested dirty AA flash.
The official e/os AA setup guide “How to setup Android Auto with /e/OS?” is for e/os+Android 13 and talking about setting up with real Google Apps. Real Google Apps not required if you use the 3 stubs explained below.
Please take care of all your data, backup etc. in case if anything breaks.
Flashing ROM and Android Auto
e/os with Android 12
- Use TWRP to flash the ROM.
- Flash the modified NikGapps Android auto add-on suitable for Android version (Check this guide)
e/os with Android 13 or higher
- AA is already included. So no need to flash AA.
Start and setup the phone. Enable developer mode and USB debugging. Check “Always allow” the USB debugging authorization when prompted on phone.
Install Google App Stubs
- Install the Google, Google Map and Google TTS stubs using adb so you don’t have to install actual Google stuffs (Check this guide).
Setup Android Auto
- Provide all necessary Permission and Notification access to AA.
- Enable AA developer mode and check “unknow sources”
- It is recommended to disable the “Wireless” AA and remove the Internet access for AA. You can use wired AA without any problem and avoid sending any data to Google.
With above setup, AA should be working without any problem except the 3rd party navigation apps like OSMAND. Navigation Apps must be installed as Play Store (com.android.vending) to make them work. Only way to archive this is by modifying the /data/system/packages.xml which was achieved by this AlterInstaller Magisk module. We have 2 problems updating this file without root and our solutions also mentioned
- (Problem 1)
/data/system/packages.xmlfile is not accessible without root.
(Solution 1) We will access this in recovery. - (Problem 2)
/data/system/packages.xmlfile is not human readable. Its an Android binary XML (ABX) file.
(Solution 2) We will covert this to text XML file using abx2xml, edit it and convert back to ABX using xml2abx.
Setup Navigation Apps
Below is the process need to be followed carefully. It works with both e/os and TWRP recovery. Make sure you “Enable ADB” after booting into e/os recovery mode.
- In System mode (Normal OS running)
adb devices
adb reboot recovery
- In Recovery mode
adb devices
adb shell mount -o rw /data
adb pull /data/system/packages.xml # Keep a backup of this original packages.xml file just in case
adb reboot
- In System mode (Normal OS running)
adb devices
adb push packages.xml /sdcard/Download/
adb shell abx2xml /sdcard/Download/packages.xml /sdcard/Download/packages_text.xml
adb pull /sdcard/Download/packages_text.xml
Now open the packages_text.xml file in Notepad++ or any other text editor on your PC. Find your app package and modify these two properties:
installer="com.android.vending" installInitiator="com.android.vending"
Then save the file and continue
adb shell rm /sdcard/Download/packages.xml
adb push packages_text.xml /sdcard/Download/
adb shell xml2abx /sdcard/Download/packages_text.xml /sdcard/Download/packages.xml
adb pull /sdcard/Download/packages.xml
adb reboot recovery
- In Recovery mode
adb devices
adb shell mount -o rw /data
adb push packages.xml /data/system/
adb shell
cd /data/system/
chmod 644 packages.xml
exit
adb reboot
After reboot, check AA launcher. The Apps modified in the XML must be visible now and will work with AA.
If the Apps (modified in the XML) are update again, then manual XML changes will be gone and the above prcocess need to be repeated again. Better to disable to Auto-update for the those Apps.
Note
I am not Android or adb expert. I just got this process working on my two Samsung devices.
Please feel free to suggest improvements.
Regain your privacy! Adopt /e/OS the deGoogled mobile OS and online services

