French version available here.
When you turn on your phone you see the name of the manufacturer and then maybe the animation “e” with the point that bounces in a loop even after several minutes? Follow this tutorial to try to solve the problem.
Note: this tutorial is not made for the Fairphone 3(+) or the GS290. It’s mainly for the S7, S8, S9 and S9+.
1) Reboot from recovery mode
(no data loss)
-
Go to the recovery mode. To do this, press and hold the Home/Bixby + Power + Volume Down buttons for several seconds until the device turns off, then immediately afterwards move your finger from Volume Down to Volume Up for several seconds, while pressing and holding the Home/Bixby + Power buttons to enter into the recovery mode.
-
If your phone is encrypted, you will be asked for your password to be able to read the data on the phone.
-
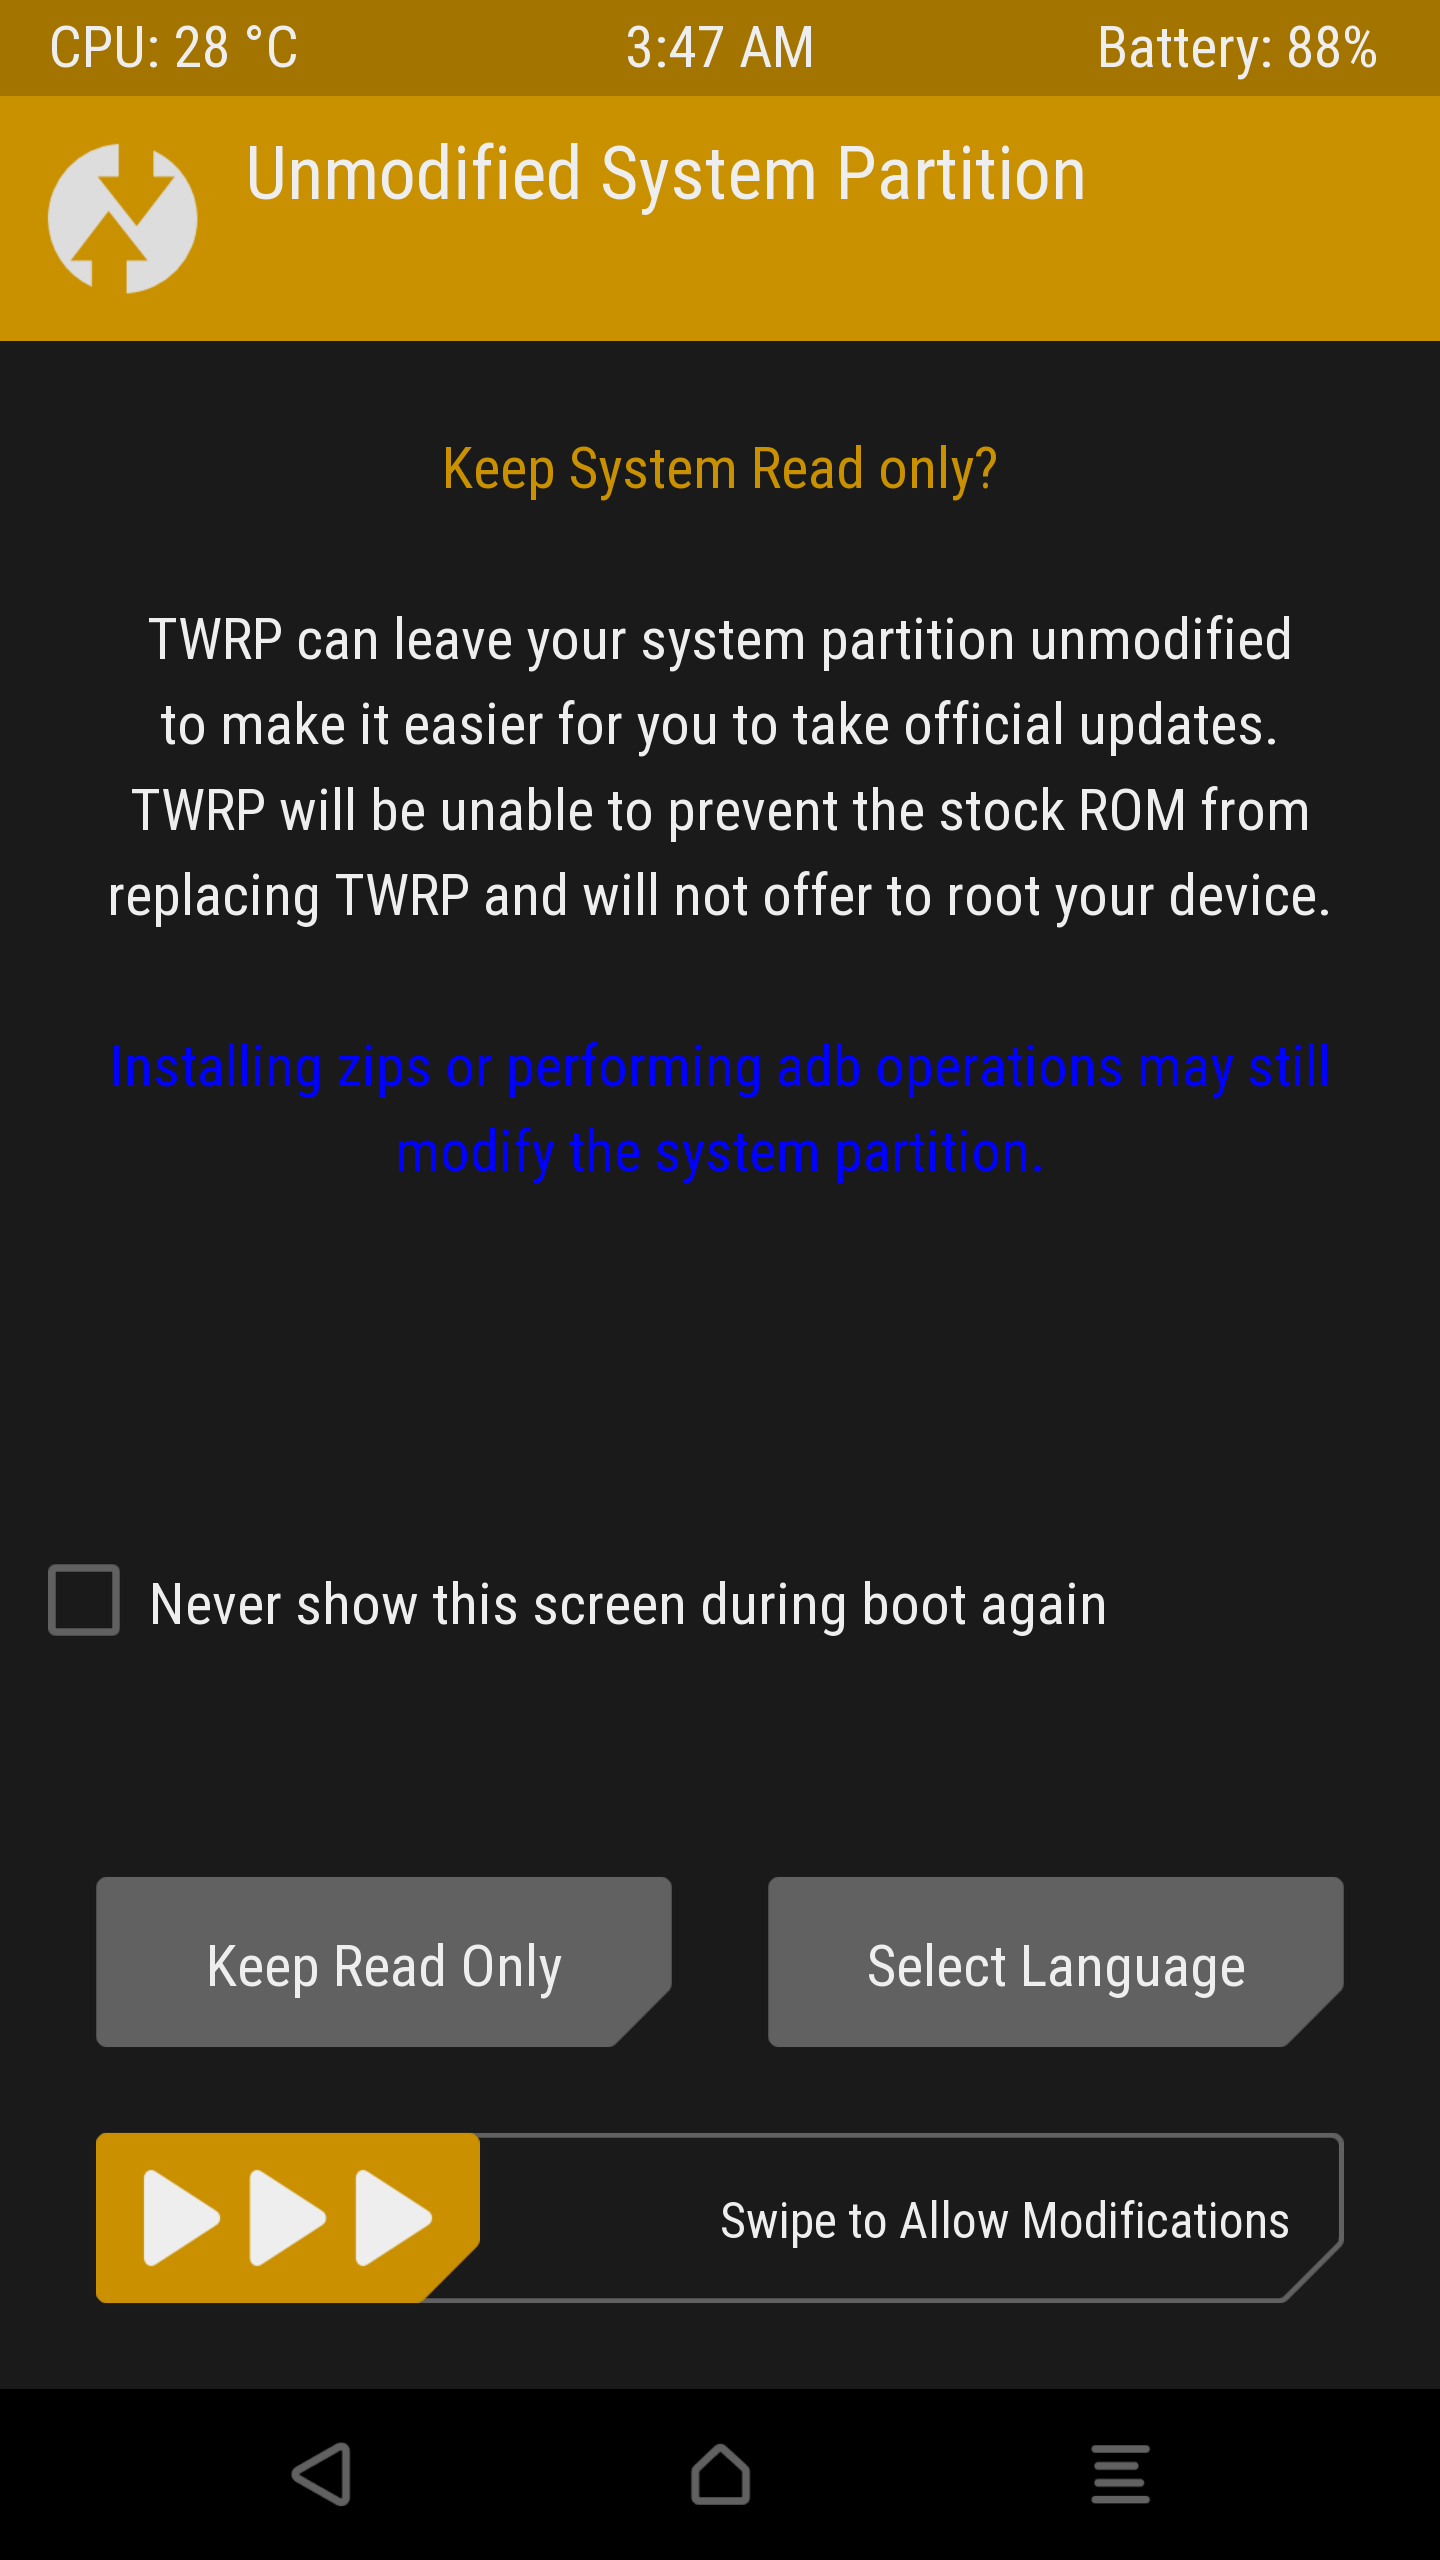
A warning screen may appear, drag the “Swipe to Allow Modifications” arrow from left to right.
-
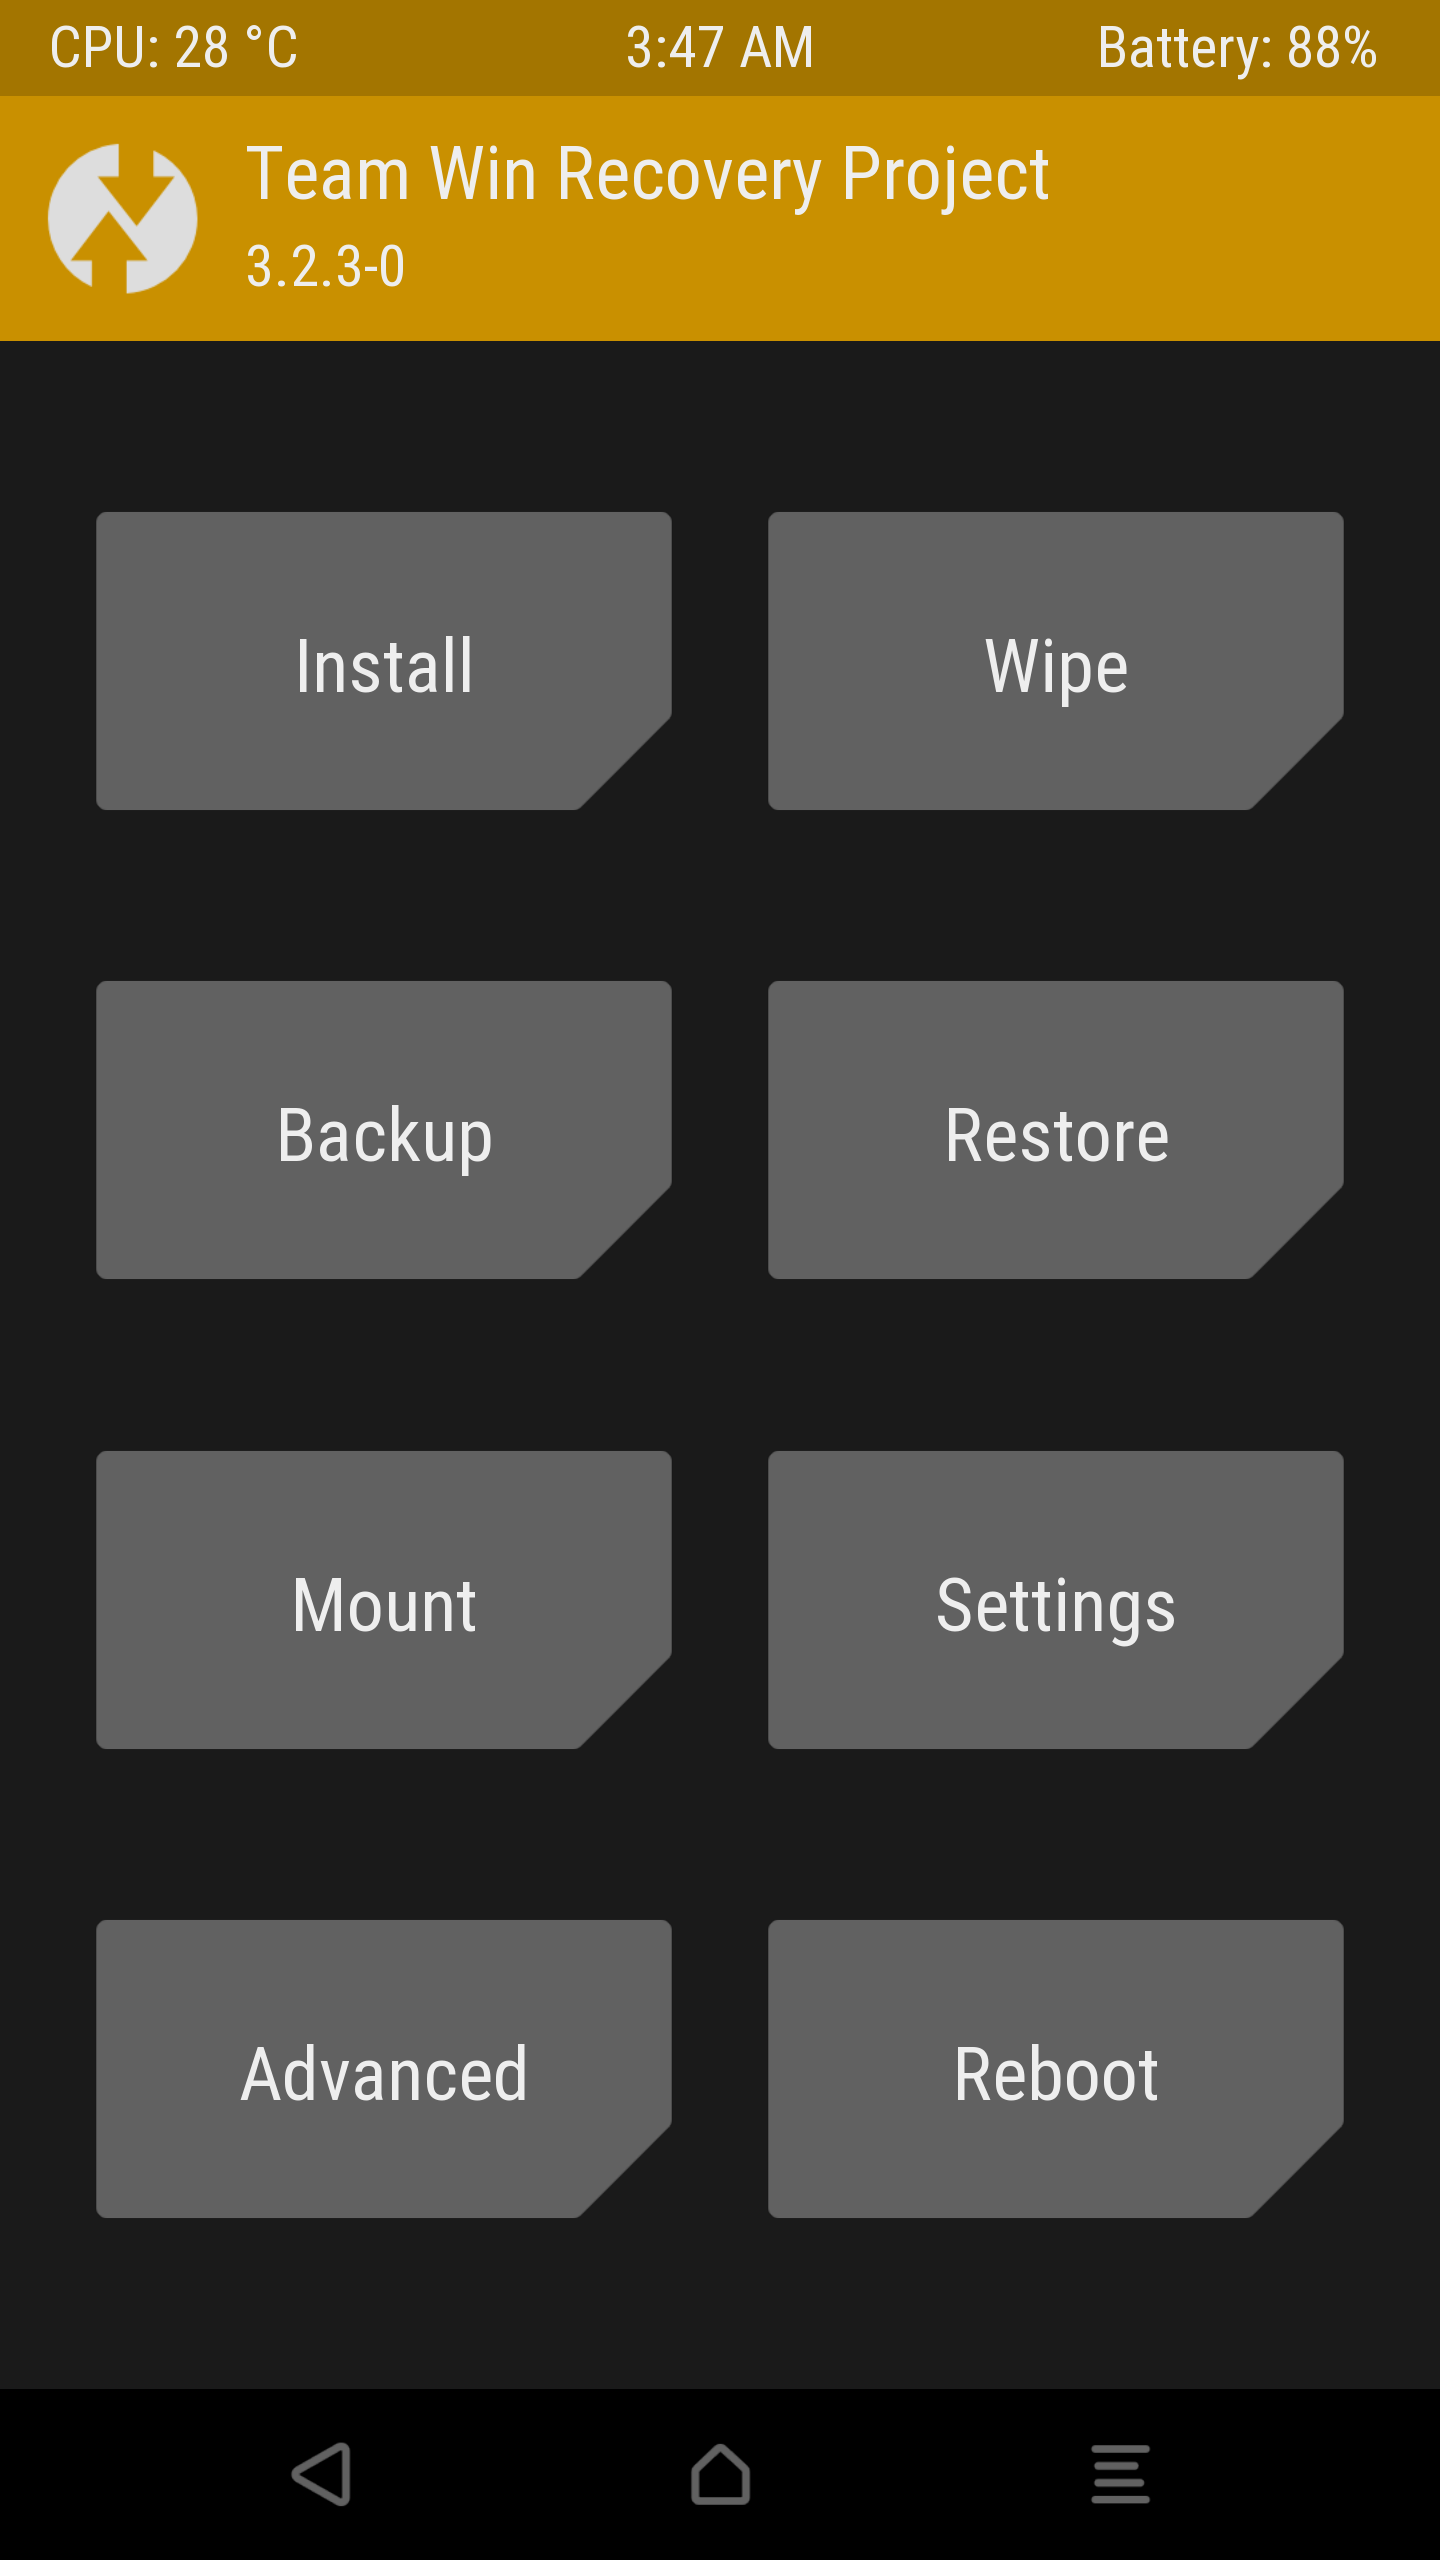
You are now in the main menu.
-
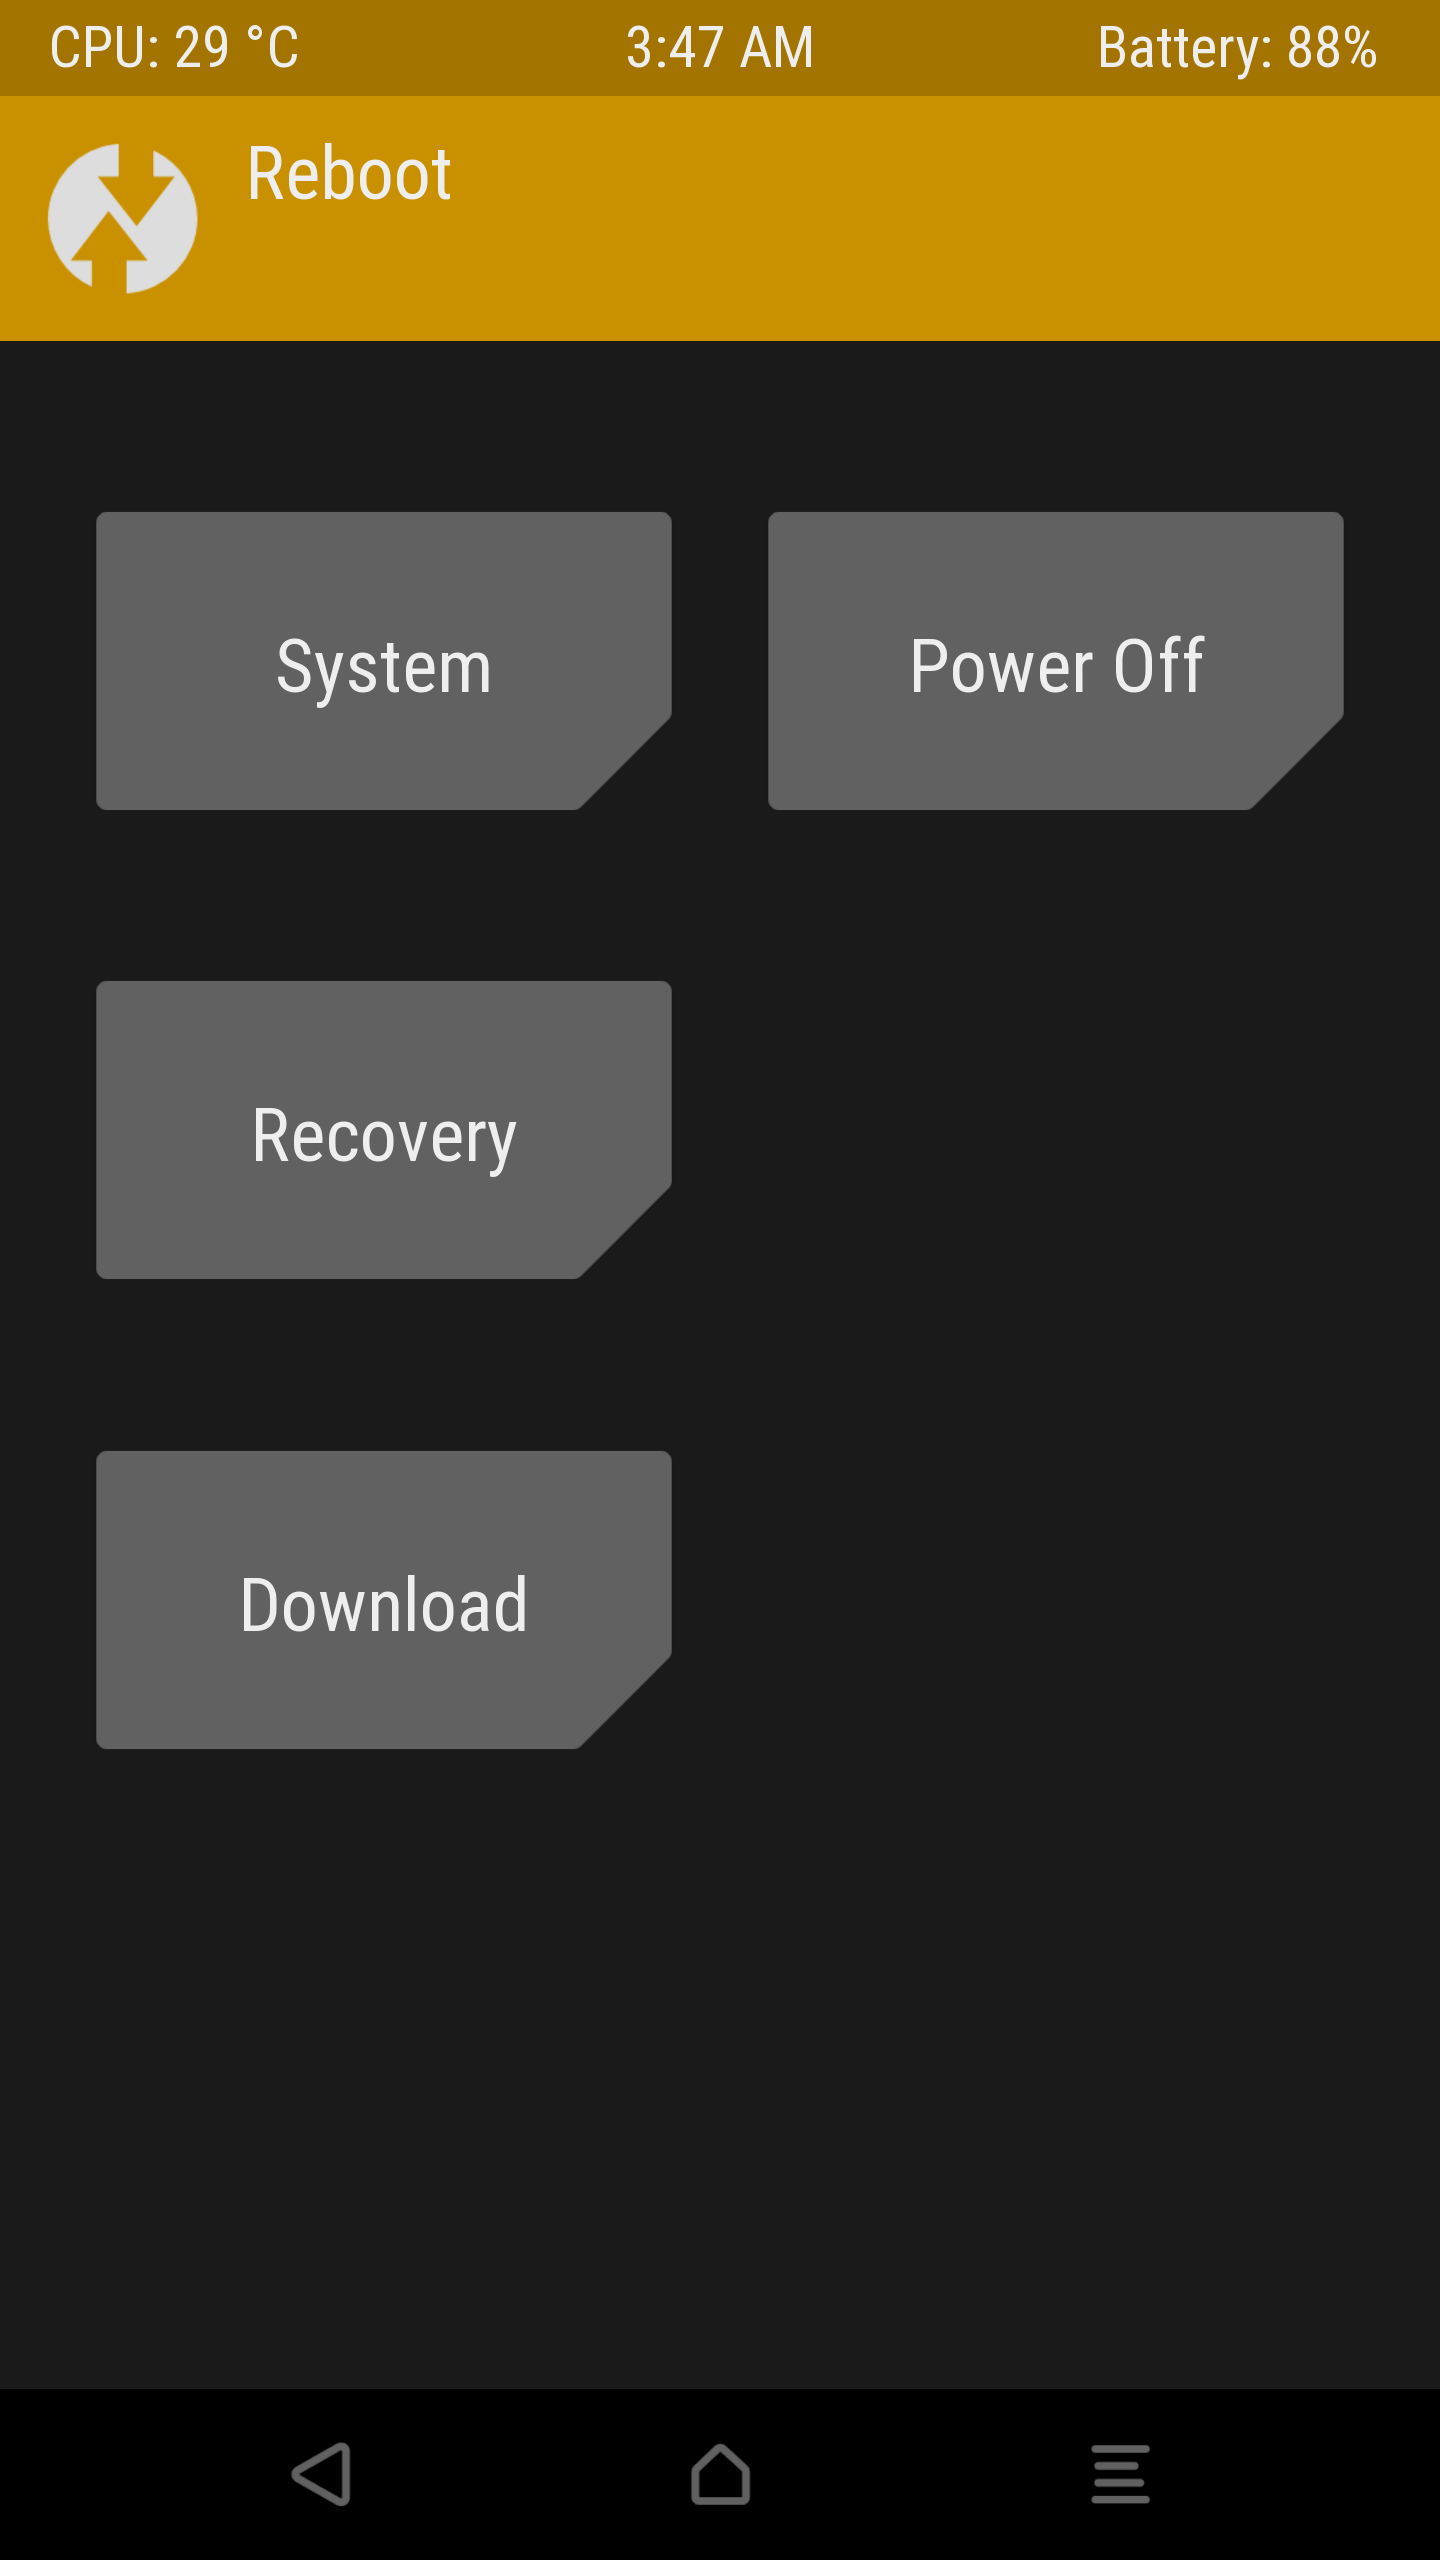
Click on “Reboot” then “System”.
-
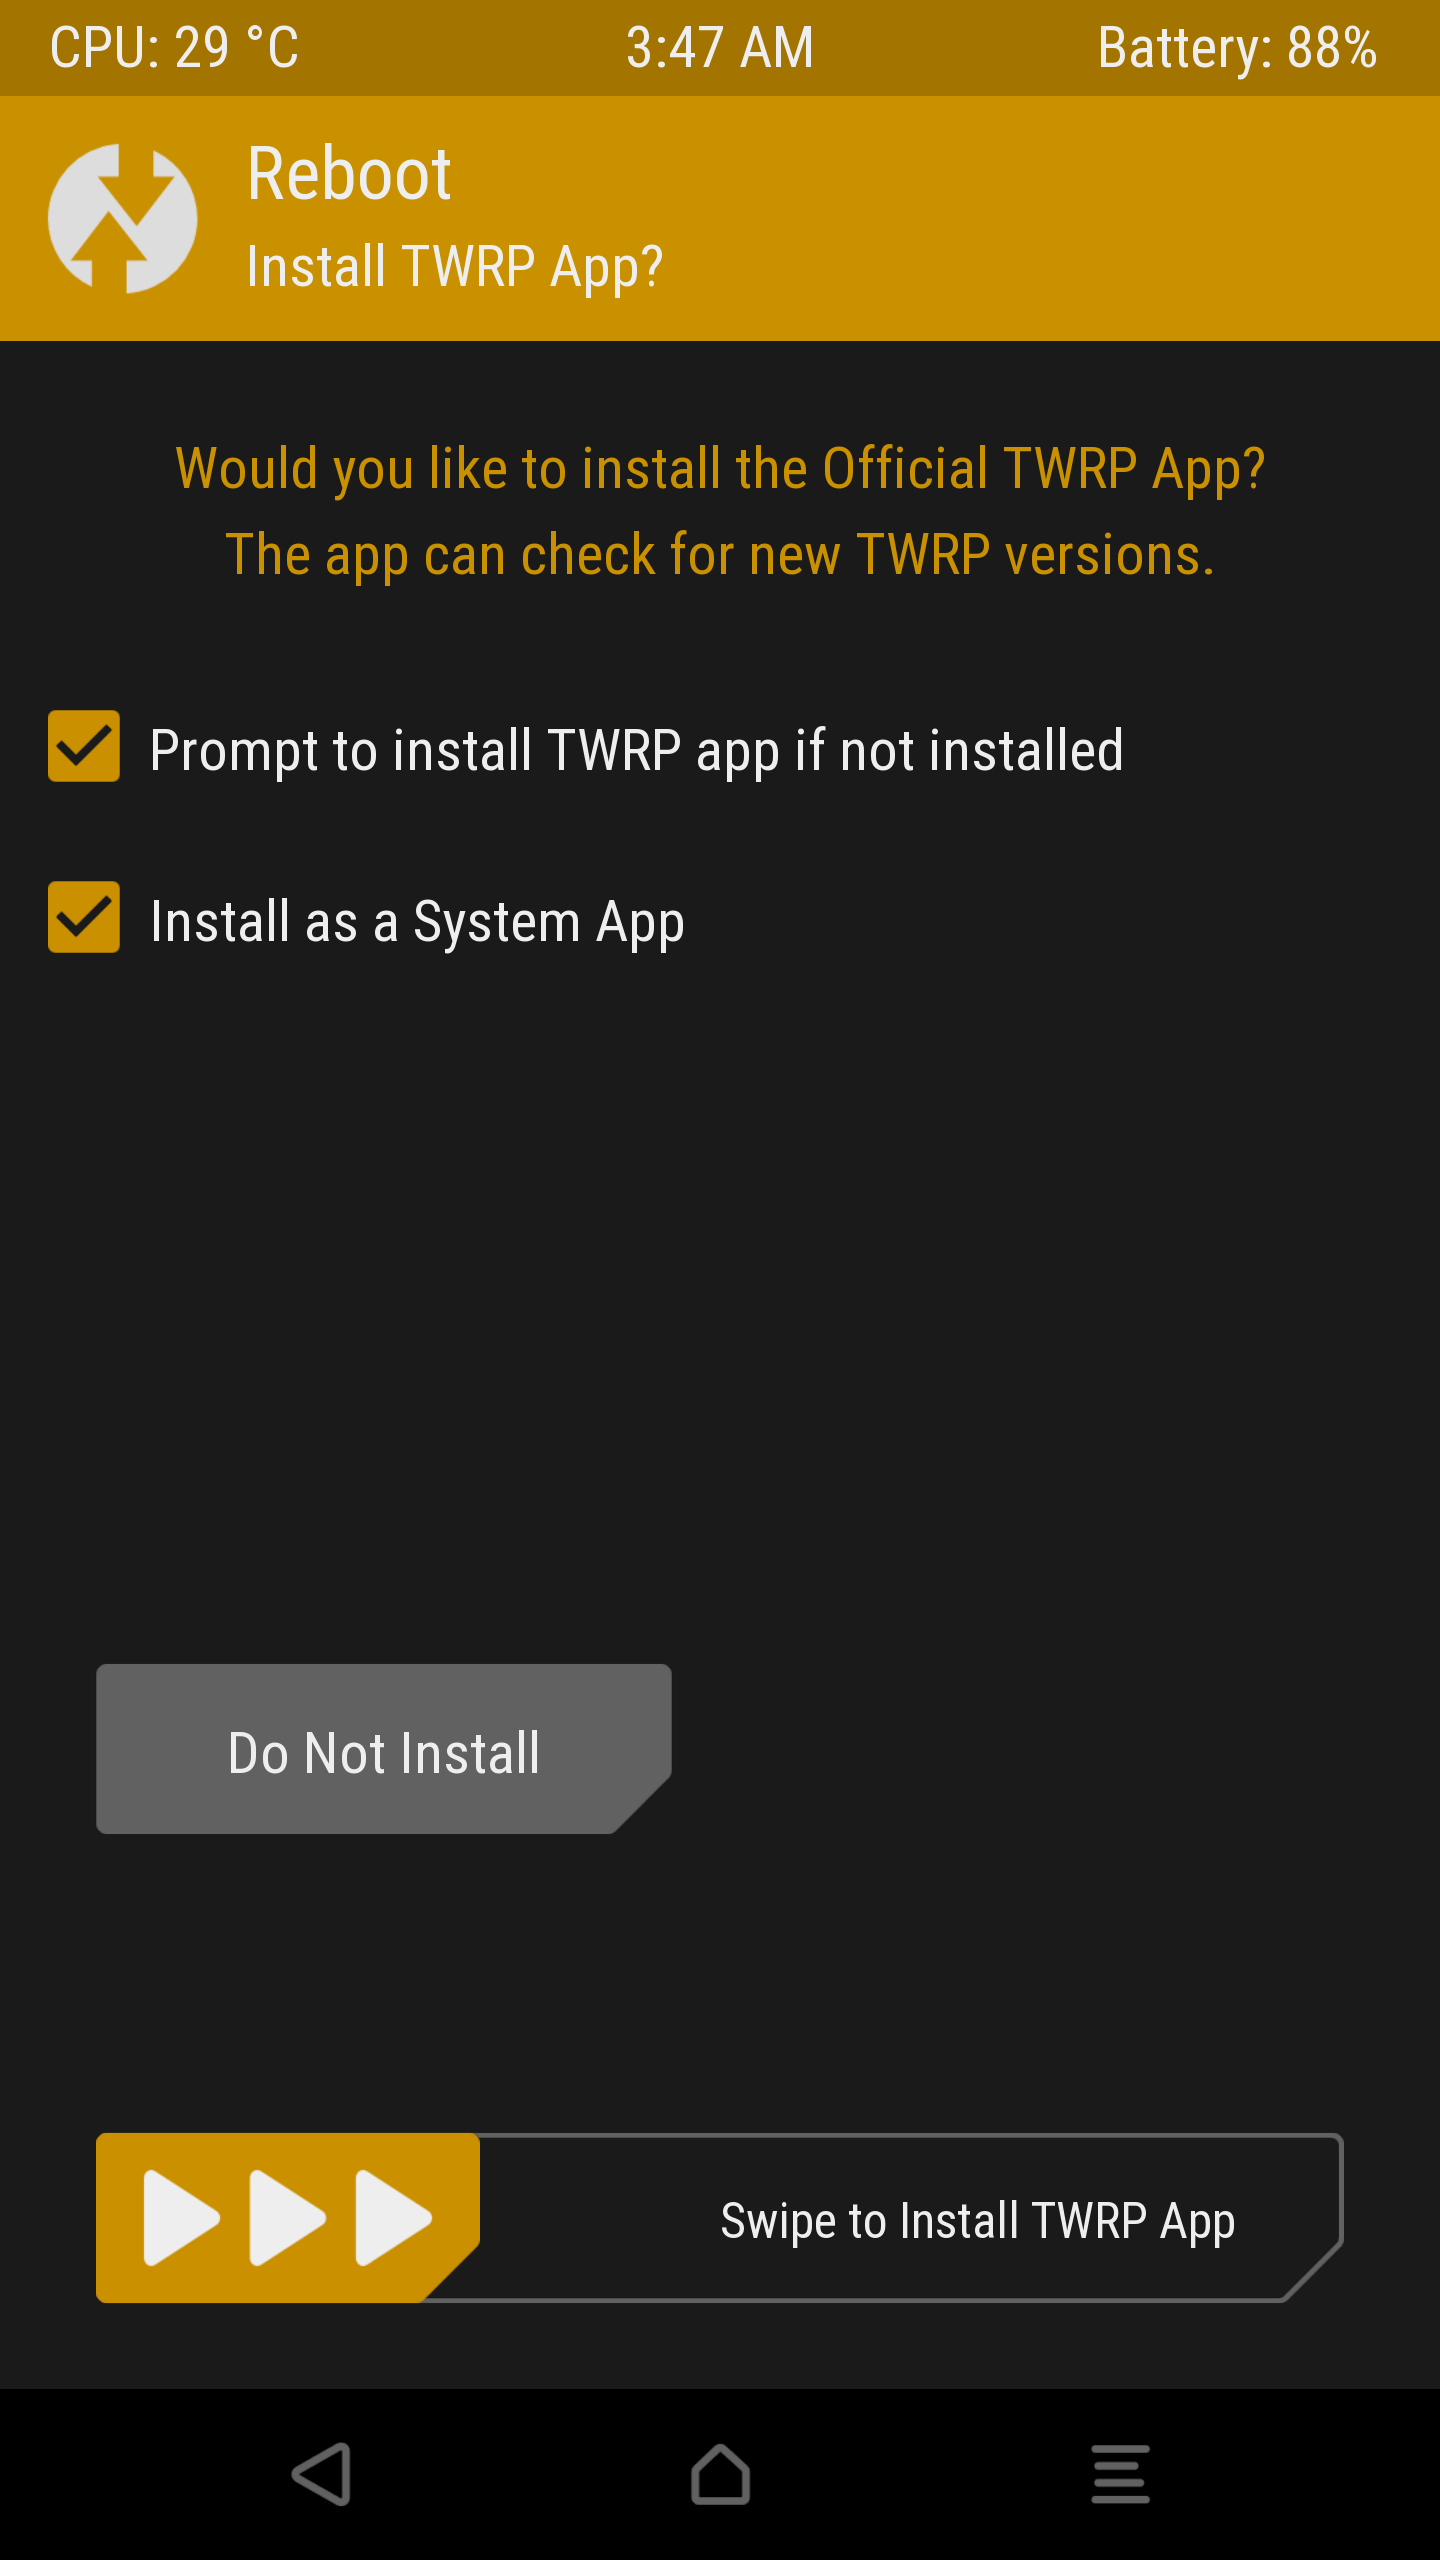
Click “Do Not Install” (if the following screen appears).
If it doesn’t work, go to the next step.
2) Re-install the last update or the one before (downgrade)
(there should be no loss of data: go to this tutorial to try to save some of your data !)
This step can only be useful if the problem occurs after an update has been installed.
If the problem comes from the installation, you can re-install the latest version available.
If the problem comes from the update itself, you must re-install the latest functional version.
- to come
3) Factory reset from recovery mode
(data loss: go to this tutorial to try to save some of your data !)
-
Go back to recovery mode again.
-
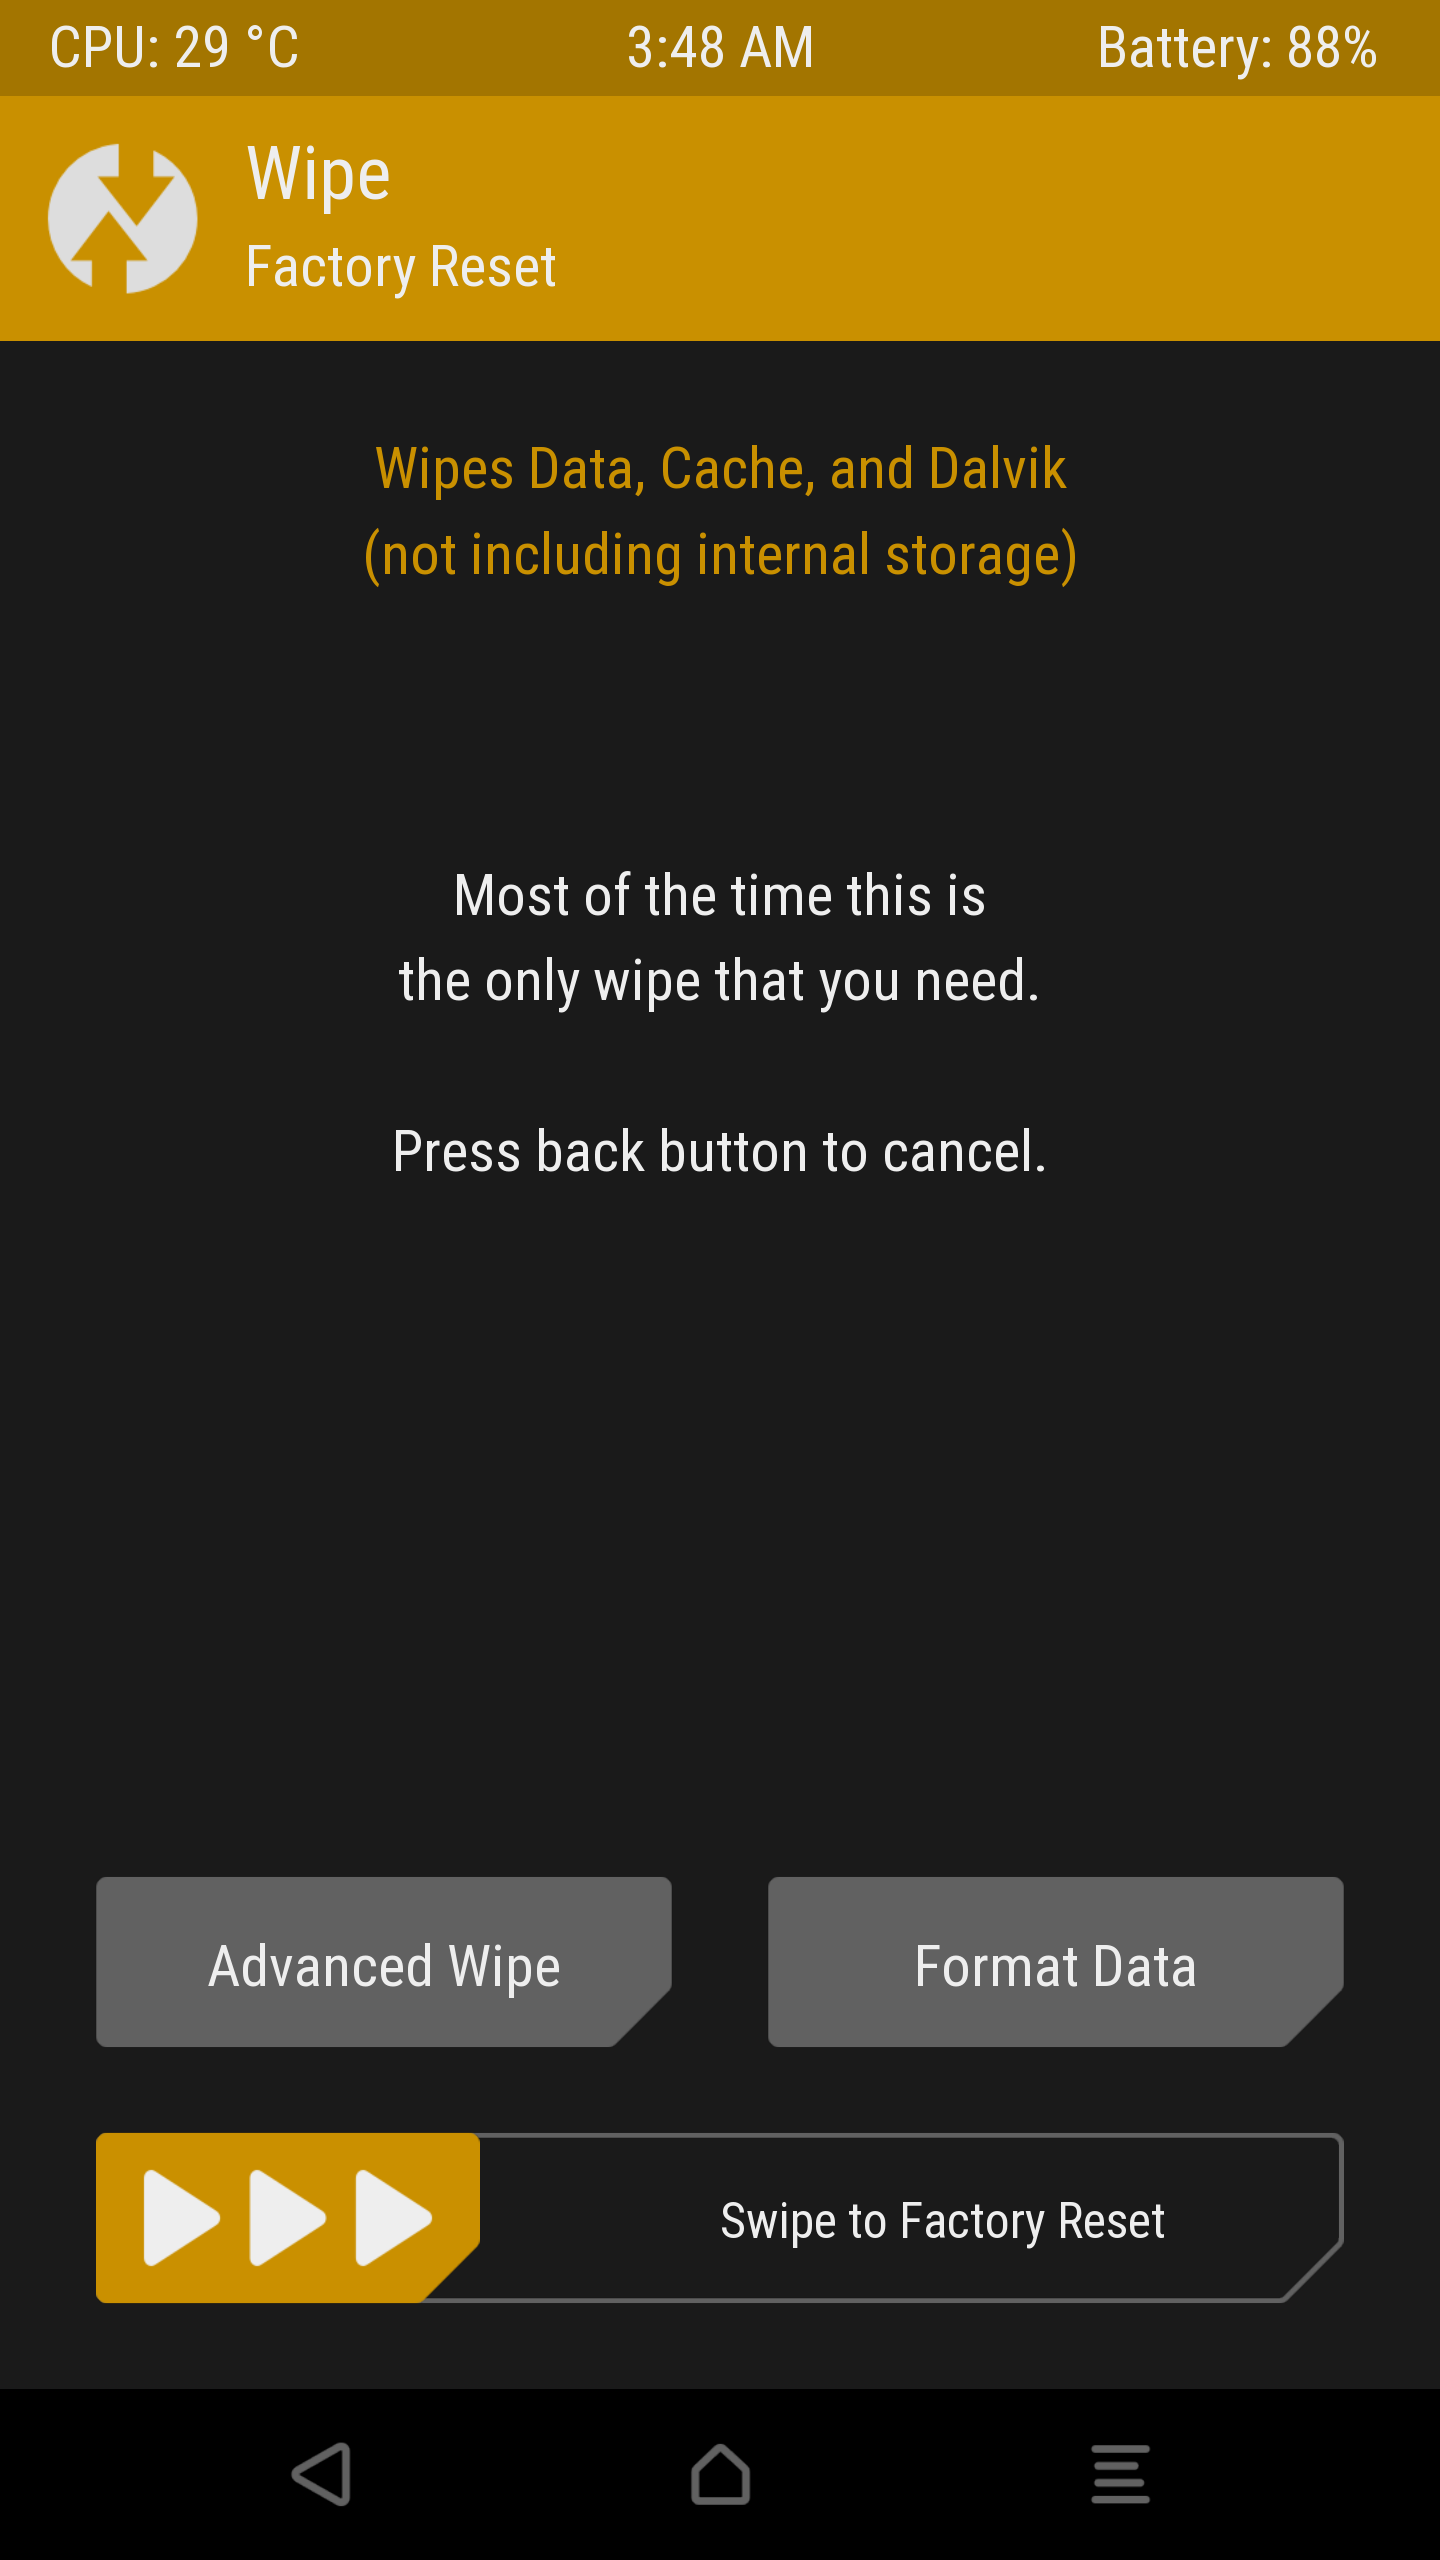
Click “Wipe”.
-
Drag the “Swipe to wipe” arrow.
-
Click “Reboot System” and then click “Do Not Install”.
If it still doesn’t work, go to the next step.
4) Formatting data partition from recovery mode
(data loss: go to this tutorial to try to save some of your data !)
-
Go back to recovery mode again.
-
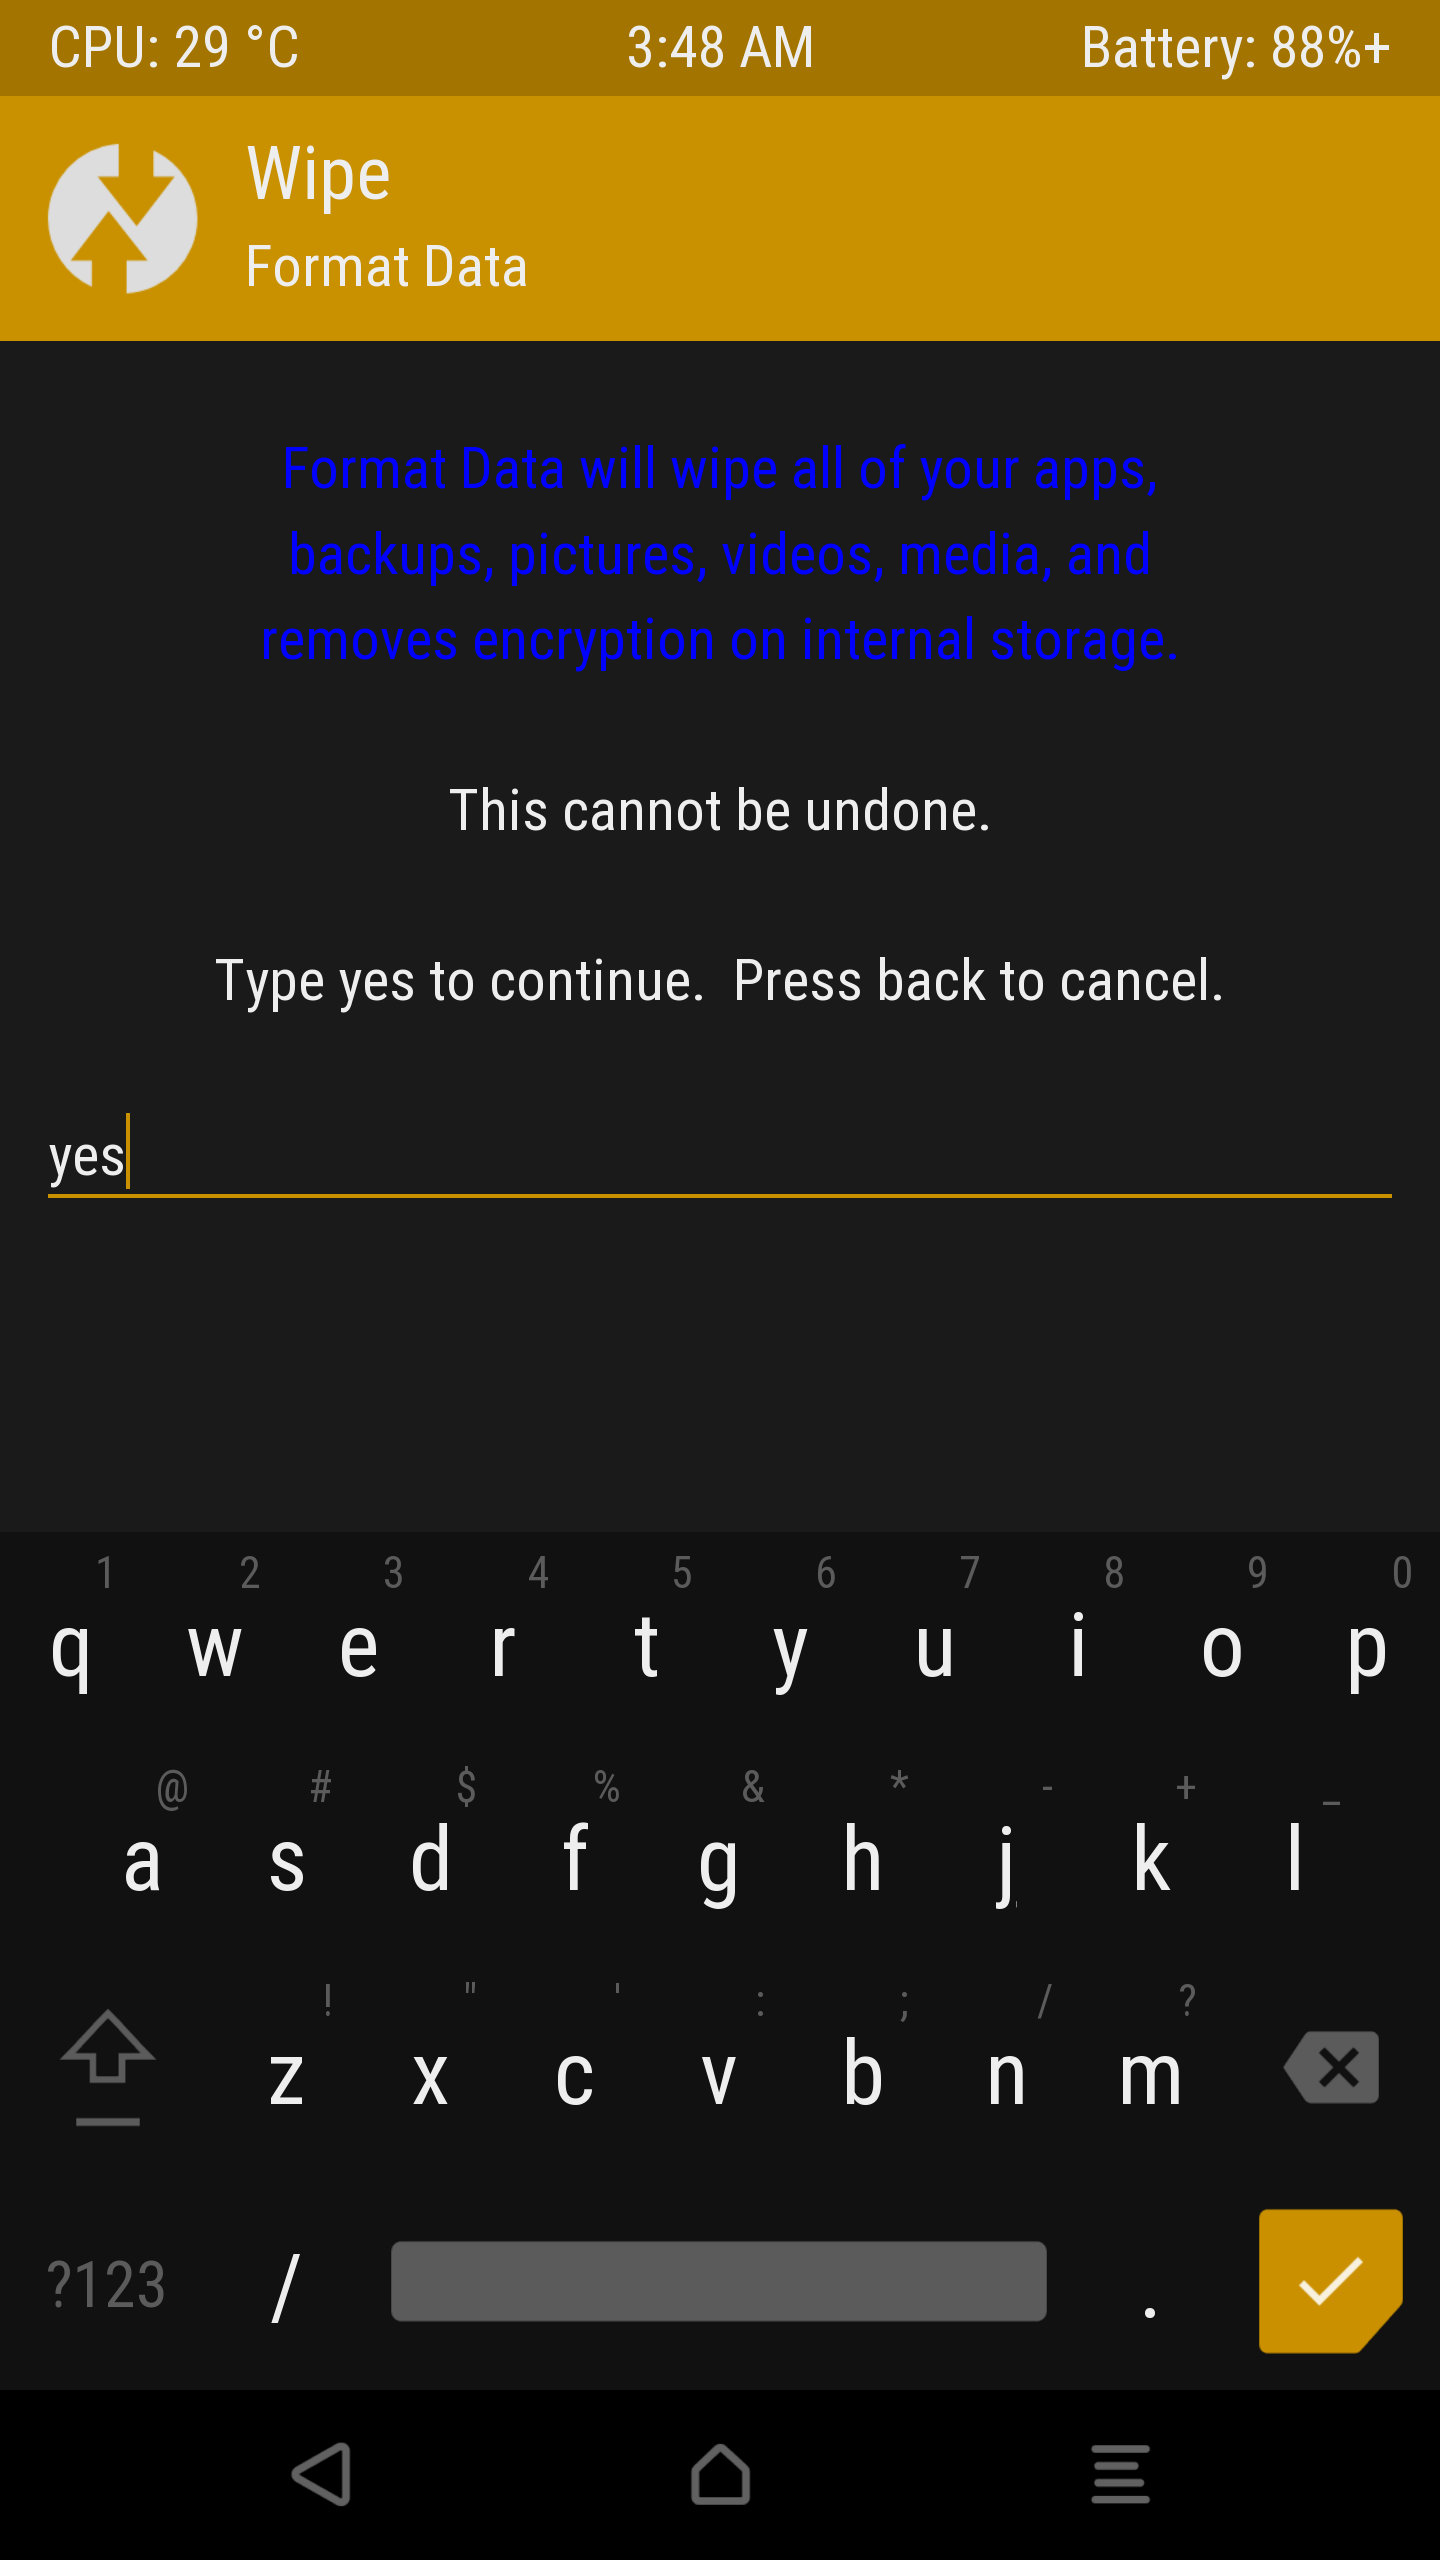
Go to Wipe > Format Data.
-
Enter “yes” and validate.
-
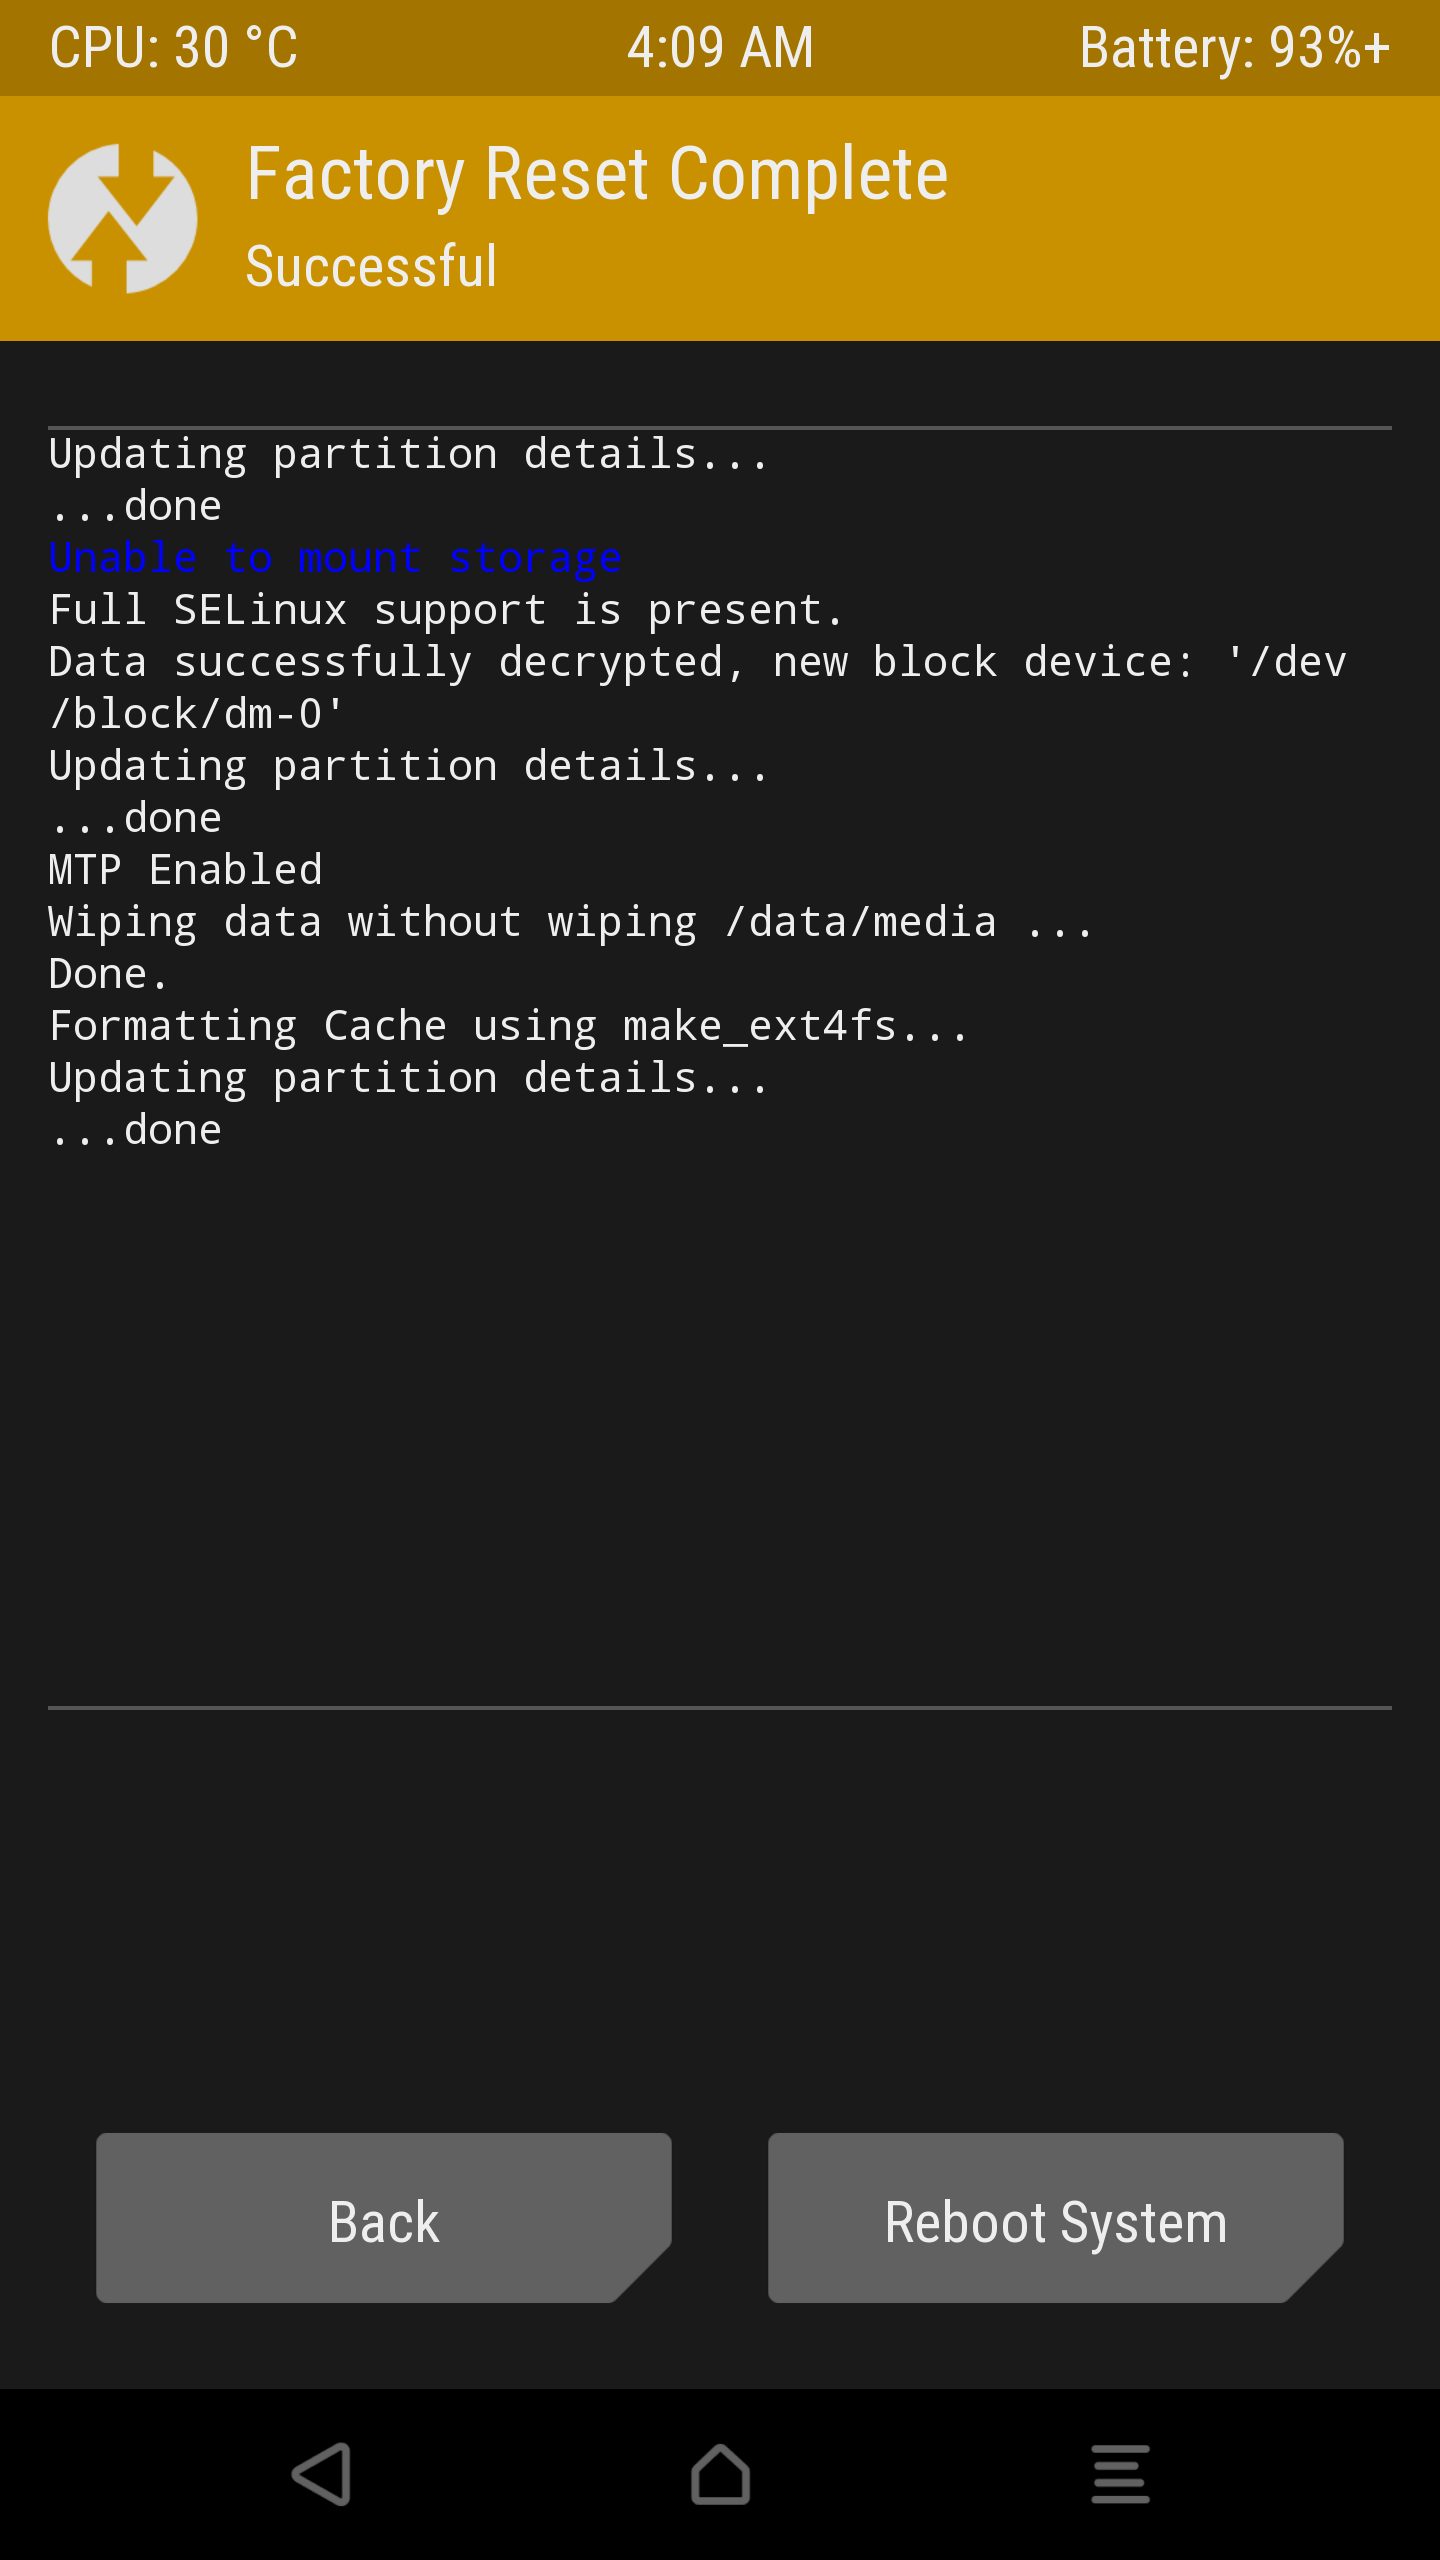
Click “Reboot System”, then click “Do Not Install”.
5) Reinstall /e/OS with the Easy Installer
(data loss: go to this tutorial to try to save some of your data !)
I invite you to visit this page to download the Easy Installer and to find out if your device is compatible with it.
-
Then run it. When it prompts you to plug in your phone, plug it in (with the phone turned on and on the main menu of the recovery mode, called TWRP).
-
You can skip all the steps about activating developer mode and file transfer options, being in TWRP makes these steps unnecessary.
-
The Easy Installer detects the phone and indicates that it is compatible with /e/OS.
(If it fails to detect your device, perhaps drivers have not yet had time to install on your computer and you need to wait a few minutes (or search for updates) and then reboot). -
The Easy Installer now downloads the necessary files, this may take some time depending on the speed of your connection.
-
You can also skip the steps about “OEM Unlock” that occur in the phone settings.
-
Just after that you are asked to go to “Download Mode”, and the Easy Installer will tell you the key combination you need to do to access it. But in your case it’s even simpler since from the main menu of TWRP you just have to go to “Reboot” and “Download” (and click on “Do Not Install”) to enter the Download Mode.
-
Then follow the instructions, even if you feel that you have already done the indicated steps you must do them again.
-
/e/OS installs (or rather re-installs in your case), and you will eventually hopefully reboot to /e/OS once all instructions are complete.