**21 May 2024: There are no further updates on this thread. The purpose of this thread was to offer an alternative method to users to create the back covers. Now, that the vendor has sent us the back covers which the team has started sending out to users. We are starting with the users who had crowdfunded us. The links to purchase the cases have also been added to the Murena shop. https://murena.com/products/smartphones/
On continuing with guidance on printing the 3D cases we do not have the expertise to advise on Blender or 3D printing nuances.Nor do we have the details of the cases manufacturing specifications from vendors.
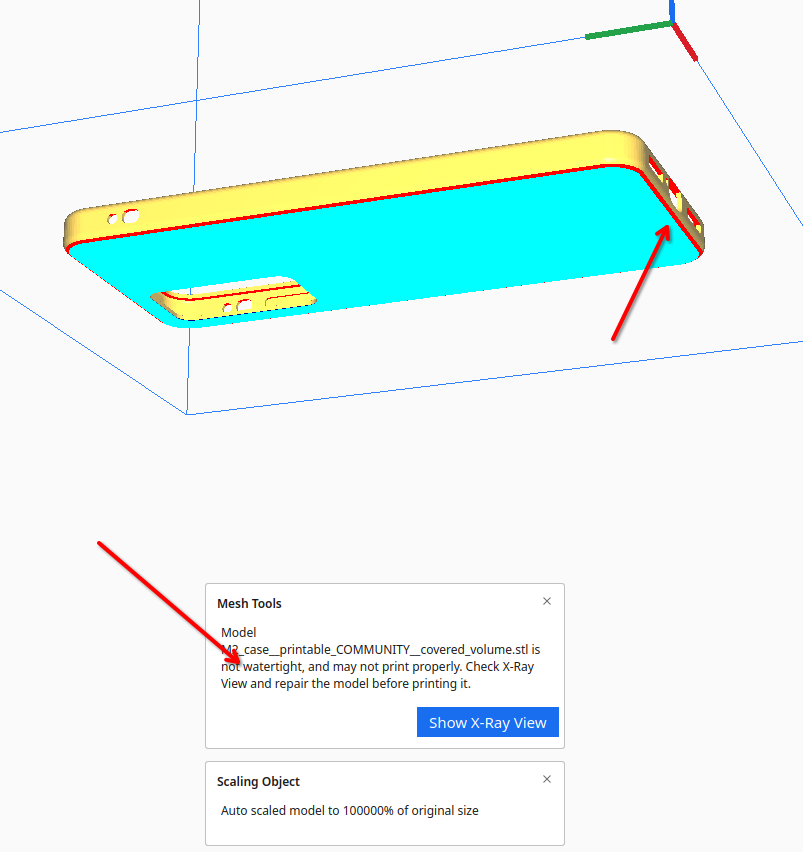
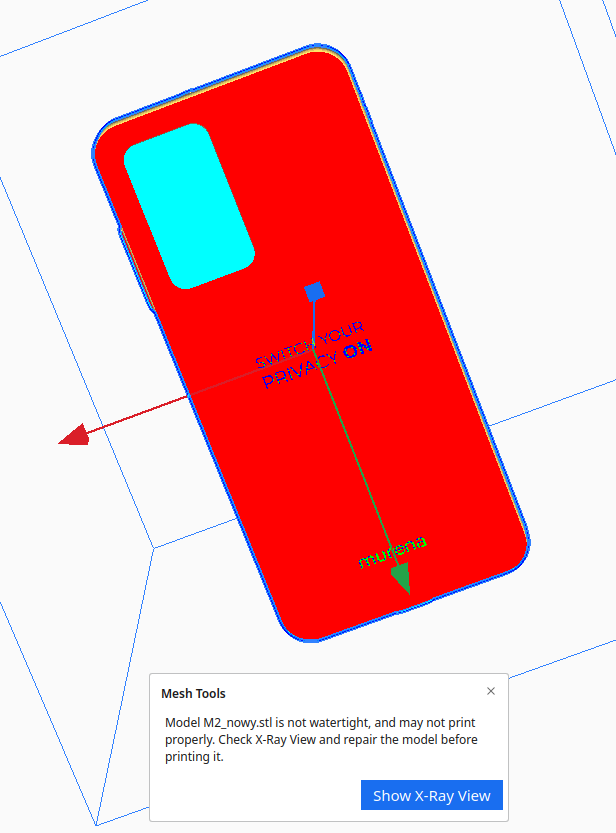
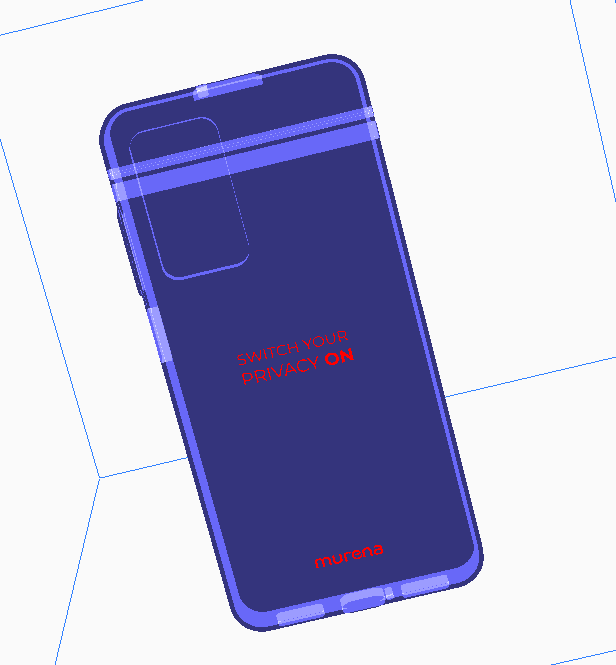
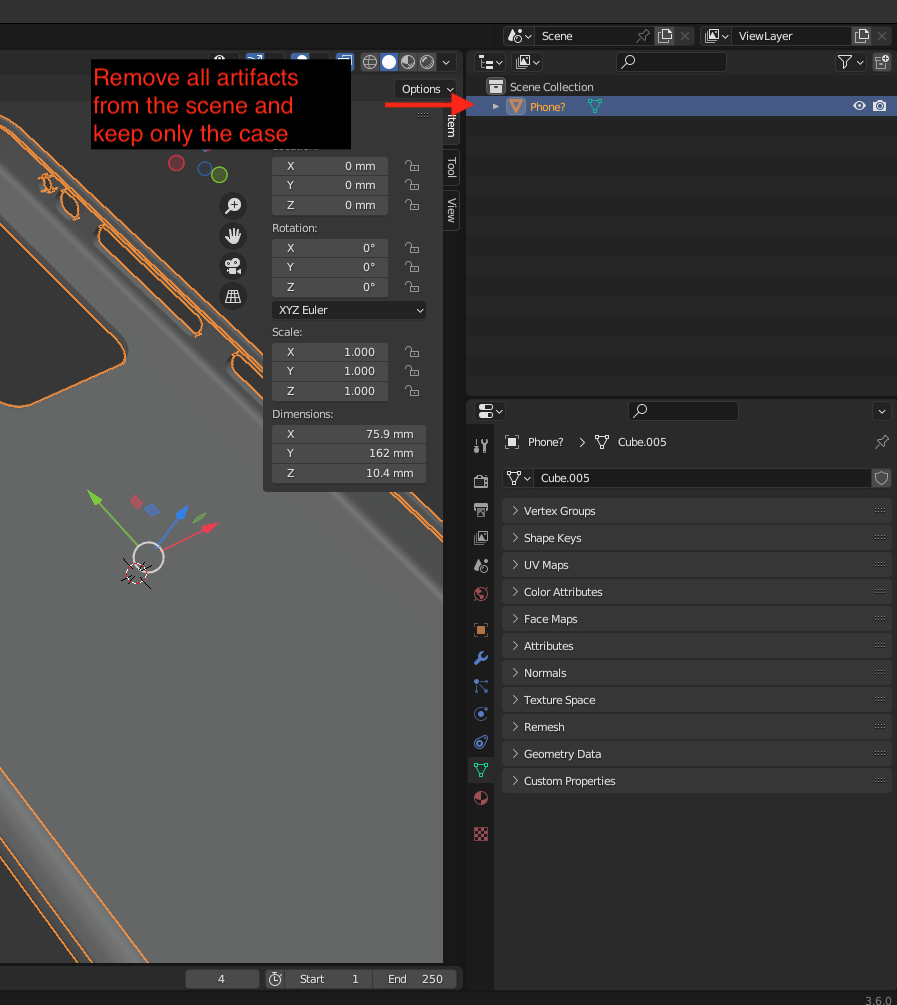
The files that we shared in the initial thread have been removed as they had some errors as pointed out by users in this thread.
Users are advised to wait for the cases to be sent to them or purchase the same from the Murena shop.
In case of complaints please contact helpdesk for a resolution or if one is not available you should get a refund on the Murena 2
Disclaimer: As a way to foster an open-source spirit and give users a choice, the source files made available here are for the benefit of the community, who can choose to print their 3D case, customize it and share feedback.
- The case is experimental and it’s shared with the community while still under development. Be careful when trying to fit it in the phone or you will end breaking the toggles and voiding the warranty.
- We recommend printing it in TPU material, which is more flexible and doesn’t carry major risks of damaging the phone. So, when printing in PLA or ABS, take extra caution while assembling the case around the toggles. The toggles are fragile and can’t be forced.
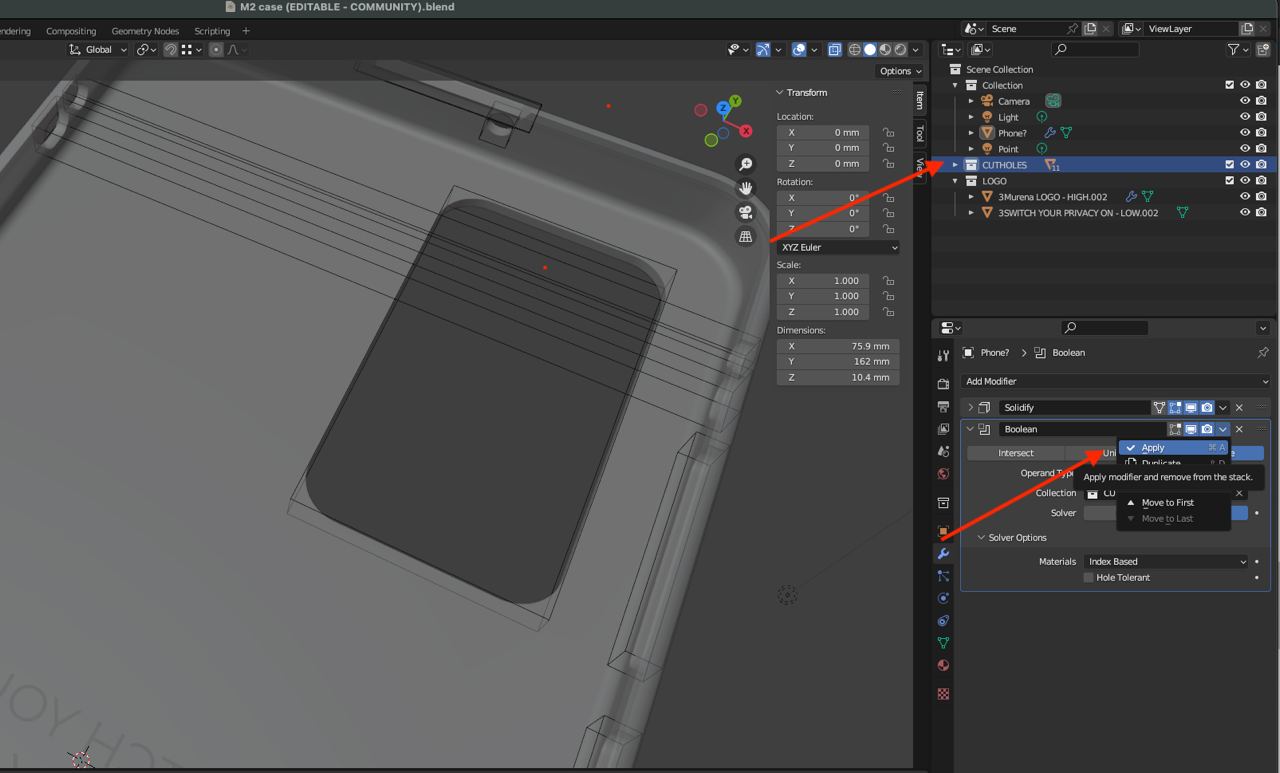
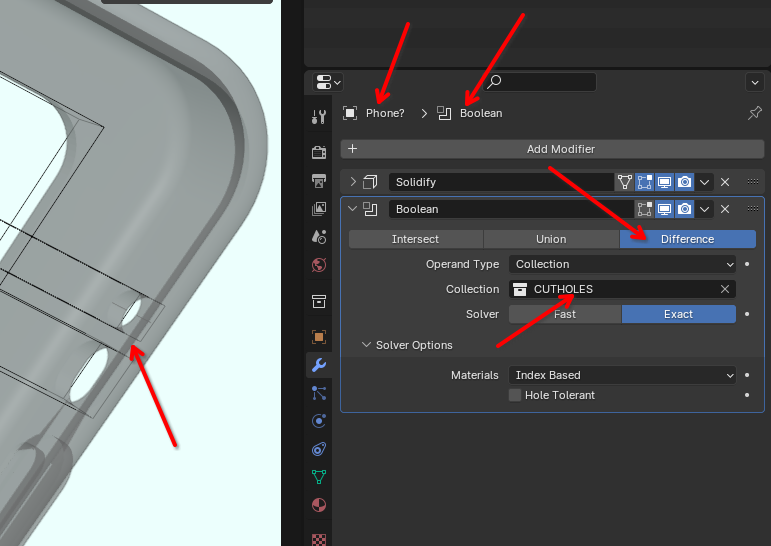
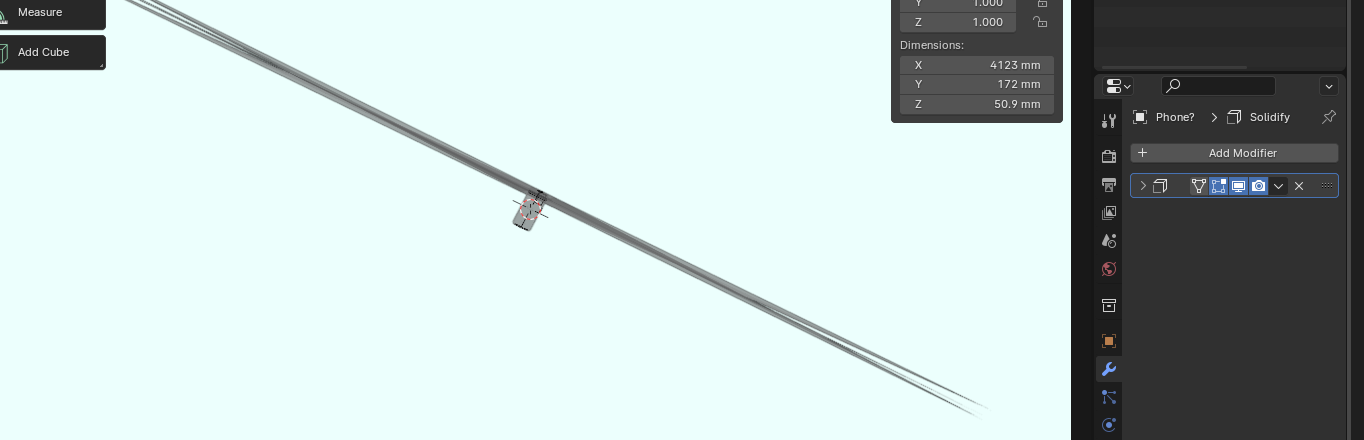
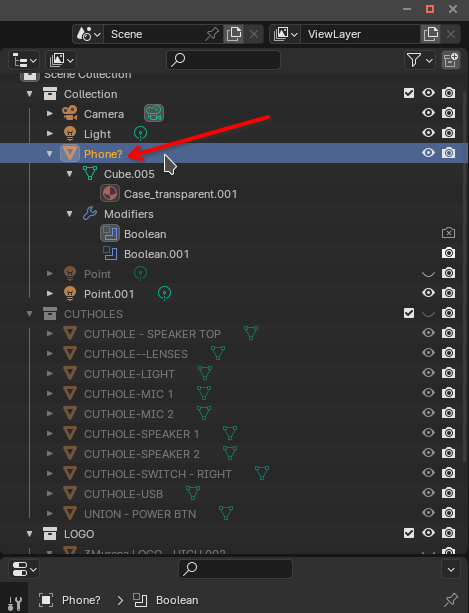
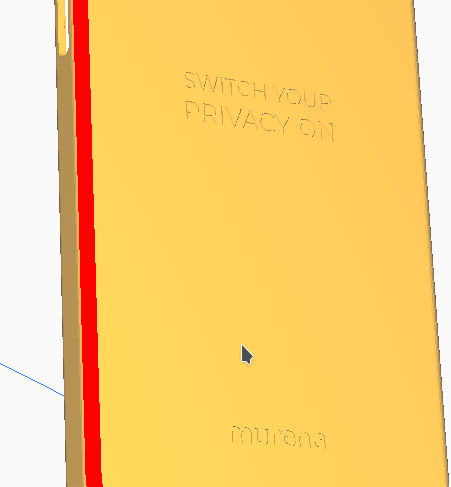
Note: the source files are intended for advanced Blender users who want to make a custom case. Inside the file, you’ll find the Murena logo in flattened format, which can be printed on the case. Depending on your design (e.g. embossed or debossed logo) additional steps may be required.
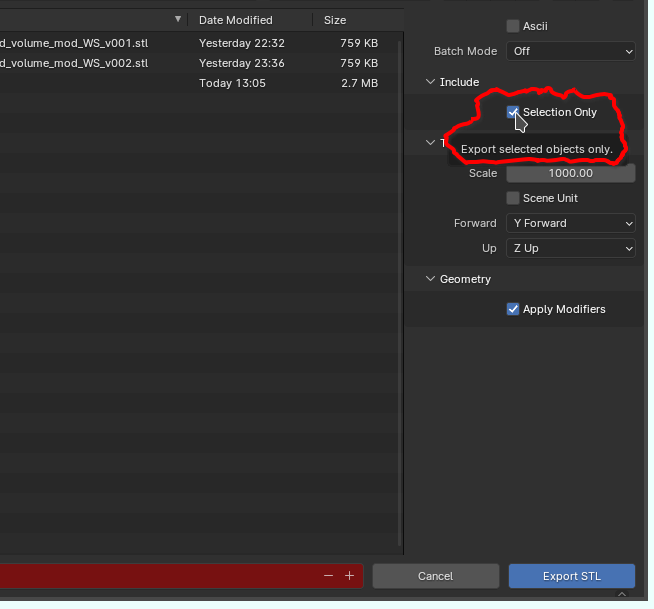
If you don’t intend to customize your case, you can always use the STL files provided here, which are ready to print, for your convenience.
Murena 2 protective cases manufacturing is late. We expected the cases to be available end of January, but the supplier is now planning a production in March.
So we have decided to provide an alternate option for Murena 2 customers to 3D-print their own protective case for the Murena 2.
Updated as on (2 March 2024)
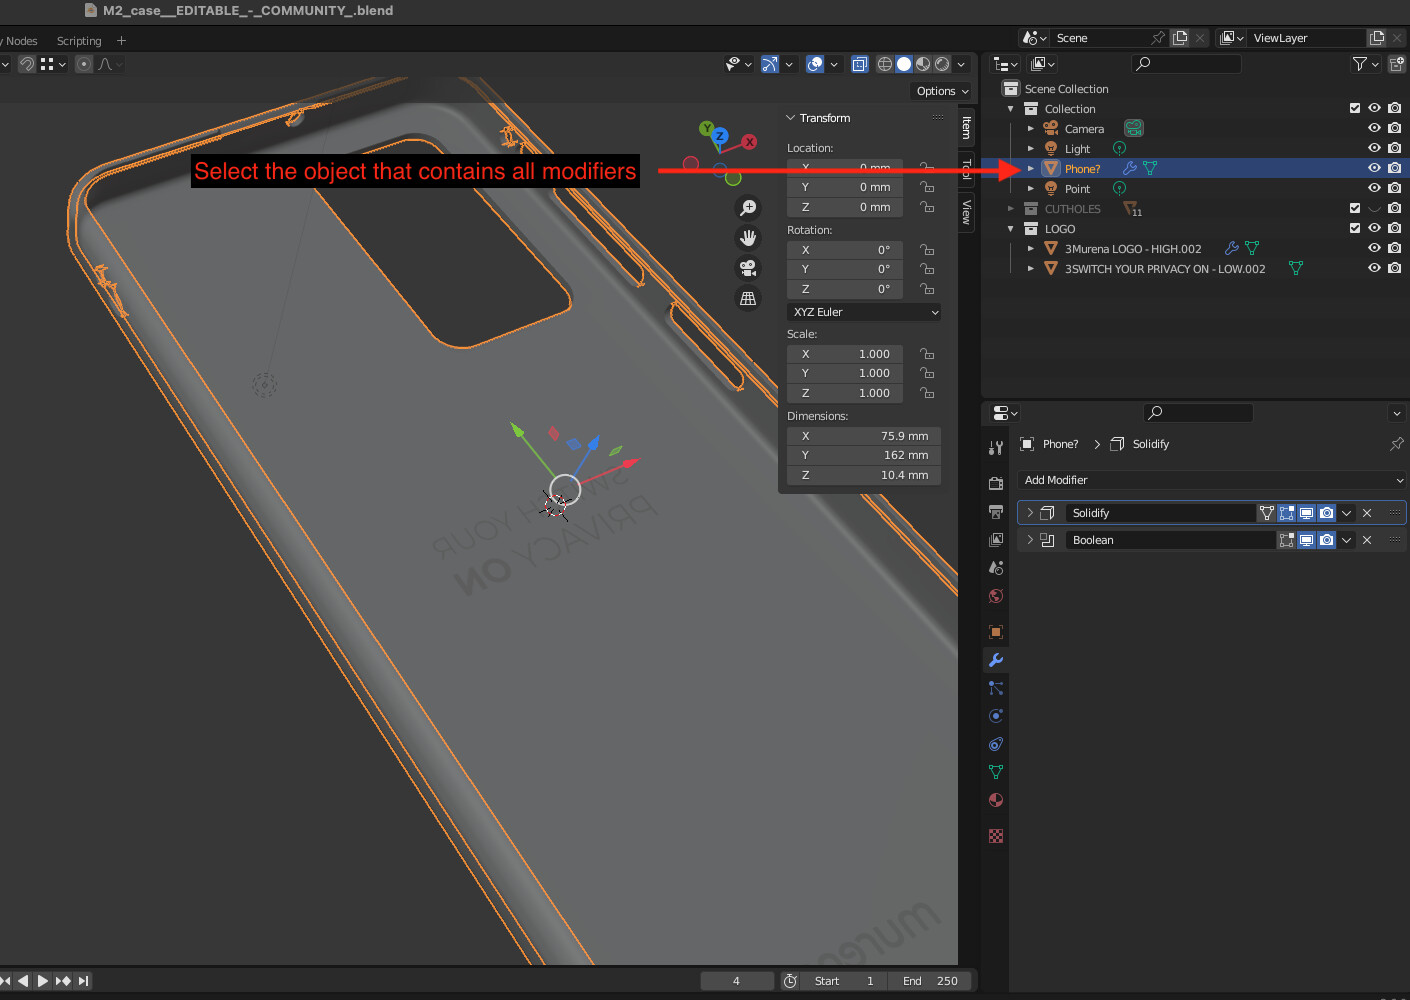
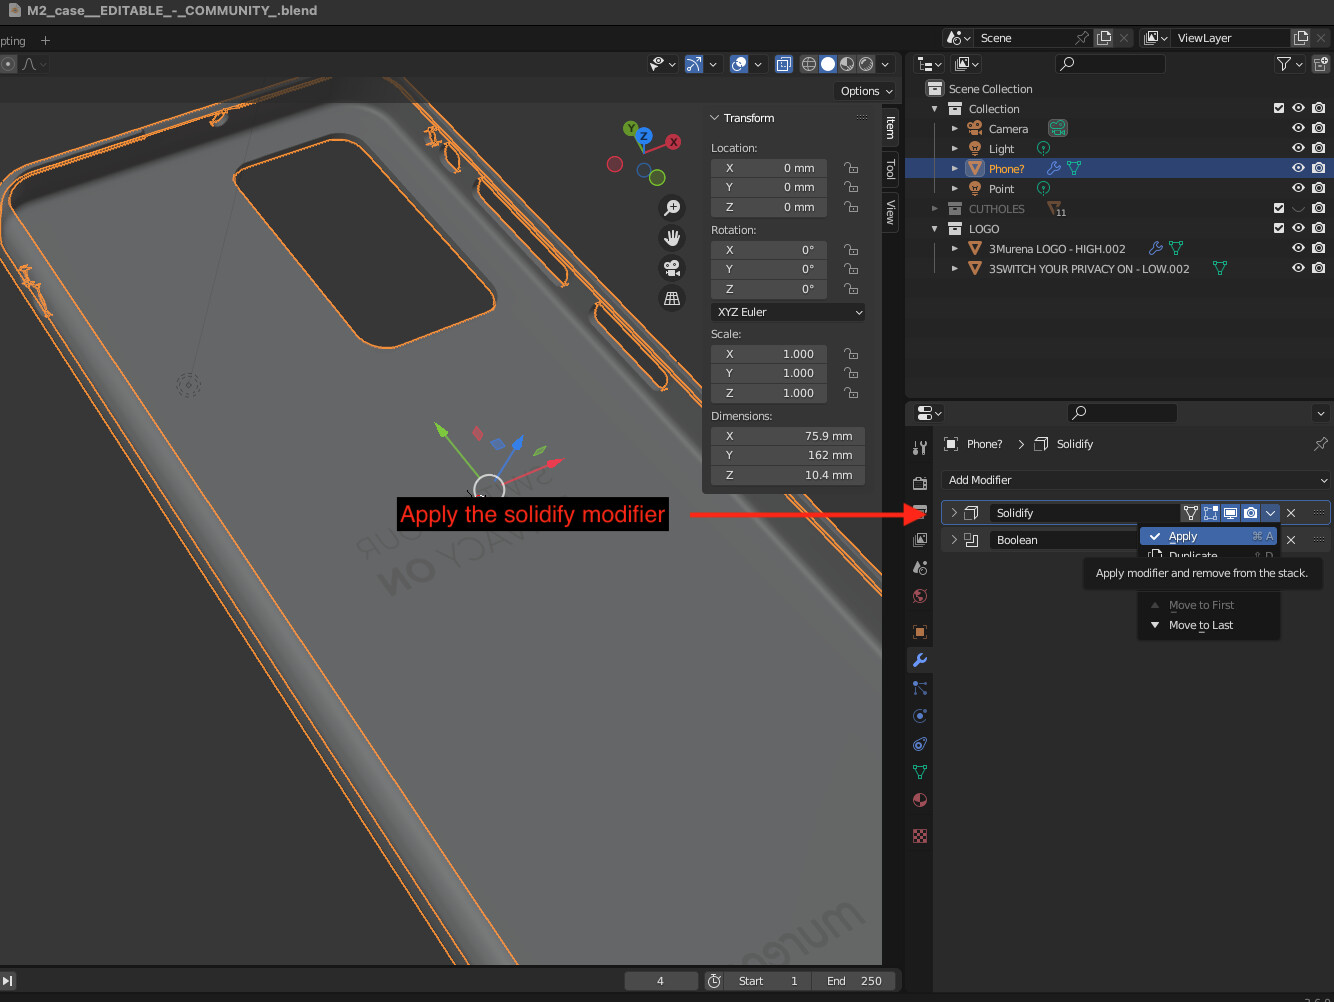
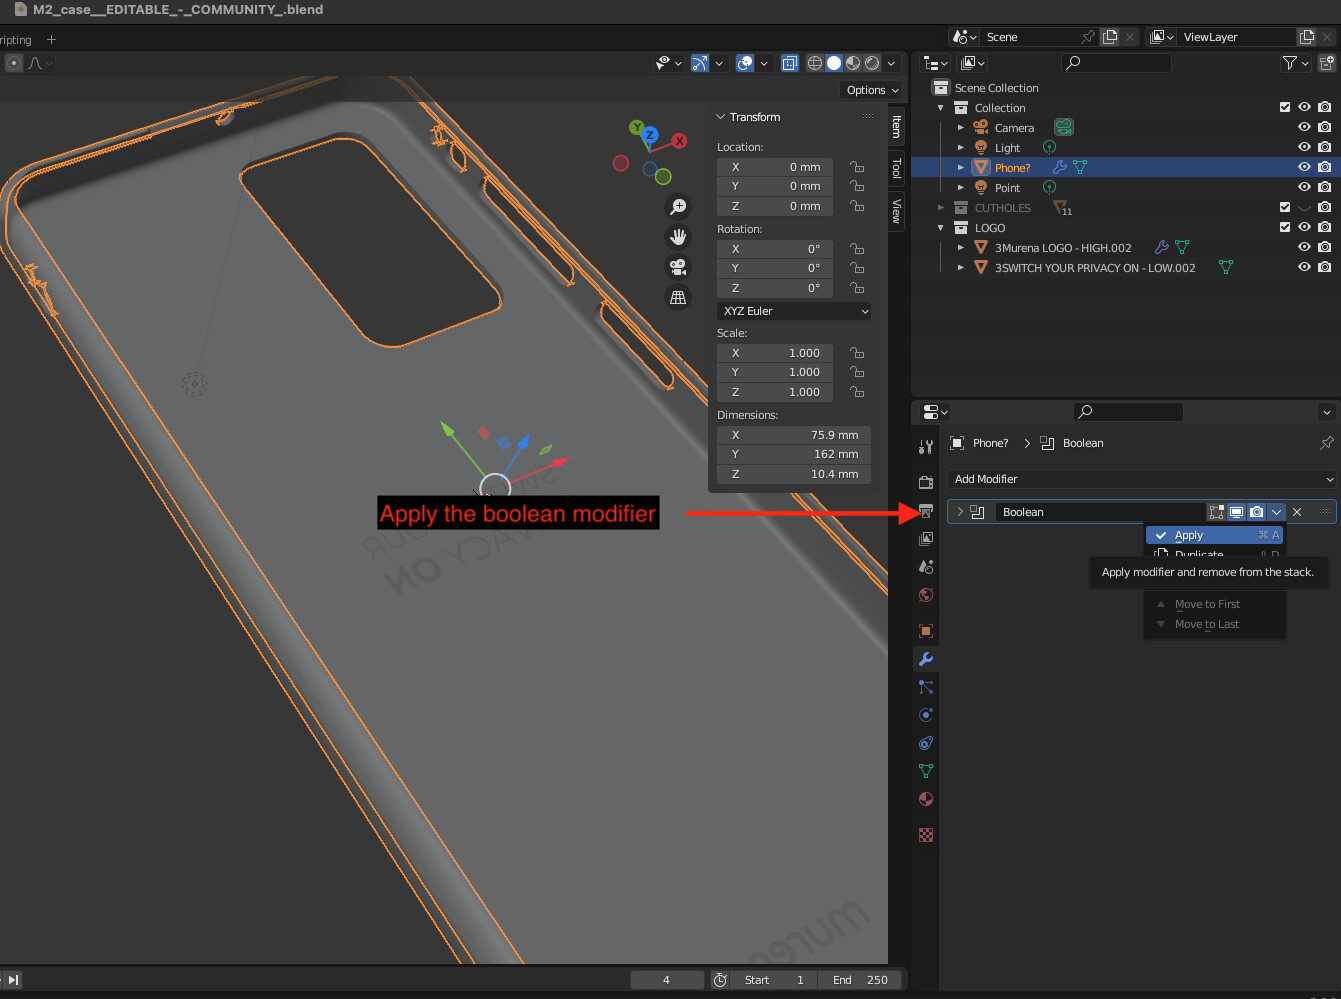
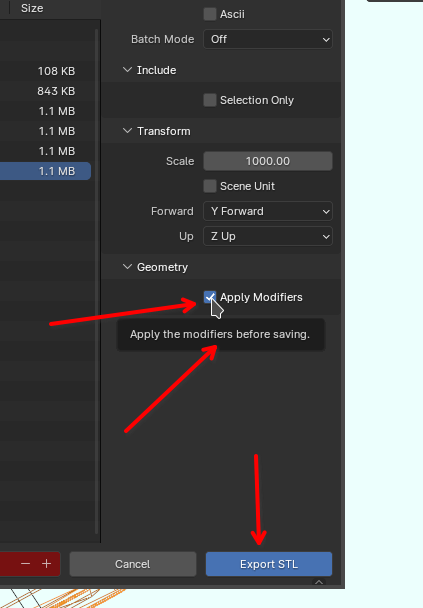
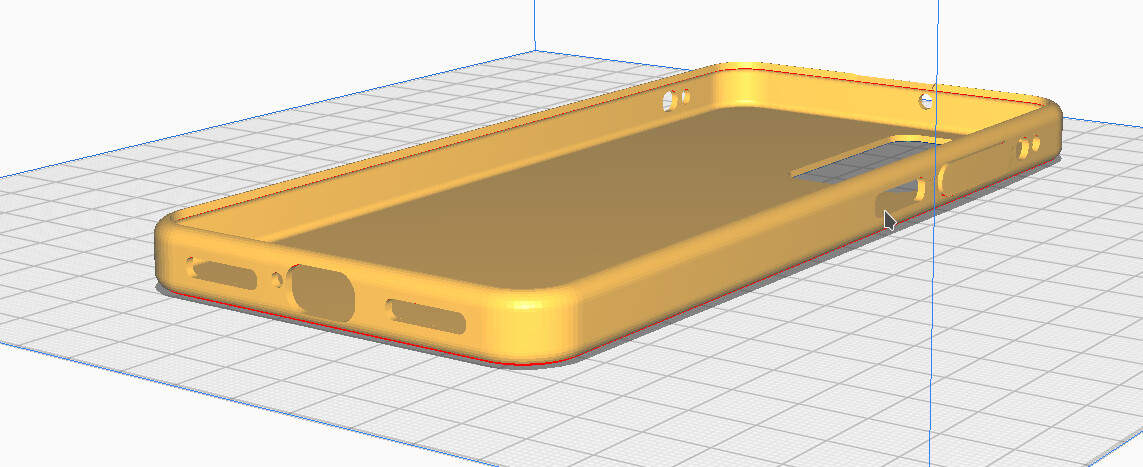
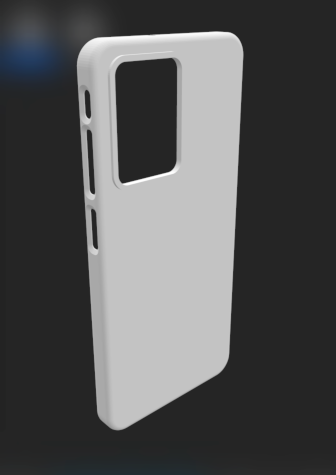
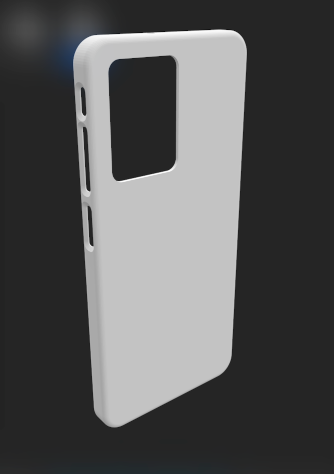
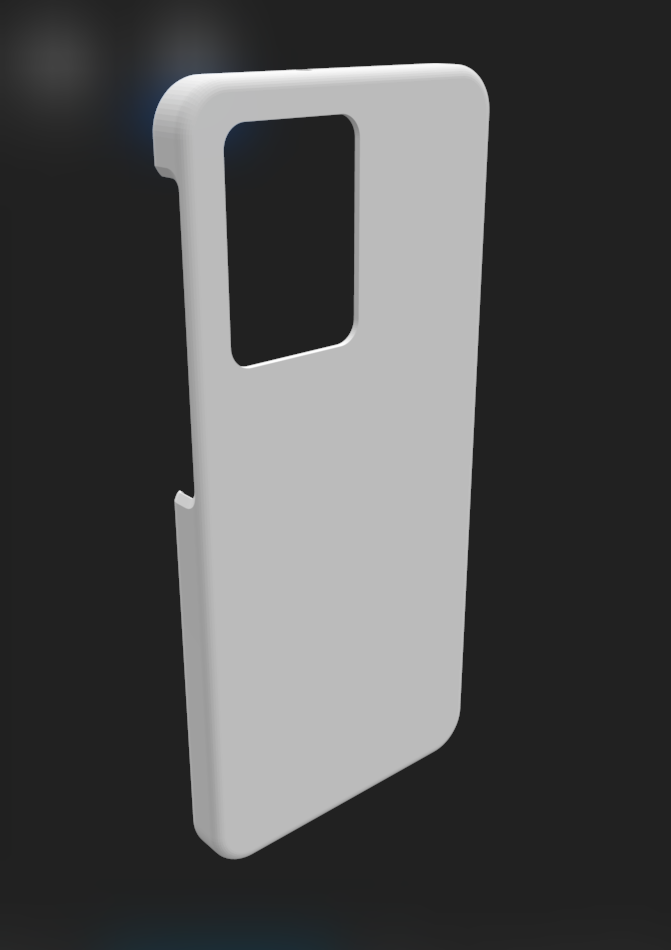
Here are the files you can download to 3D print and create this case…
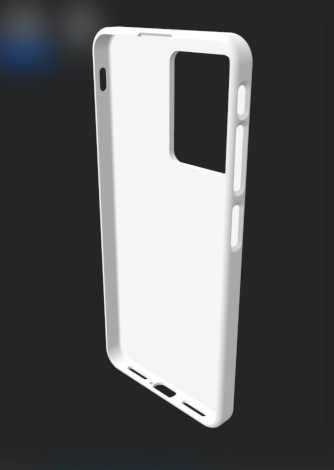
Variation Preview Front Back view + Bezel around lenses Without bezel Printable files Source file
1 - Protected openings
Recommended material:
TPU only
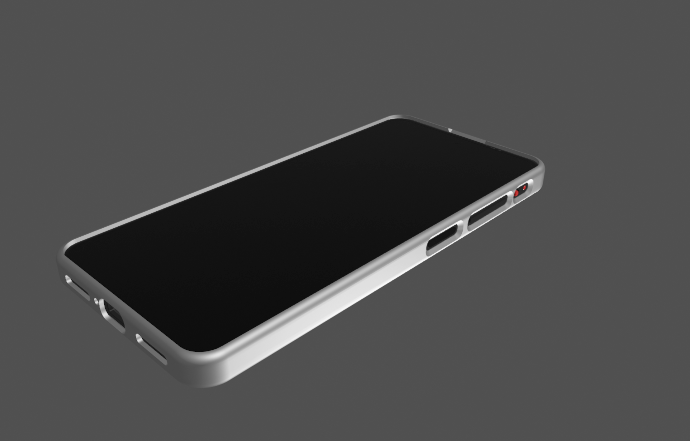
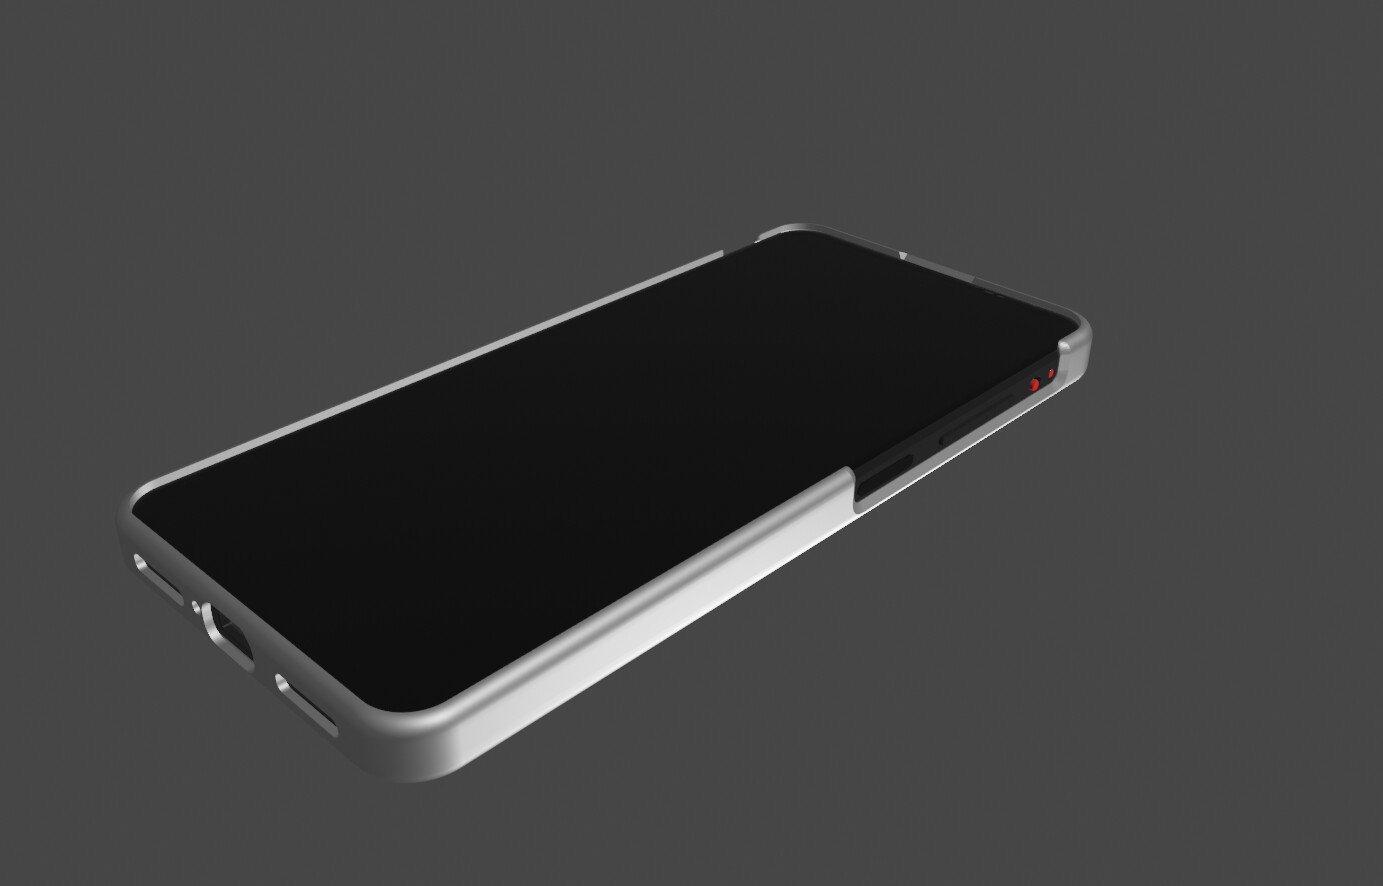
2 -Buttons exposed on top
Recommended material:
PLA or ABS

A few notes and recommendations:
- 1 - Option 1 is the default case, which gives more protection to the buttons. It is intended to be printed with TPU. As mentioned before, if you choose to print it with PLA or ABS, take extra caution while assembling the case around the toggles. The toggles are fragile and cannot be forced.
- 2- The second option was designed to make it easier for those who want to print the case with PLA. It allows for fitting the phone inside the case without the risk of breaking the buttons (Important: don’t use TPU if you’re printing this version. The top openings above the buttons let the exposed area bend easily with TPU, causing the phone to slip from the case. It needs to be printed with a rigid material that lets the case grip the phone tight.
-
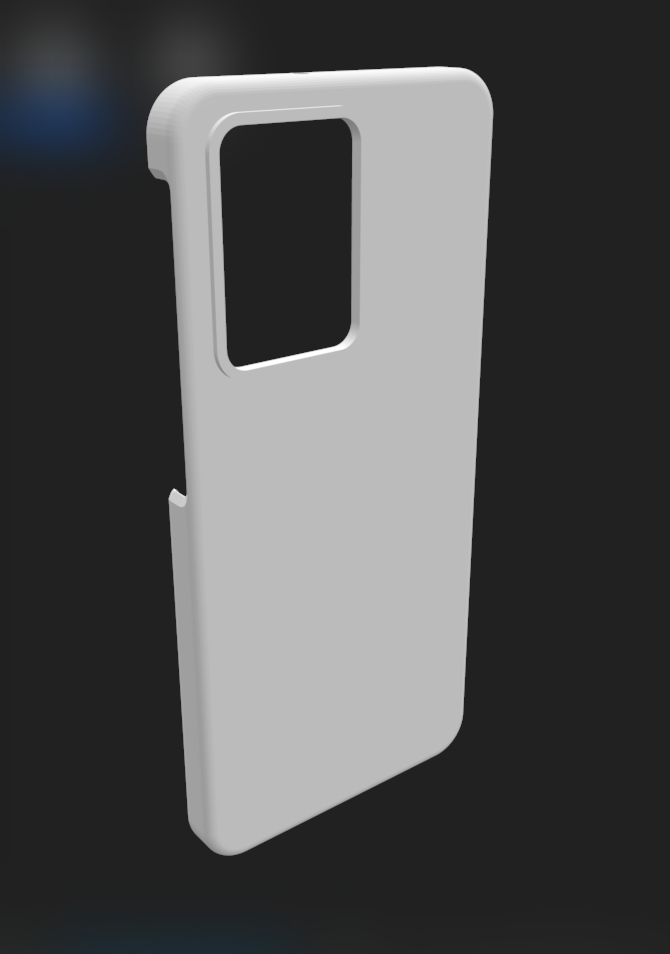
File options for each version were also made available, so you can choose to print it with our without a bezel around the camera lenses.
-
The bezel gives extra protection to the camera’s objectives (supports may be required during printing).
…
Some suggestions for the printing : -
We printed with a 0.6 mm nozzle to go fast, so some printing lines are visible. Printing it with 0.4mm or 0.2mm nozzles will get a smoother finish
-
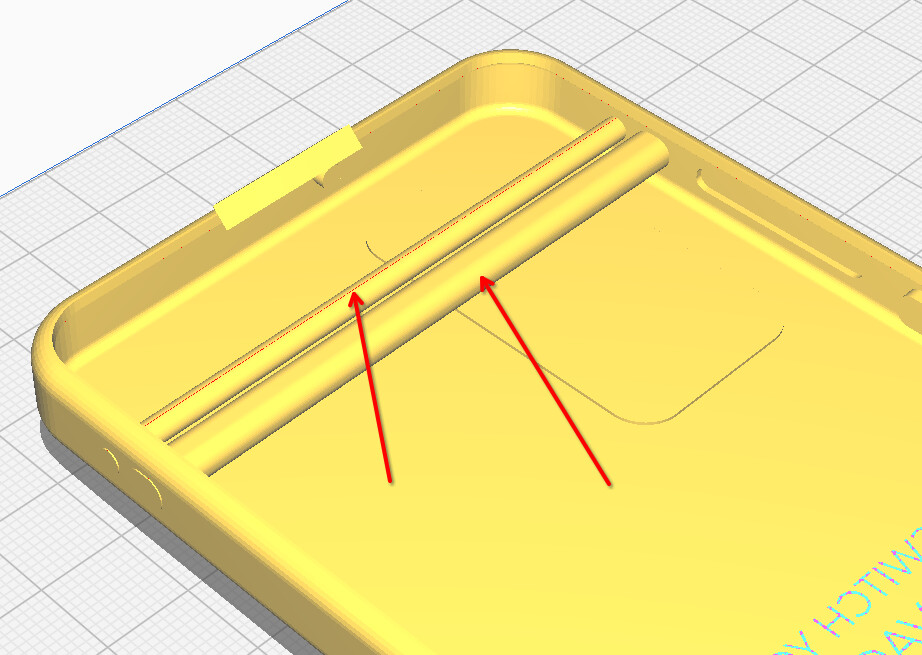
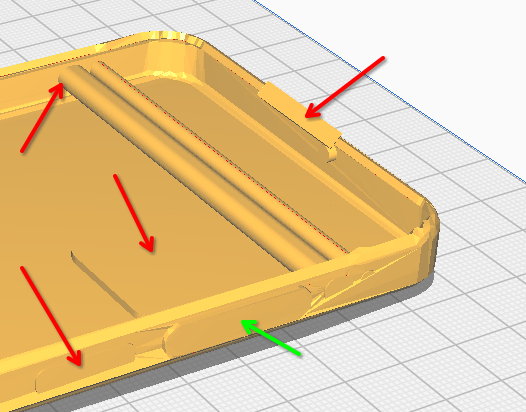
during printing, some structures are created inside the punch holes to support the ranging areas. That is to prevent warping and needs to be removed in the end. So a little dremel machine can be useful.
Regain your privacy! Adopt /e/OS the unGoogled mobile OS and online services