…Enter suggestions to improve documentation in this category. Do not raise bugs or issues here…
Install /e/OS ‘S’ on a OnePlus 8T - “kebab”
Starting point is this /e/OS documentation
WARNING: Before following these instructions, please make sure that the device is running the latest Android 12 | OxygenOS 12 firmware.
Recommended versions for the nePlus 8T that I’ve tested are:
India (KB2001_11.C.33)
Europe (KB2003_11.C.33
Global (KB2005_11.C.33)
 Important! Before installing eRecovery with
 fastboot
Flashing compatible firmware
![]() This device
This device kebab requires a disabled VBMeta image to be flashed prior to booting or flashing anything custom, the process to do so is described below.
-
Download e.g. this
vbmeta.imgfile. -
Download e.g. this
dtbo.imgfile. -
Power off the device, and boot it into
bootloader mode. -
Flash a the downloaded images to your OnePlus 8T by typing:
fastboot flash vbmeta vbmeta.img
fastboot flash dtbo dtbo.img
Installing /e/ custom recovery using fastboot
Download /e/OS Recovery for dev build. Simply download the latest recovery file.
Warning: Before following these instructions please ensure that the device is on the latest Android 12 | OxygenOS 12 firmware.
The next steps according to this /e/OS tutorial
![]() Good success.
Good success.
2 Likes
Hi all!
I successfully installed E/OS on my OnePlus 8T. Works fine, the only thing is when I connect the USB to my Windows pc only the charging starts and my pc doesn’t see the device at all. There is no menu for the usb settings on the phone until I go into developer settings and force the filetransfer manually. Is it a bug? I don’t want to keep the filtransfer as a default setting, but the “regular” usb settings panel doesn’t come out on the phone ![]()
So, I just went through this fun little exercise last night, and I’ve got a few proposed modifications to the documentation page:
-
The bootloader unlock instructions for the T-Mobile US variant are linked at the bottom, which is good, but there’s no indication that such a note exists. I would submit that the link (as well as a note that there is a specific procedure to bootloader unlock the T-Mobile US variant) be added to the “Unlocking the Bootloader” section.
-
The part about being on Android 13 should come with both a bit more warning, because failure to do so causes the phone to fail pretty spectacularly as it prevents the phone from rebooting even in recovery mode, since the first step is to flash the nonworking recovery mode.
-
I would like to offer my experience as documentation of how to recover from the “Qualcomm Crash Dump” screen (which I got to, obviously, by ignoring the OxygenOS 13 warning)…
a. If you’re running a T-Mobile US variant, have your unlock_code.bin file handy (if you don’t have one, get one here. Also, remove your SIM card if you have one installed.
b. Download the MSM Recovery Tool from OnePlus. (note: this is a Windows-only tool).
c. Extract the contents of the recovery tool and run the executable. Click ‘Next’ on the Login prompt, then ‘Start’ in the upper left.
d. Power off your phone and unplug it from the USB port. Hold down Vol+ and Vol- for 5-7 seconds, then plug it in while still holding those buttons. This may take a few attempts, but the phone will ultimately enter EDL mode, which the MSM tool will catch and begin a complete reinstall of all software, which takes about 10 minutes.
e. The phone will reboot into OxygenOS 11. Go through the initial config wizard, skipping the Wi-Fi config and don’t add a Google account or anything else. Skip any steps with a skip button, until you get to a home screen.
f. Once you’re at a home screen, connect to Wi-Fi. Go to Settings->About Phone, and run a system update. It’ll take at least for repetitions of this task to get up to OxygenOS 13, and it’ll take 1-3 hours depending on the speed of the internet connection.
g. If you’re on the T-Mobile US variant, follow these instructions using the unlock_code.bin file. If you’re on the other variants, you can (presumably) simply do an ‘adb reboot fastboot’ and then ‘fastboot oem unlock’ from the bootloader.
h. From this point, the regular install instructions to install /e/OS can be followed.
That was, effectively, my evening last night…I hope I can help someone else.
1 Like
In the device documentation list, the OP8T kebab is labeled : “Safetynet : to test”. Hereunder a screenshot of my daily device running e-os 1.20-t-20240222382228-dev-kebab
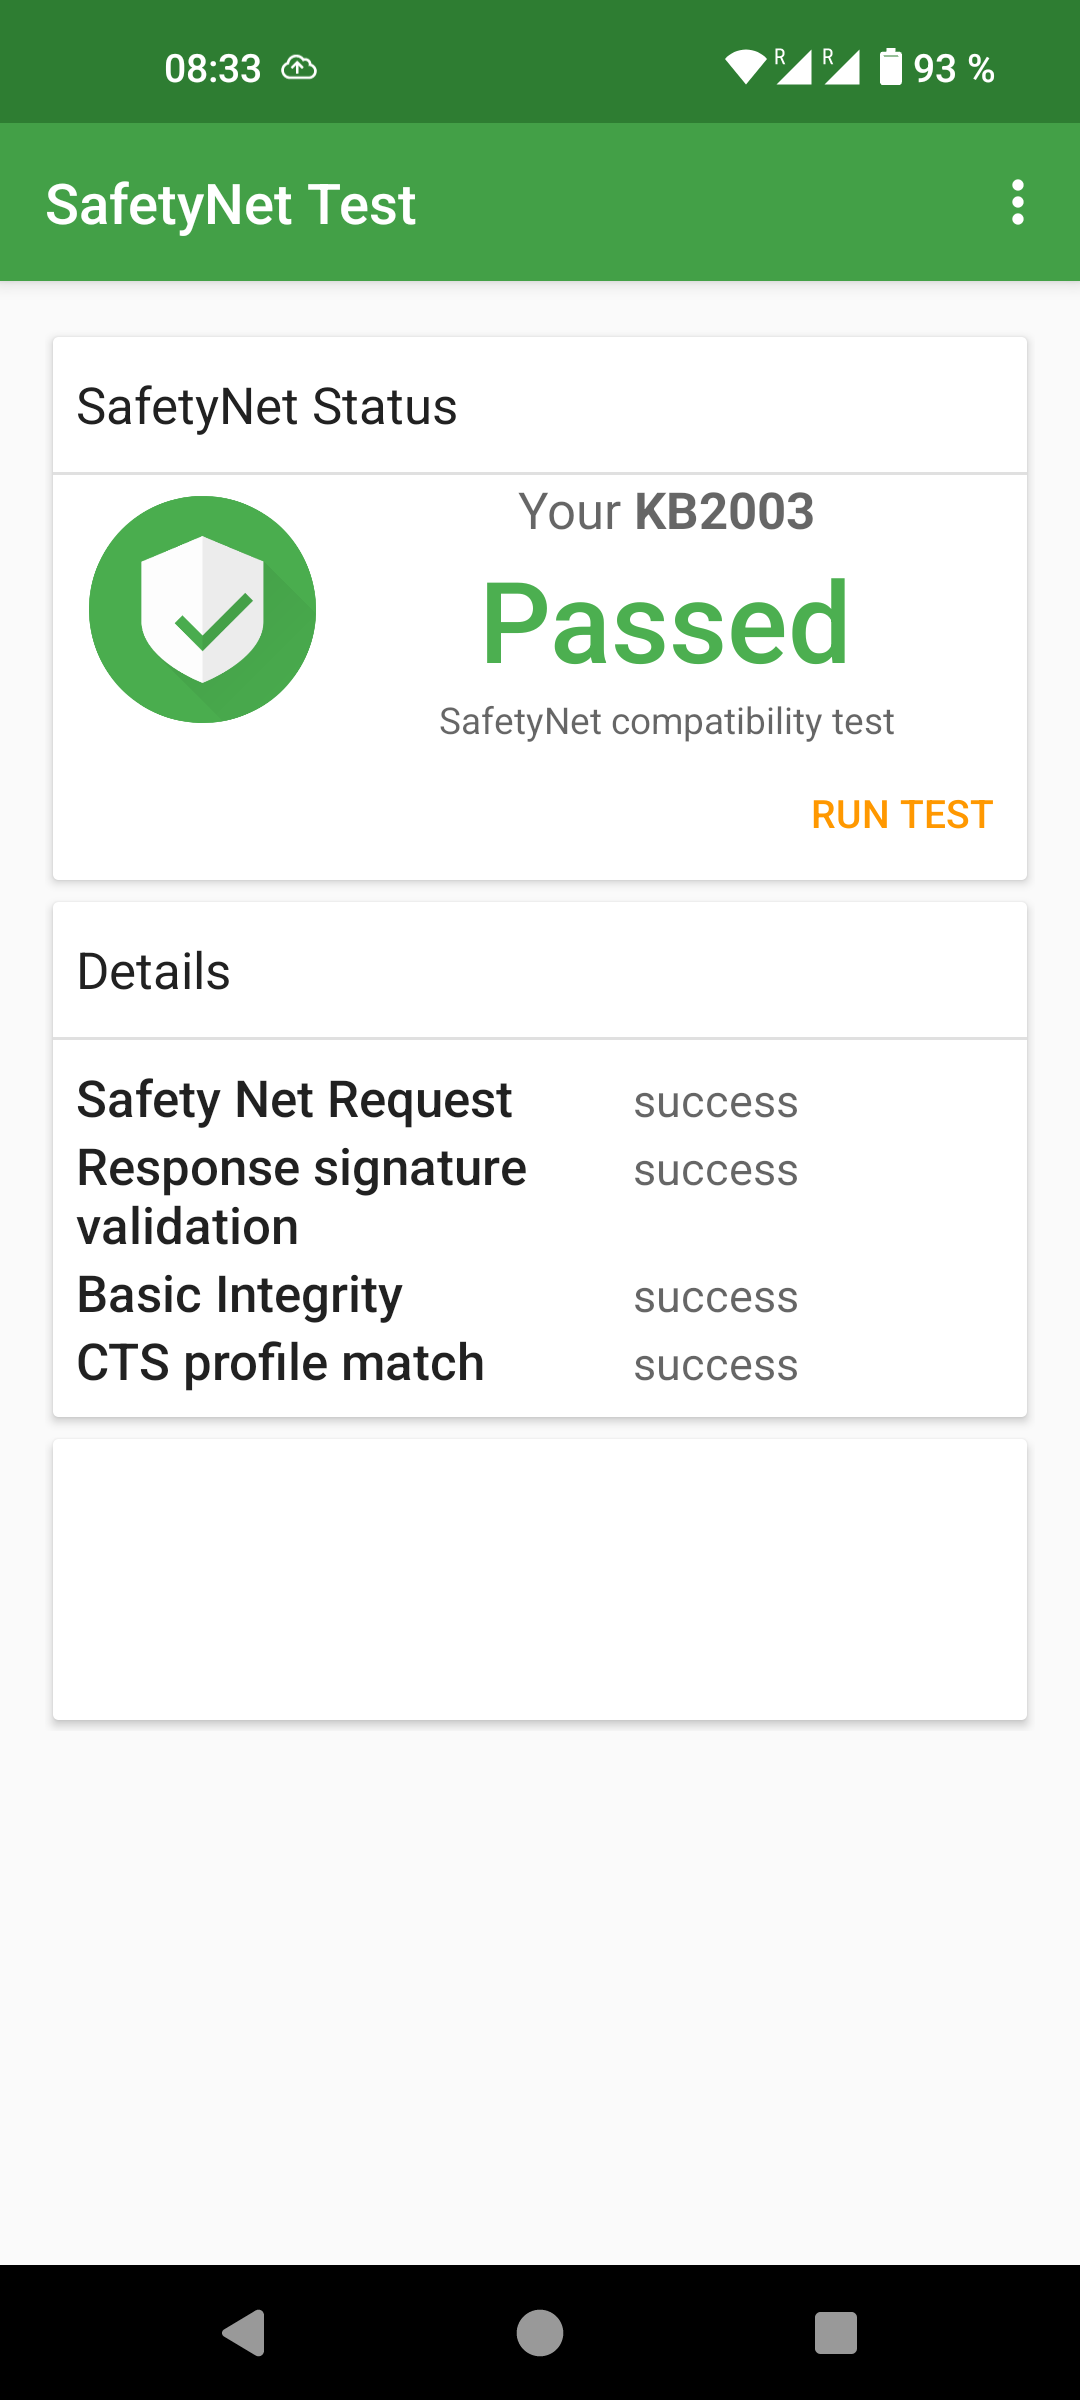
Same result with /e/OS 1.21T
Hello,
I’m on the latest eOS on Android S(12).
Now I have to go back to the original OS, update to Android 13 and then switch back to eOS?
Hi!
Can someone tell how to update to E/OS Android T(13) ?
I stucked on e-1.17-s-20231112351092-dev-kebab.
You might consider whether you would follow this route. Dirty upgrade to /e/OS-T look possible!
The official advice is to treat the Upgrade as a new install Install /e/OS on a OnePlus 8T - “kebab” (as apparently it has been reported that users of certain devices bricked their phones).
Please read the thread carefully to understand why it may work for you.I suggest you ask any questions there. Always prepare with a backup of essentials before undertaking any intervention.
Is there anyone on the earth who has already updated to the latest Android version? Why can’t it be at least mentioned whether the update works without wiping data or not? Why do we have to gather information from hidden forums such as “dirty upgrade possible” ? I don’t have time for this every time a new version comes out. It was the last phone I installed e os. It’s good, but keeping update is a nightmare.
Is there anyone on the earth who has already updated to the latest Android version?
I updated my wife’s 8T to 2.4 OTA a few weeks ago without an issue.
Why can’t it be at least mentioned whether the update works without wiping data or not?
The default stance is to assume OTA updates install properly unless indiciated otherwise. If you’re having to flash through a recovery environment, it probably means that an exceptional situation happened, which would require more information regarding why the OTA didn’t work. It’s also unclear whether you’re coming from an older version of /e/OS, or if you’re flashing for the first time from OxygenOS or even another custom ROM. If you’re doing anything beyond an OTA, it’s always a good idea to back everything up and assume a dirty flash won’t work, but try it anyway as an avenue of first resort.
Why do we have to gather information from hidden forums such as “dirty upgrade possible” 4
Because we’re running an unofficial build of an aftermarket ROM on a phone that requires explicit registration to enable the bootloader? There are only a few dozen phones, at most, worldwide running this particular build on this particular phone. There will always be a level of personal effort involved with modding; forum searching is a boilerplate expectation.
I don’t have time for this every time a new version comes out.
So then don’t update. My phone is still running 1.9; it’s perfectly possible to not-update.
It was the last phone I installed e os. It’s good, but keeping update is a nightmare.
Murena sells first party handsets that they run official builds on, that you can get official support for. It sounds like that’s a better fit for your needs (or, y’know, OxygenOS).
2 comments earlier I mentioned that I’m on e-1.17-s-20231112351092-dev-kebab.
Someone recommended this topic where I asked my question, but nobody answered: Dirty upgrade to /e/OS-T is possible ! (But not for all devices)
My problem is that the install doc says it is a must to have the stock android 13 first, but in the forum people say it’s not a must. I just want to upgrade without wiping and stock OS mess and I don’t understand why it is not possible just to mention in the install doc: “hey, you don’t need to wipe everyhing”
I don’t think that I’m the only person in the world who want to update eOS on a 8T. I’m not a developer, I don’t have time to read books and extract ROMs and check firmwares everytime a nem android version comes out. This info should be in the install doc. Is it possible to update via sideload or not.
Yes, just do it !
as it’s said in the mentionned thread…
1 Like
My problem is that the install doc says it is a must to have the stock android 13 first, but in the forum people say it’s not a must.
So, the best I can give you on this (since I don’t fully understand it myself) is that there’s some sort of a requirement to have installed stock Android 13, at some point, prior to flashing an /e/OS release based on Android 13. I know I’ve had issues installing a mismatched TWRP, or gotten stuck in a boot loop, if I’ve tried moving from A12 to a 13-based AOSP ROM. I spent a whole night untangling myself from that train wreck, as I alluded to in the Feb 1 post on this thread. I ran into a similar issue when I first attempted to flash my Nothing Phone 2, so while I don’t understand the direct correlation between stock ROM versions and /e/OS versions…I can assure you that one exists.
I just want to upgrade without wiping and stock OS mess and I don’t understand why it is not possible just to mention in the install doc: “hey, you don’t need to wipe everyhing”
Because there’s a certain amount of a false sense of security. If the data is valuable, it’s worth backing up before you start flashing. If we told you “hey, you don’t need to wipe everything”, and then you got yourself into the mess I was in on Jan 31 where I had to get myself into EDL mode and install OxygenOS from EDL mode, which did wipe literally everything…you’d be pretty upset. “Flash like the data will be there when you’re done, back up like it won’t be” is the sort of prevailing wisdom that is a reasonable expectation of any operation that could involve data loss, and replacing the OS on your phone is a textbook example.
I don’t think that I’m the only person in the world who want to update eOS on a 8T.
Perhaps not…but since OTA flashing isn’t a thing between 1.x and 2.x, it’s well worth taking enough of a backup that can get you back up and running if the dirty flash fails.
I’m not a developer, I don’t have time to read books and extract ROMs and check firmwares everytime a nem android version comes out.
I too miss the days of yore when it was possible to use ClockworkMod Recovery to take a nandroid backup and dirty flash with Aroma installers and just restore the Nandroid backup if it failed, with the whole process being done in an easy-to-navigate UI…but alas, it is no longer that way. I would respectfully submit that if your time is as valuable as you claim, you’d likely be happiest with a Murena phone or another formally supported handset, rather than one that will, generally, require some time being spent on reading, posting, and extracting.
This info should be in the install doc. Is it possible to update via sideload or not.
It’s almost always possible to sideload, but let’s check the scoreboard: there’s no OTA flash option for you, so you’d have to sideload, since that’s the only way onto the 2.x branch. The bigger request is whether you’ll need to use Swift Backup, or something like that, to do a backup/restore…and the answer is, “My recommendation is to do one anyway and hope you don’t need it”.
1 Like
Awesome, thanks! Just needed a short confirmation like this!
Unfortunately, the other thread was closed, but do you think these also need to be manually updated before the OS?
dtbo.img
vbmeta.img
These are in the recovery-IMG-e-2.4.1-t-20241010439852-community-kebab.zip
Flashing dtbo.img, vbmeta.img, and recovery-e.img /partitions images prior, is only mandatory when installing /e/ for the first time and was already done in your case.
flashing them specifically again is not forbiden, but it is unneeded (especially since they are also included in the main e-2.4.1-t-20241010439852-community-kebab.zip and so will overwrite the previous version during the upgrade process)
1 Like
That’s great! I always thought the recovery had to be the same version as the OS ![]()
UP:
I successfully updated to the new T version without updating the recovery and any other mess. I’m really glad it was that simple!
What I’m not so happy about is that I wasn’t aware of this sooner due to the incomplete installation documentation.
It might be worth considering creating video guides for beginners, or at least adding screenshots to the documentation.
2 Likes
Hello,
I see you’re the boss in this topic ![]()
Can we update to EOS U from EOS T directly? Without installing OxygenOS 14 ?
I cant find useful info about it in the installation tutorial and I have no idea how to find those necessary firmware files in the zip files.