Hi,
This is my journey for porting /e/OS to this device ![]()
Disclaimer: I tagged it “ALIEN” as it doesn’t fit the requirements: here and here.
The hardware
- about Banana Pi M5 a.k.a. BPI-M5
- a good starter kit
- (optional) a very useful device for debug
- (optional) touch screen
- a x64 computer PC with a “dumb” USB port: data-enabled, but no Power Delivery (BPI M5 won’t power on at all with a PD port)
- (optional) a second USB port for USB-TTL adapter
- Ethernet LAN, with Internet access (didn’t test proxies so far)
The software
-
LineageOS 20.0 official, please don’t rely too much on their outdated guides

- XDA thread: https://forum.xda-developers.com/t/official-unofficial-lineageos-20-for-amlogic-gxl-gxm-g12-sm1-ne-family-devices.4534935/
- /e/OS will be discussed in “Build” chapters
- for USB-TTL debugging, I recommend MobaXterm free for Windows, or minicom for Linux
What’s needed for flashing
- Windows (tested OK with Windows 11 latest regular build)
- sorry Linux users, I can’t get aml-flash-tool to work (and the script may probably need a little rework for LOS/eOS)
- a Windows virtual machine may work, as long as it can use persistent USB mapping
- USB Burning Tool: https://wiki.banana-pi.org/Getting_Started_with_M5/M2Pro#Prepare_2
- an image to flash: https://www.androidfilehost.com/?w=files&flid=339471
- note: only /e/OS T (Android 13) for this device, but it’s not being officially released yet
- “m5” image is AndroidTV mode, “m5_tab” is tablet mode
- flashing method is documented here, it is very straightforward
- please remove any SDCard before!
- you will lose all your eMMC data!
What’s needed for running
- I managed to make this build usable with scrcpy
- it should also work with HDMI touch screen (see “Hardware” chapter)
- Ethernet cable plugged in
- BPI M5 USB-C connected to a PC computer
Let’s take it for a test drive!
- (optional) if you have a HDMI display connected to the BPI M5, or a serial console for the USB-TTL adapter, you can follow the boot process
- about 2 minutes after power-on, scrcpy should find the device and display the setup screen
- hint : if BPI M5 USB-C is connected to a Windows computer, listen the plug/unplug sounds
- hint : if BPI M5 USB-C is connected to a Windows computer, listen the plug/unplug sounds
- AndroidTV build specific
- for now, I couldn’t figure how to bypass the Bluetooth remote pairing at startup

- issue the following commands in a ADB shell, wait about 2mn, reboot the device
- for now, I couldn’t figure how to bypass the Bluetooth remote pairing at startup
settings put global setup_wizard_has_run 1
settings put secure user_setup_complete 1
settings put global device_provisioned 1
- tablet build specific
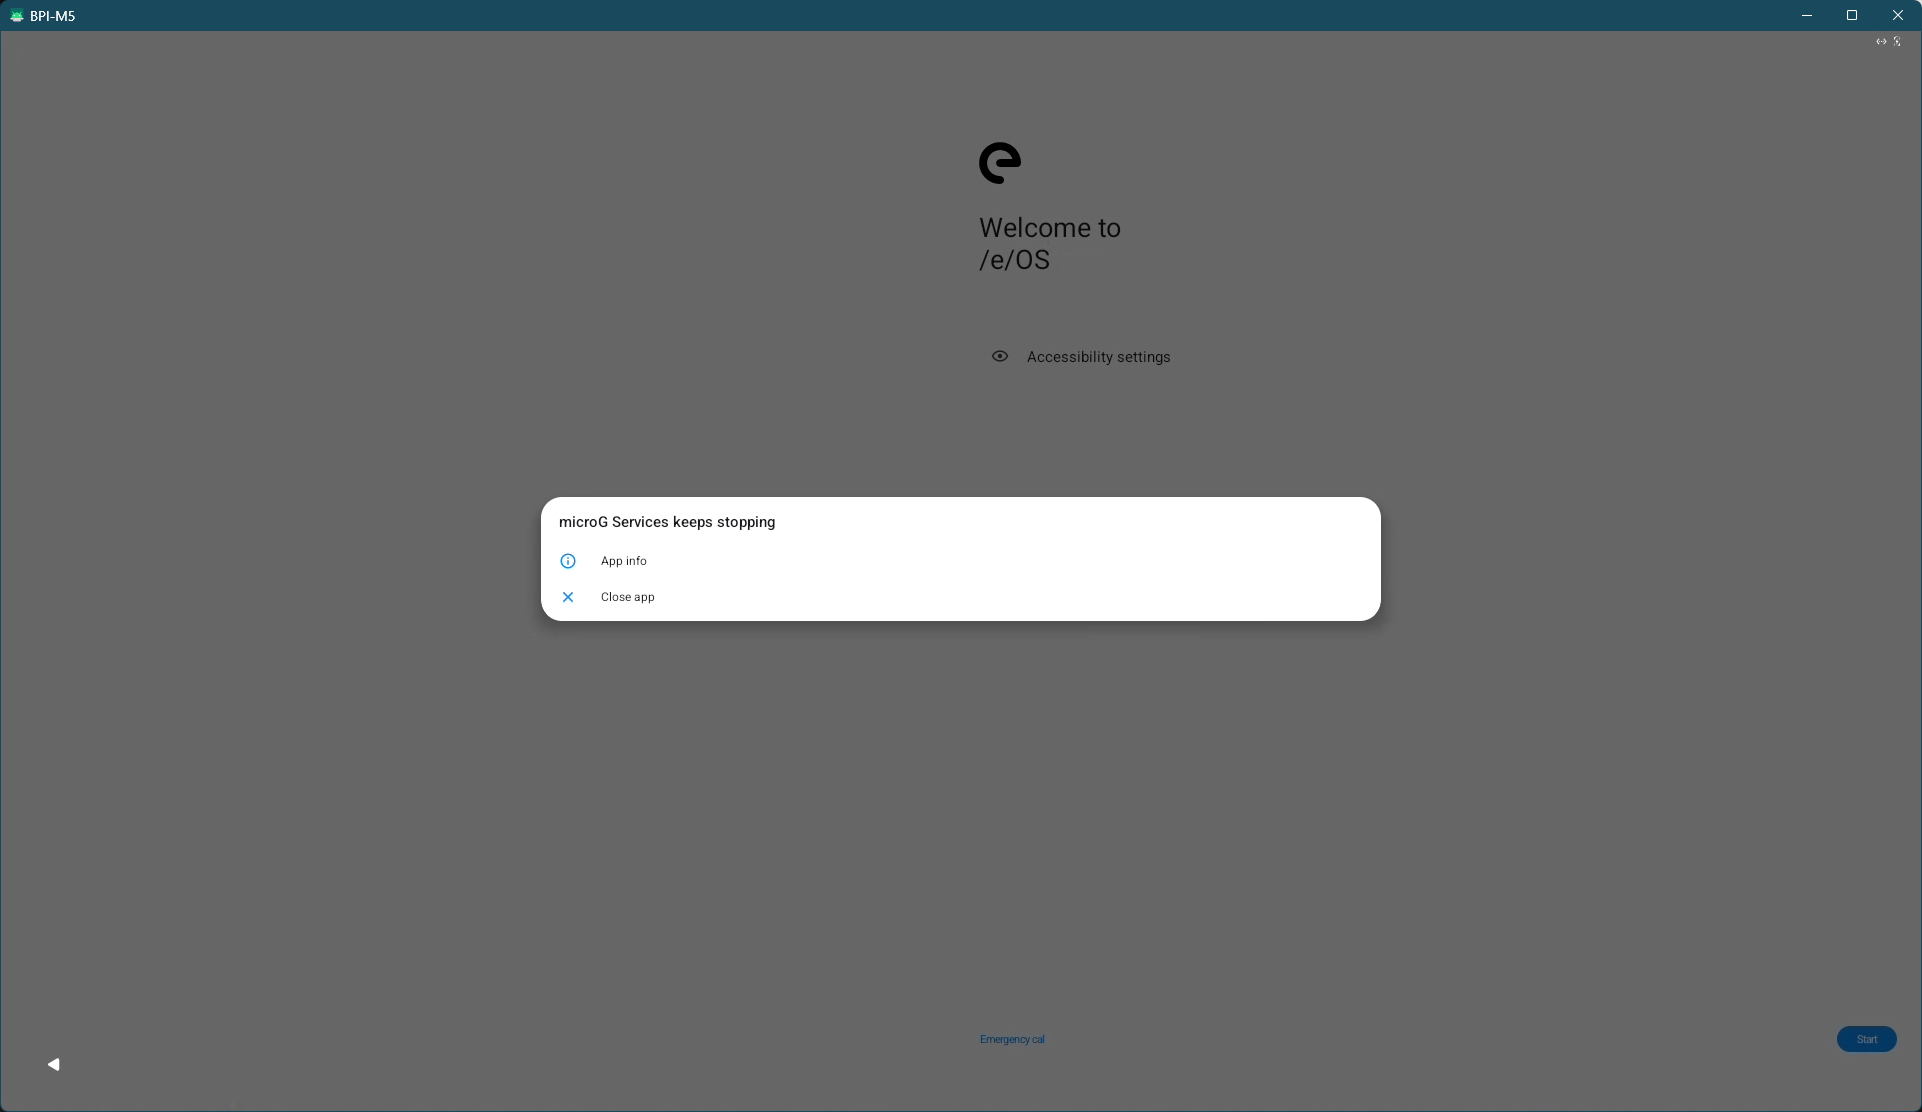
- you may see some errors about MicroG and Bluetooth, simply ignore them and close apps:
- I strongly advise to choose 3-buttons navigation
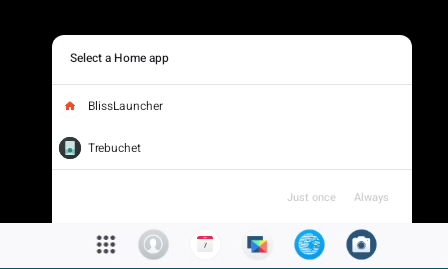
- please choose Trebuchet as launcher (you can click “Just once” is you want to try Bliss later, but it’s not doing very well ):
- you may see some errors about MicroG and Bluetooth, simply ignore them and close apps:
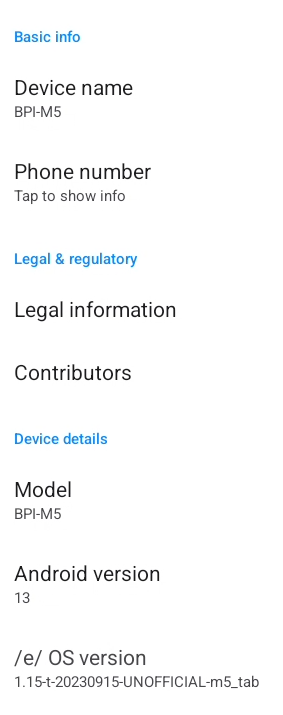
- about location (may also apply to AndroidTV, untested): as we don’t have a GPS module, some apps incl. MicroG, Night Light scheduler, … won’t work OOTB. However, enabling “Fake location” in Advanced Privacy helps a lot!

- if you have some .apk files, it is also very easy to install apps with scrcpy: just drag it onto the window!
- you can test it with https://radioparadise.com/listen/apps/android (link to apk included) or https://smarttubenext.com/
What’s working, or not
- working:
- Ethernet
- HDMI display (touch support is probably OK)
- SafetyNet (once Fake Location enabled)
- HDMI audio (use
scrcpy --otg --serial 1234567890with HDMI display sound-capable connected)
- won’t work unless hardware addition:
- GPS
- Bluetooth
- WiFi
- Phone and related services
- various sensors (compass, barometer, …)
- to be tested (may need additional development):
- USB HID (keyboard, mouse)
- USB Bluetooth
- USB WiFi
- USB storage
- 3.5 jack audio
- you tell me
About build
- as a reminder, /e/OS has not been released for Android 13, yet
- I couldn’t get /e/OS Trebuchet (a.k.a. launcher3) to work. LOS Trebuchet is however working fine
- no /e/ home screen with specific widgets and weather (this is the “Alien build” root cause)
- device security has to be adjusted for tablet mode, in order to get scrcpy to work OOTB
- to be investigated, I suspect a problem with the “m5_tab” device name, especially the “_”
- building for this device cannot be done using the Docker method, unless some heavy modifications
- m5_tab is a sub-device of m5, so we have to breakfast for m5 then brunch for m5_tab
- extra step is needed to build flashable image (this could probably be added to Docker build as an extra script, didn’t try)
Building steps
-
note: these are the steps I used, some may probably come up with a better method
- prepare a build environment from the following guide: https://gitlab.e.foundation/e/documentation/a-generic-guide-on-porting-eos/-/wikis/05:-Setting-up-the-Build-Environment
- clone https://gitlab.e.foundation/e/os/android.git to another git repo, mine is https://github.com/BallonLac/android
- modify
snippets/eos.xmlfor branchv1-t: remove all lines (2) containing “Trebuchet” -
repo initwith your git repo and branchv1-t - create
.repo/local_manifests/m5.xml(you’ll have to create the dir):
<?xml version="1.0" encoding="UTF-8"?>
<manifest>
  <project name="TheMuppets/proprietary_vendor_amlogic_g12-common" path="vendor/amlogic/g12-common" revision="lineage-20" clone-depth="1" />
  <project name="TheMuppets/proprietary_vendor_amlogic_m5" path="vendor/amlogic/m5" revision="lineage-20" clone-depth="1" />
</manifest>
repo sync-
source build/envsetup.shthenbreakfast m5 - modify
vendor/lineage/config/common.mk, lines 16 to 25 (this will enable insecure ADB for scrcpy):
	#ifeq ($(TARGET_BUILD_VARIANT),eng)
	# Disable ADB authentication
	PRODUCT_SYSTEM_DEFAULT_PROPERTIES += ro.adb.secure=0
	#else
	# Enable ADB authentication
	#PRODUCT_SYSTEM_DEFAULT_PROPERTIES += ro.adb.secure=1

	# Disable extra StrictMode features on all non-engineering builds
	#PRODUCT_SYSTEM_DEFAULT_PROPERTIES += persist.sys.strictmode.disable=true
	#endif
-
croot, thenexport WITH_GMS=falseif you generated a previous .img -
brunch m5_tabfor tablet variant, orbrunch m5for TV variant -
export WITH_GMS=true: this will free reserved space for Google apps, as we need more space for /e/OS -
make aml_upgrade: this will overwriteout/target/product/m5_tab/aml_upgrade_package.imgorout/target/product/m5/aml_upgrade_package.img, depending on the target you choose at brunch time