Ok, I managed to get some free time (you may receive messages from unhappy people  ).
).
Tada !
It survives a reboot without problem, but doesn’t work very well in Shelter.
For the reference my testing phone is running 0.11 Pie /e/.
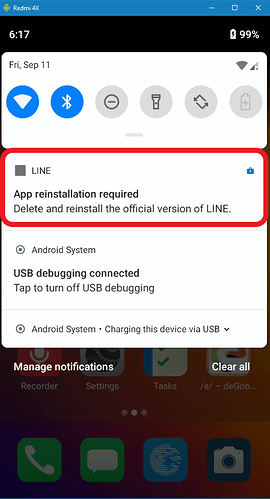
It’s not as difficult to have LINE working, but it will need some extra care …
The goal is to install LINE with Google PlayStore “marker”, unfortunately it can only be properly done using command-line.
First of all, make sure you have a computer with working adb.
If not, you may follow the guide here : https://wiki.lineageos.org/adb_fastboot_guide.html (this is the guide which is used in /e/ installation guide, for reference https://doc.e.foundation/devices/FP3/install).
I prefer Windows as adb is likely to work out-of-the-box 
In my Windows 10 computer, I installed it in C:\Adb.
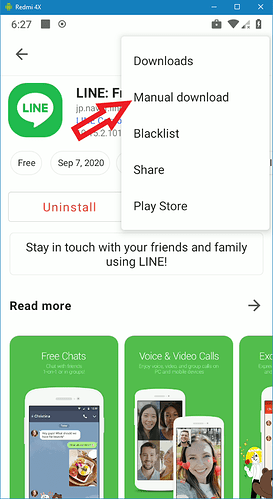
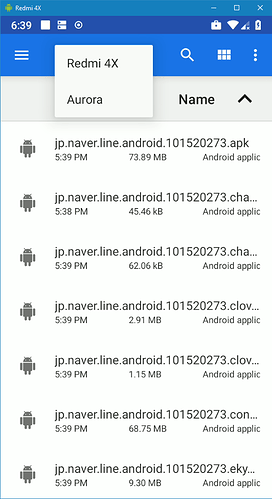
Then, before uninstalling the app, download the installation package (.apk) using Aurora.
From left menu choose “My apps”, scroll to LINE, then push the three-dots on upper right :
While you are here, note the package name (behind my arrow).
After some time, you will find the files in your Aurora folder :
Yes, not only one apk file, but a bunch of them. We’ll get back on this later.
Now you can uninstall LINE.
For the next steps, we will need to send commands to your phone, so Developer mode is to be activated with root option.
If not already activated, please follow these steps :
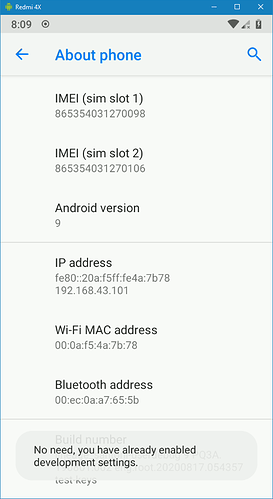
First, tap 7 times on “Build number” in About :
Then go back, System, unfold Advanced, you should find “developer options” at bottom, so we can raise the hood and look at the engine

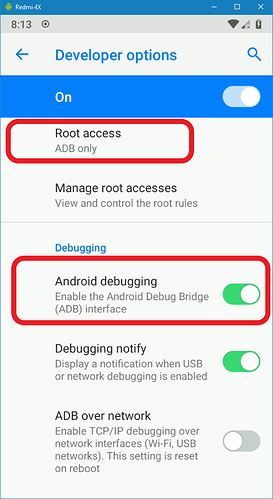
Scroll to Debugging, activate ADB, scroll 2 lines upward and activate root access for ADB :
! Note ! When everything’s fine, you may want to deactivate ADB as a matter of security !
Then, if not already done, plug your phone to your computer and launch a command interpreter (in Windows, don’t use Powershell but the good old “Command Prompt”).
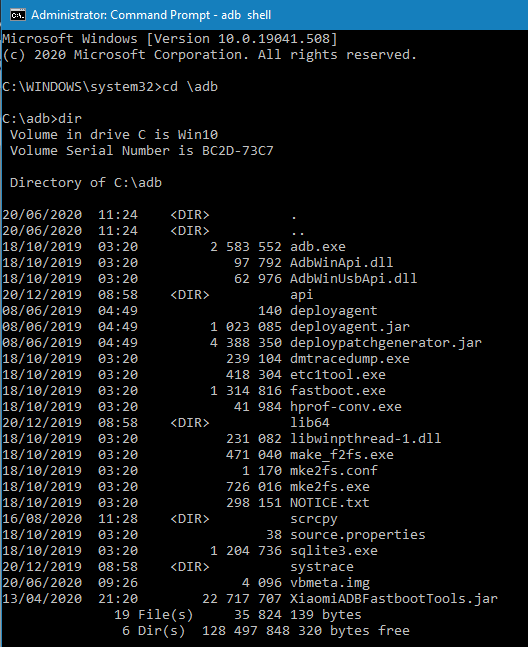
Using the “cd” command (https://docs.microsoft.com/en-us/windows-server/administration/windows-commands/cd), go to the folder where your adb.exe is located :
(you may have less files, if adb.exe is present it’s ok

).
Check that your device is recognized :
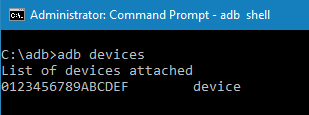
For the first use, you may have to acknowledge the computer key on the phone.
Switch to “root” mode (you may also have to confirm on the phone), and launch a shell (command interpreter) :

Note the “#” after your device name : it confirms the root mode.
Then we go to the Aurora folder, and check our apk files :
Notes :
- cd is acting like Windows, but as it is a Unix-like system the path syntax differs
- ls command lists files, -al is to get an expanded listing
Well, we have our files … Why not only one ? Well, many Android app are provided within only one file, but Google allow developers to split the installation package in pieces. That’s why they are called “split apk”.
Is it a problem for us ? No, but … Installing a one-file apk is easy, installing a split-apk needs some additional efforts 
To achieve our goal we will use the “pm” tool (as for Package Manager I guess).
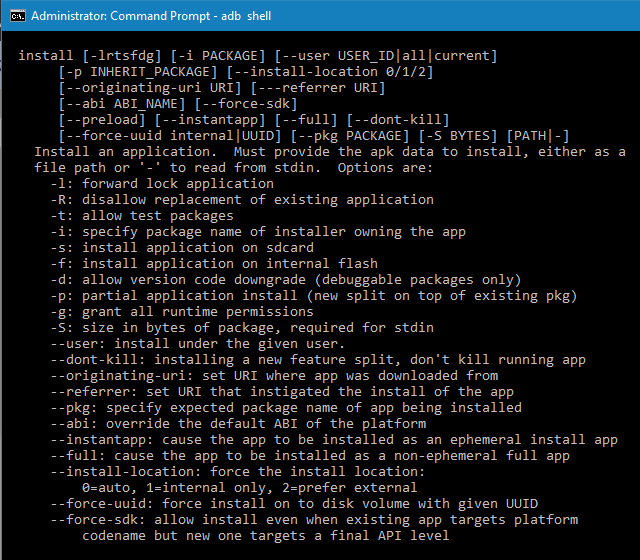
You can launch it without parameters, it will display it’s help.
Just focusing on the part we need :
Look at the “-i” option : seems promising, right ?
That’s all we need

First, install the main package :
What happened here ?
I entered “pm install -i com.android.vending” followed by a space, and a tab.
A Android shell is not as rough as it seems, it outputed the files list and filled my command with the common part of their names (com.android.vending jp.naver.line.android.101520273.).
I just entered “apk” at the end and sent my command.
Of course, you can also enter the whole file name

About the “com.android.vending” thing : it’s the Google Android PlayStore app name !
Okay, we installed the main package, but what about the others ?
As it is a split-apk, we also have to install them, one by one.
But wait ! Here is the tricky part : as they are additional parts of our main package, they have to be somehow “linked” to it.
Here is how !
First, we need the package name.
To get it, our friend pm is helpful :

Note: apk files are commonly named after the package name, but not always … Remember, you can get it from Aurora 
Then we can install all the apk’s as additional packages, one by one (tab completion is very helpful here) :
Note the “-p”, indicating that we are installing additional package to this one.
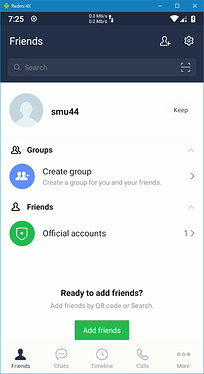
Once all installed, the app should fire (as least, it did on my test phone, all the three times I installed it  ).
).
This method seems long and complicated, but in fact it’s very easy once we know what we’re doing.
Hope it will help !
