Mission:
Install latest /e/OS on your OnePlus 5 aka. cheeseburger.
Prerequisites:
- A OnePlus smartphone with complete backup of important data on a PC or an external drive or source.
- Downloaded copy of latest /e/OS ROM from here.
- Downloaded copy of latest custom recovery called TWRP from here.
- Patience to follow steps i.e. unlock bootloader, flash custom recovery and finally privacy-friendly /e/OS ROM on your OnePlus 5 phone.
Let’s roll.
Warning: This process will completely wipe all data in the internal storage of your smartphone, please make sure you have a full backup of critical data on your smart phone.
1. Install Android ADB & Fastboot tools
Debian GNU/Linux is used for the purpose of this guide. Kindly change the commands and package names, if any for your distribution
Open Terminal app to execute the following command:
$ sudo apt-get install android-tools-adb android-tools-fastboot
When done check with adb version command to verify. A result as follows shall appear on your terminal screen.
Android Debug Bridge version 1.0.39
Version 1:8.1.0+r23-5
2. Enable OEM unlock and USB debugging from Developer Options on your smartphone
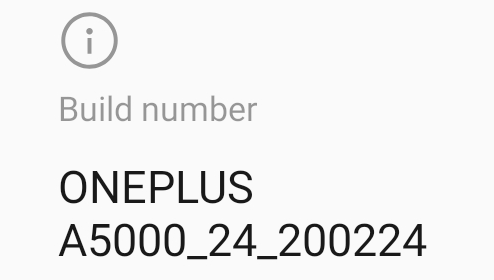
Goto Settings, scroll down to tap on ‘About phone’


Tap on ‘Build number’ a couple times until it unlocks the Developer options mode as seen in the images below. Kindly enter password/PIN when asked.

Yay! You are a temporary developer now without any coding experience whatsoever!

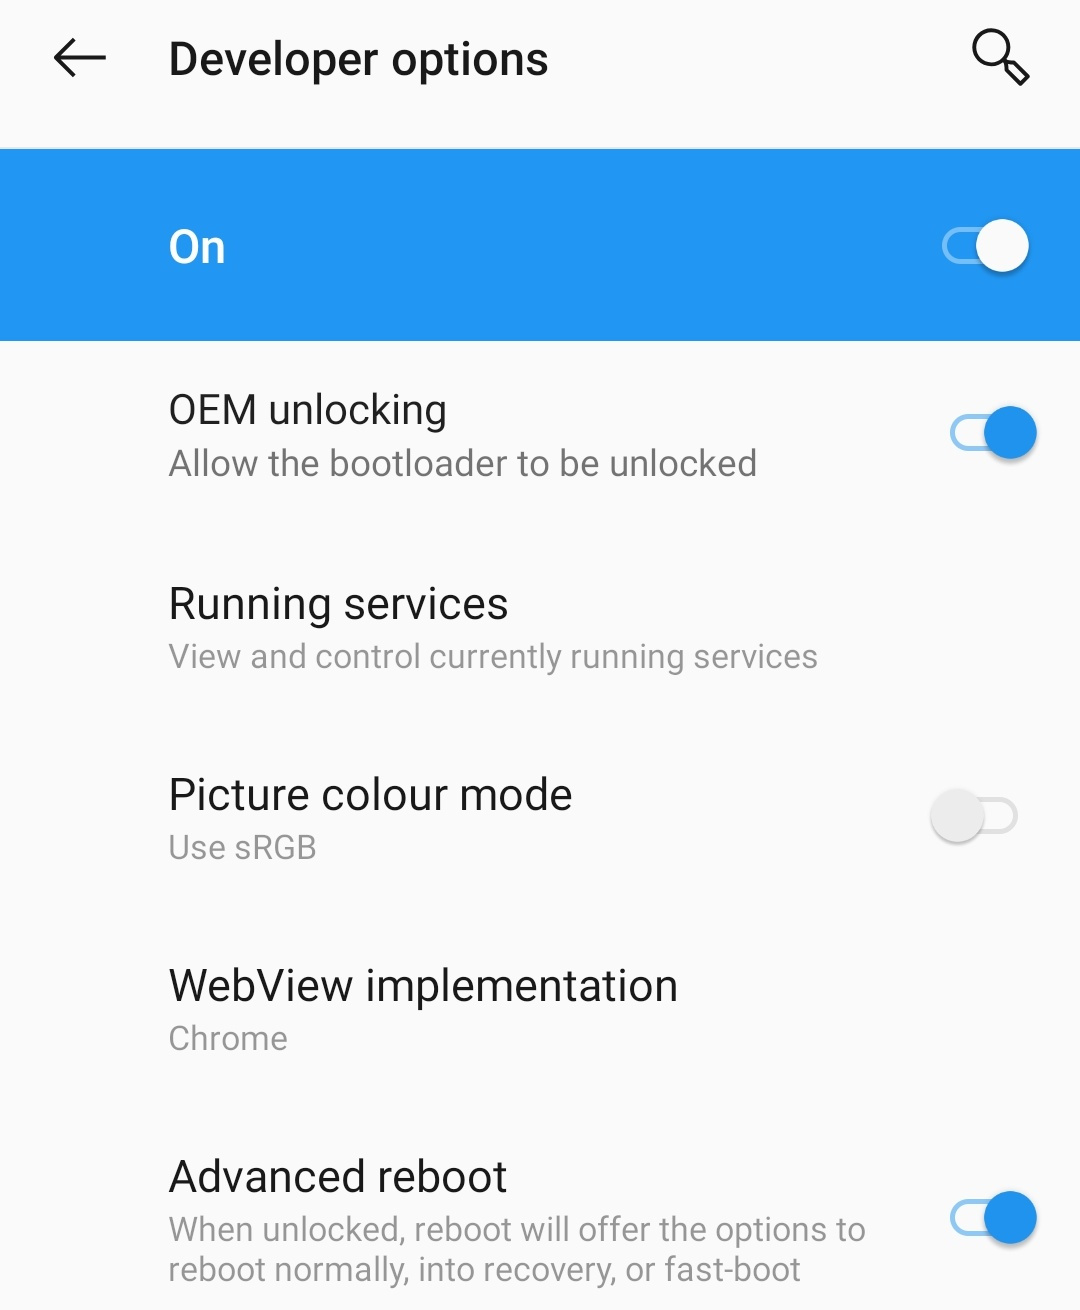
In Settings, navigate to System and scroll down to open Developer options.

Enable OEM unblocking and Advanced reboot.
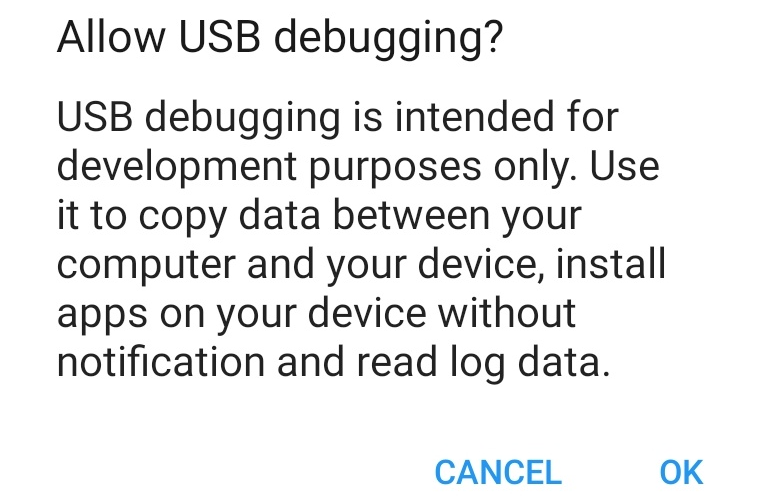
In Developer options enable USB debugging under DEBUGGING

Tap OK to Allow USB debugging and enable it.

3. Connect your smartphone using USB cable to GNU/Linux PC to whitelist USB debugging from it to unlock bootloader.
Tap OK to continue.

Press and hold the Power Button to open Advanced reboot side menu as seen in the image below.
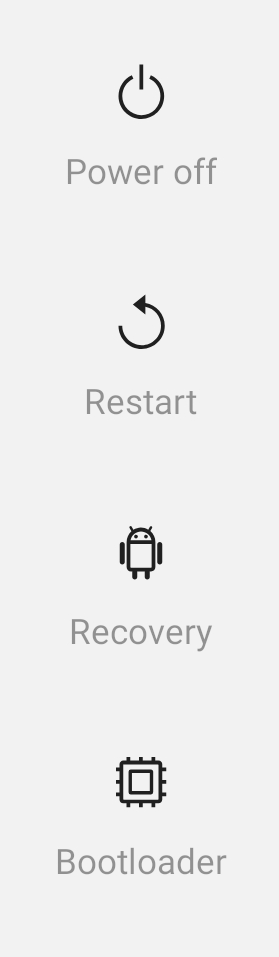
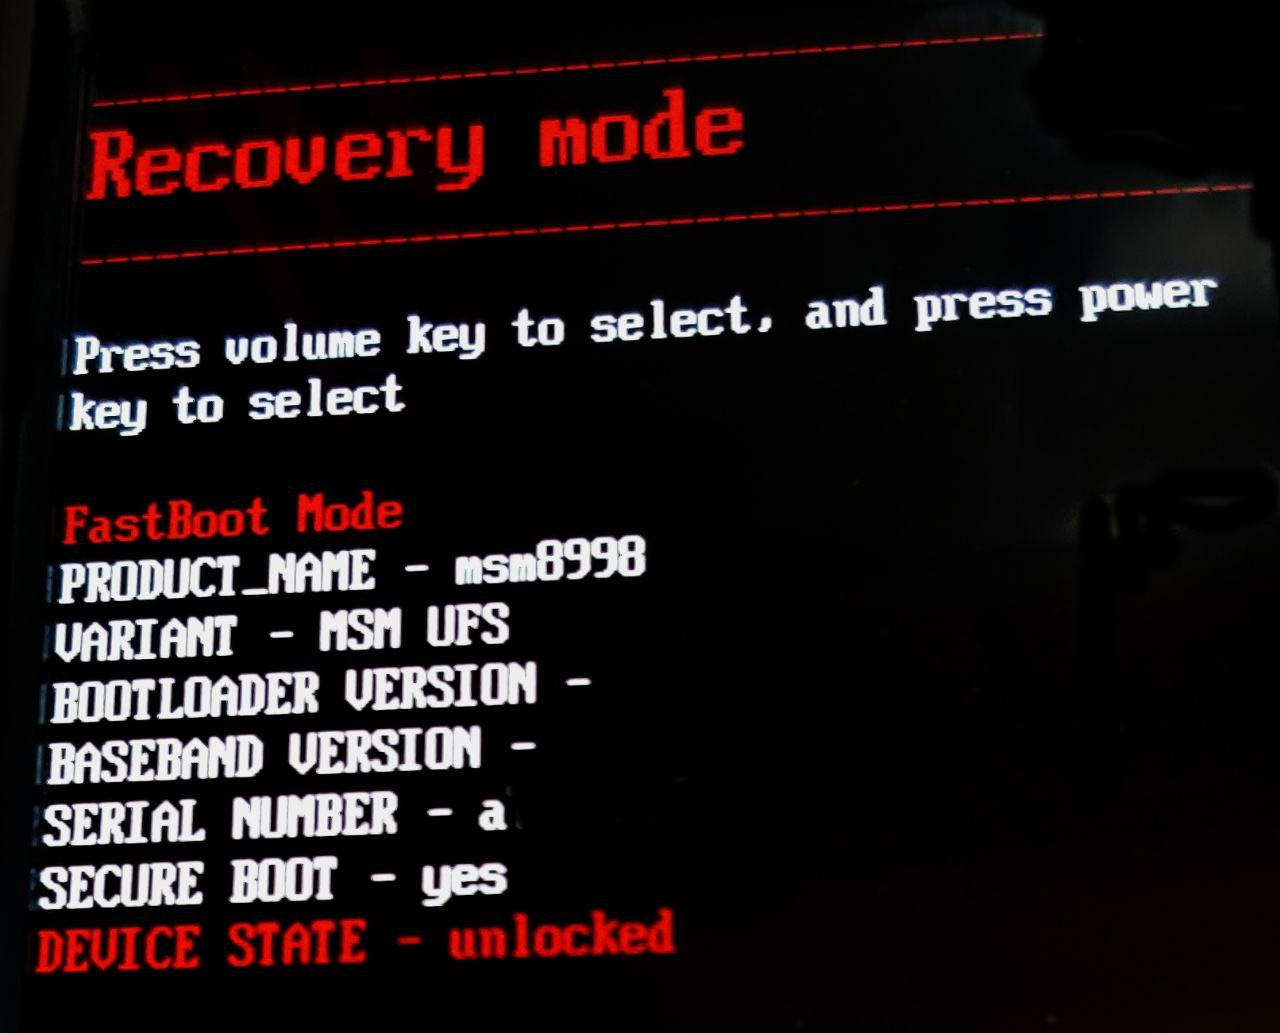
Tap on Bootloader to enter FastBoot Mode as seen in the image below.
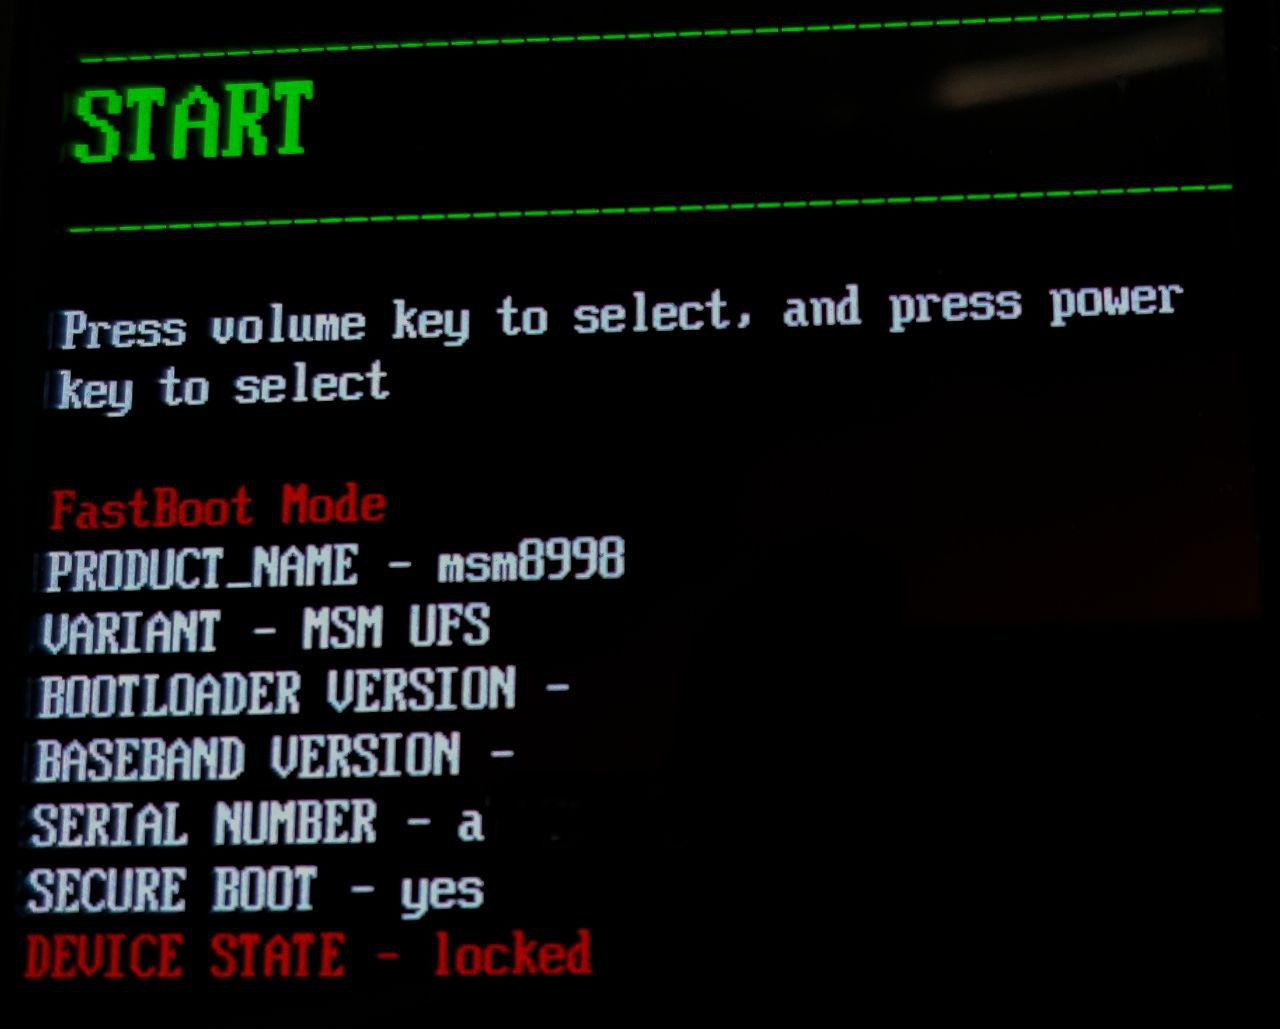
As your can seen Device’s current State is LOCKED.
From the terminal application on GNU/Linux PC, execute the following command to unlock it:
fastboot oem unlock
It results with following output on PC
...
OKAY [  0.043s]
finished. total time: 0.043s
On your OnePlus smartphone screen, you need to select UNLOCK THE BOOTLOADER using Volume up/down keys.
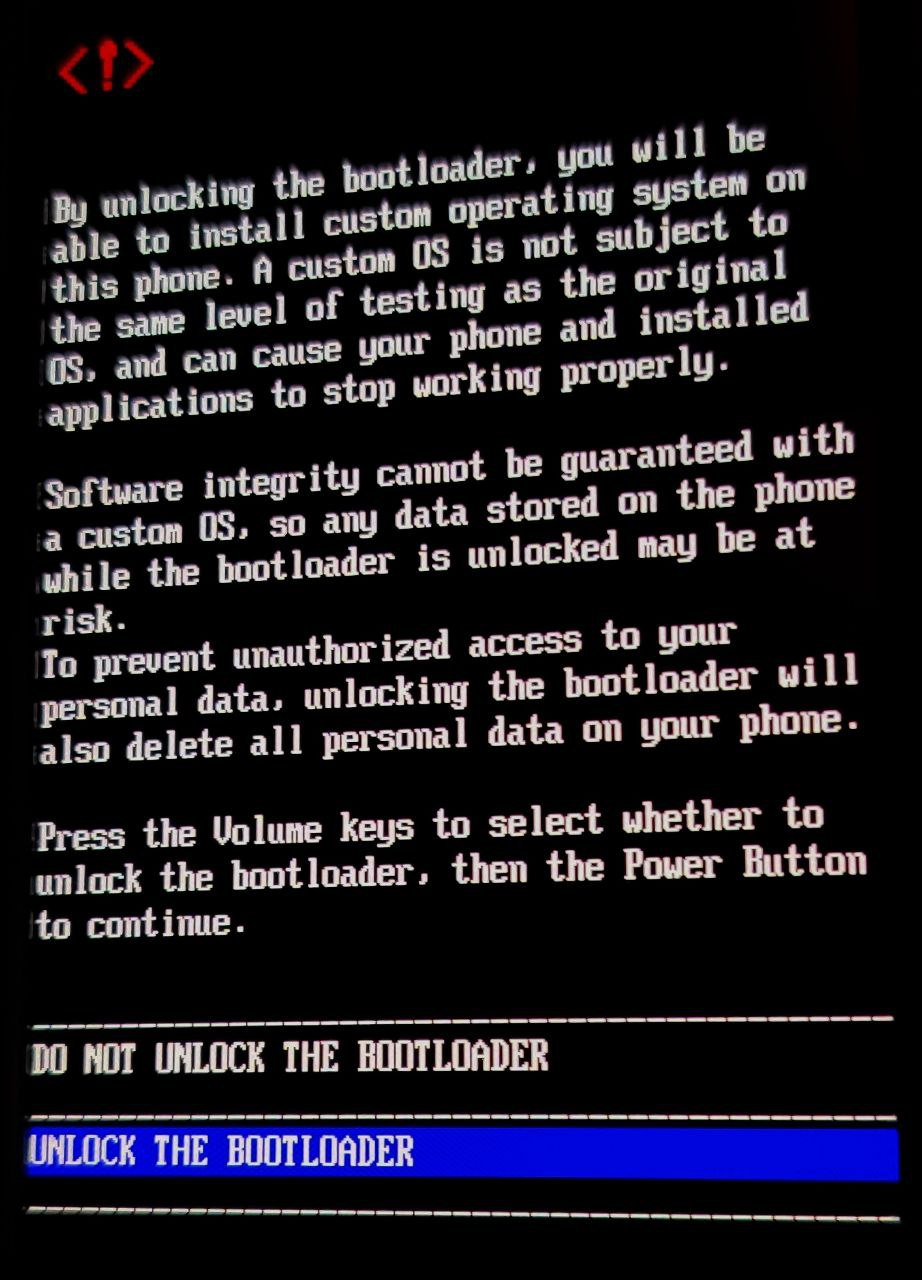
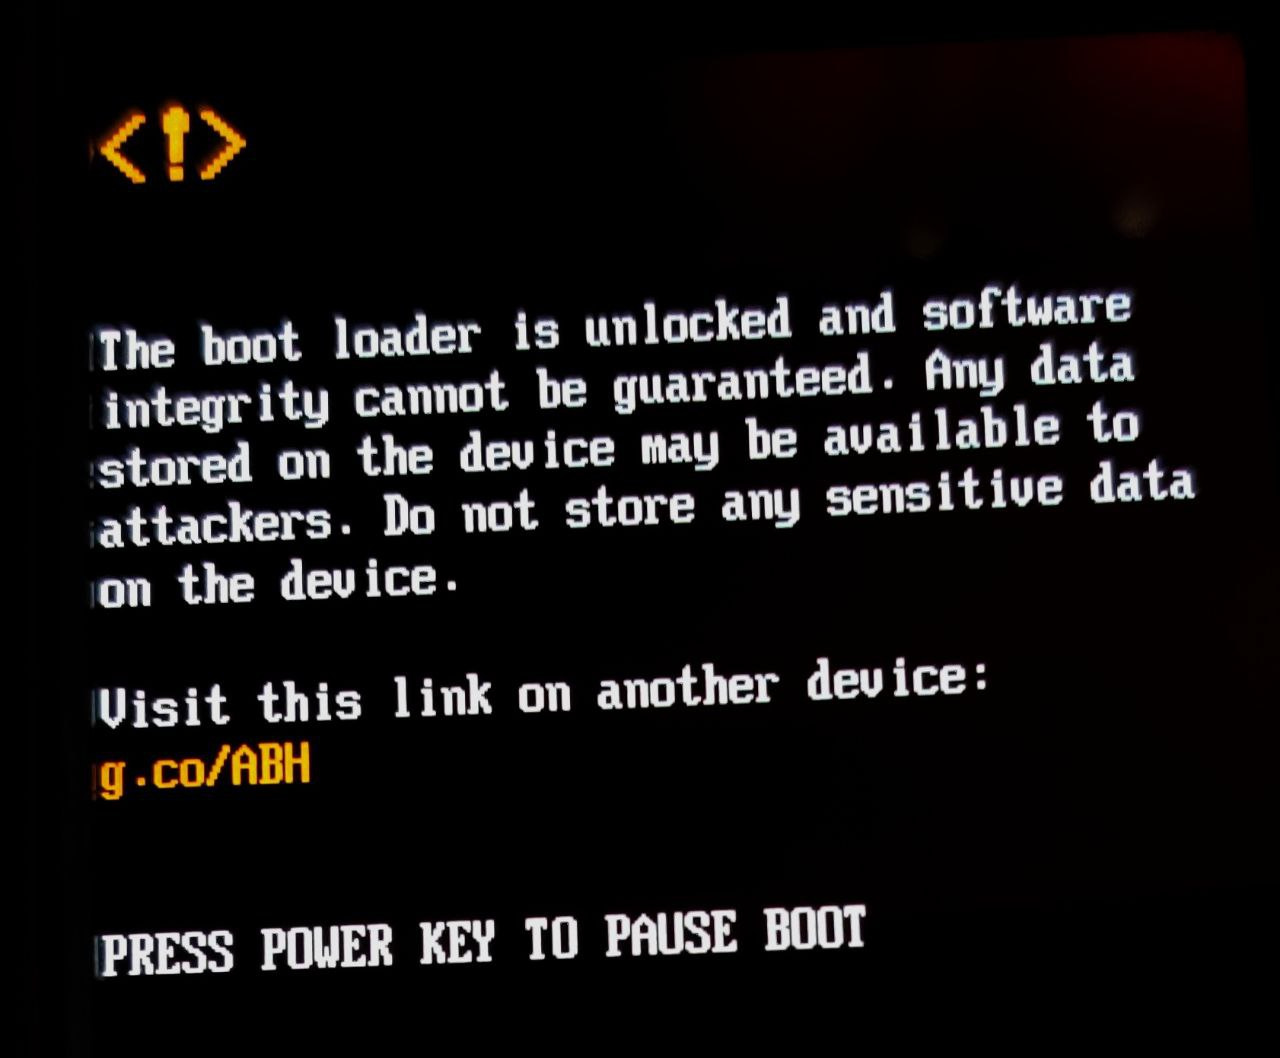
Press Power Button to continue. Now you will receive a warning upon boot as seen in the image below that also acts as a confirmation that your bootloader is unlocked now.
Your OnePlus smartphone is reset now. Redo the setup quickly. Since all the settings have been wiped from your smartphone. Once done, you have to re-enable the Advanced reboot and USB debugging from Developer options with steps above.
4. Press and hold the Power Button to open Advanced reboot side menu again. Tap on Bootloader to enter FastBoot Mode once again.
From terminal application on PC, navigate to file path where you have downloaded the custom recovery image, execute the following command to install custom recovery software called TWRP or Team Win.
fastboot flash recovery twrp-3.3.1-0-cheeseburger.img
It will result in the following output on PC:
target reported max download size of 536870912 bytes
sending 'recovery' (33684 KB)...
OKAY [  1.048s]
writing 'recovery'...
OKAY [  0.346s]
finished. total time: 1.394s
From your OnePlus smartphone, use volume key to navigate to Recovery mode. Press Power Button to verify the installation as it opens.
Home screen for TWRP recovery

5. Install /e/OS with custom recovery TWRP
Tap Wipe from Main Menu.
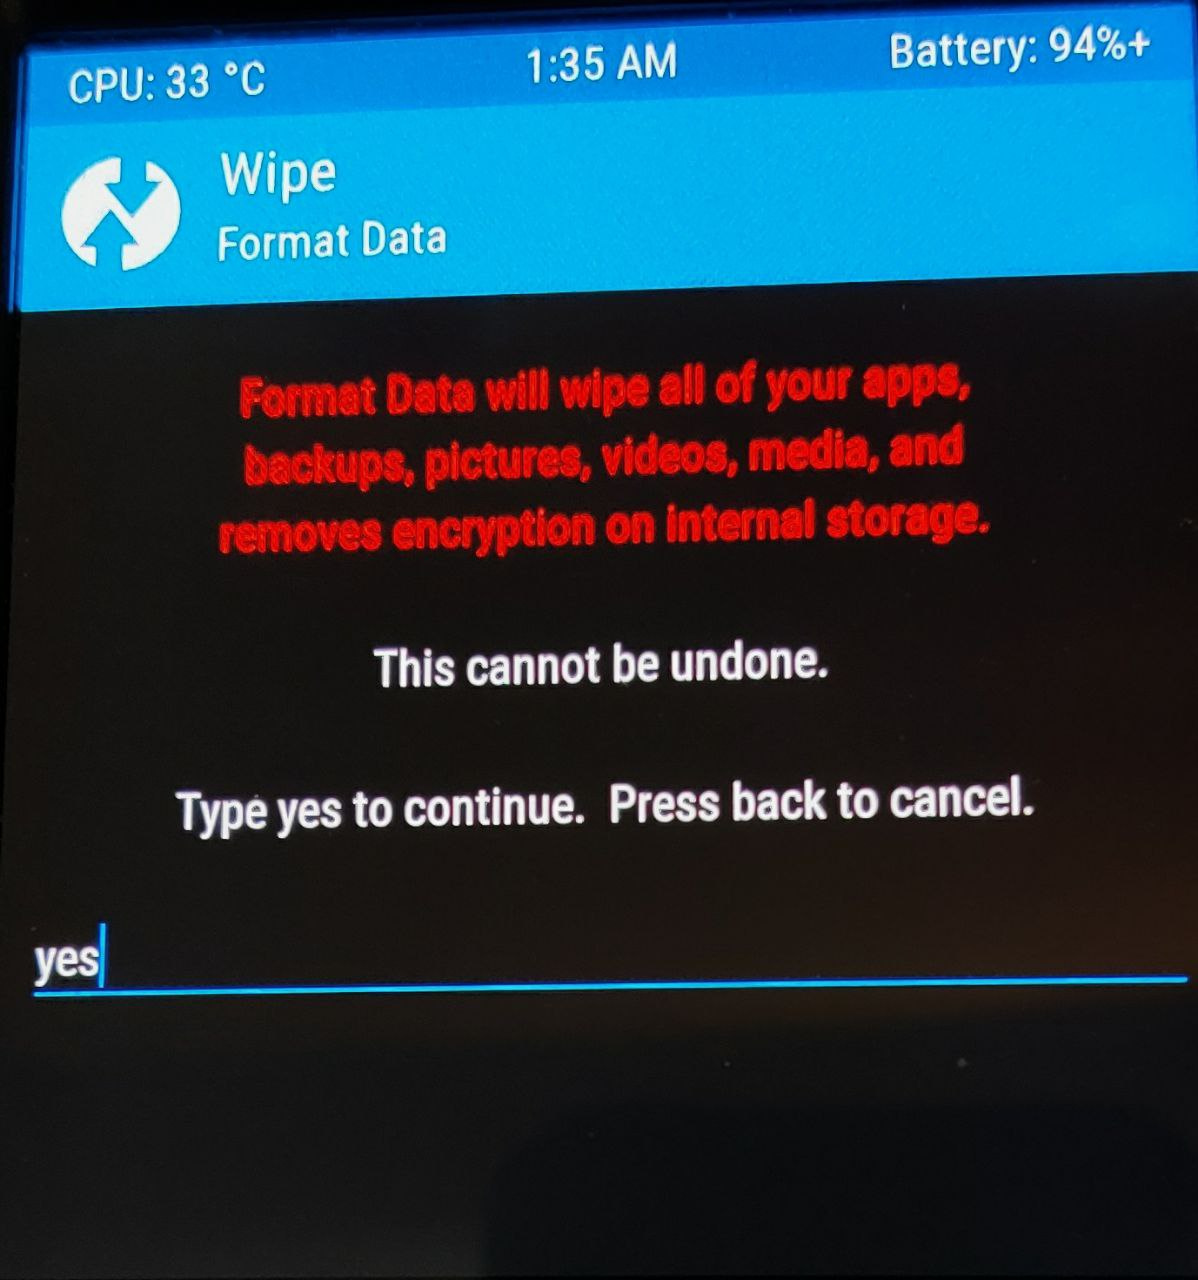
Tap Format Data therein to continue.

Type yes in the text field to continue.
Once done a successful result as seen in the image below appears.
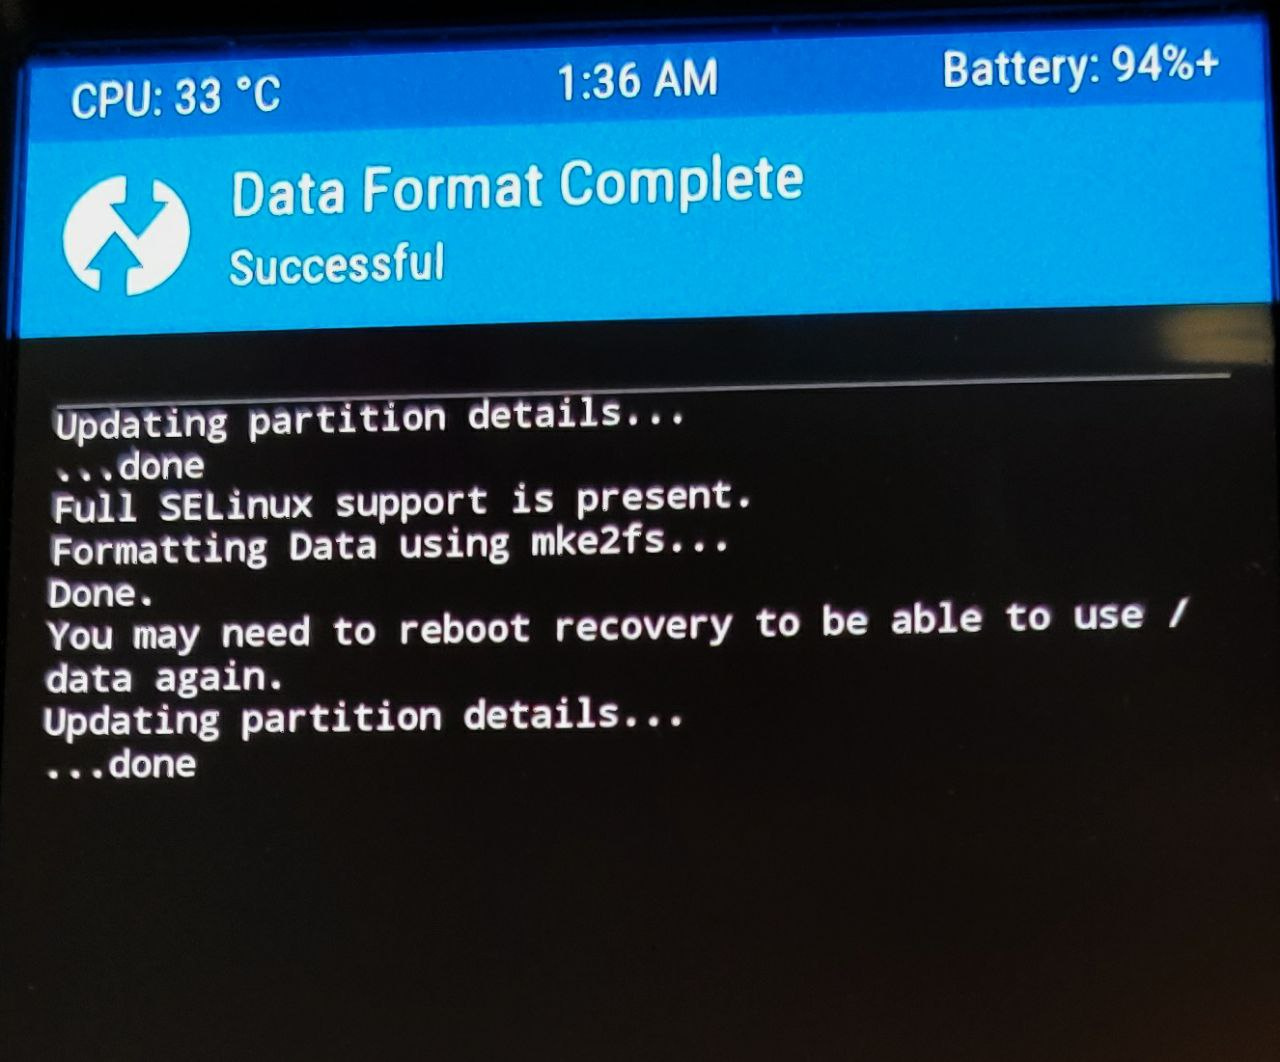
This will remove encryption as well as delete all files stored on the internal storage.
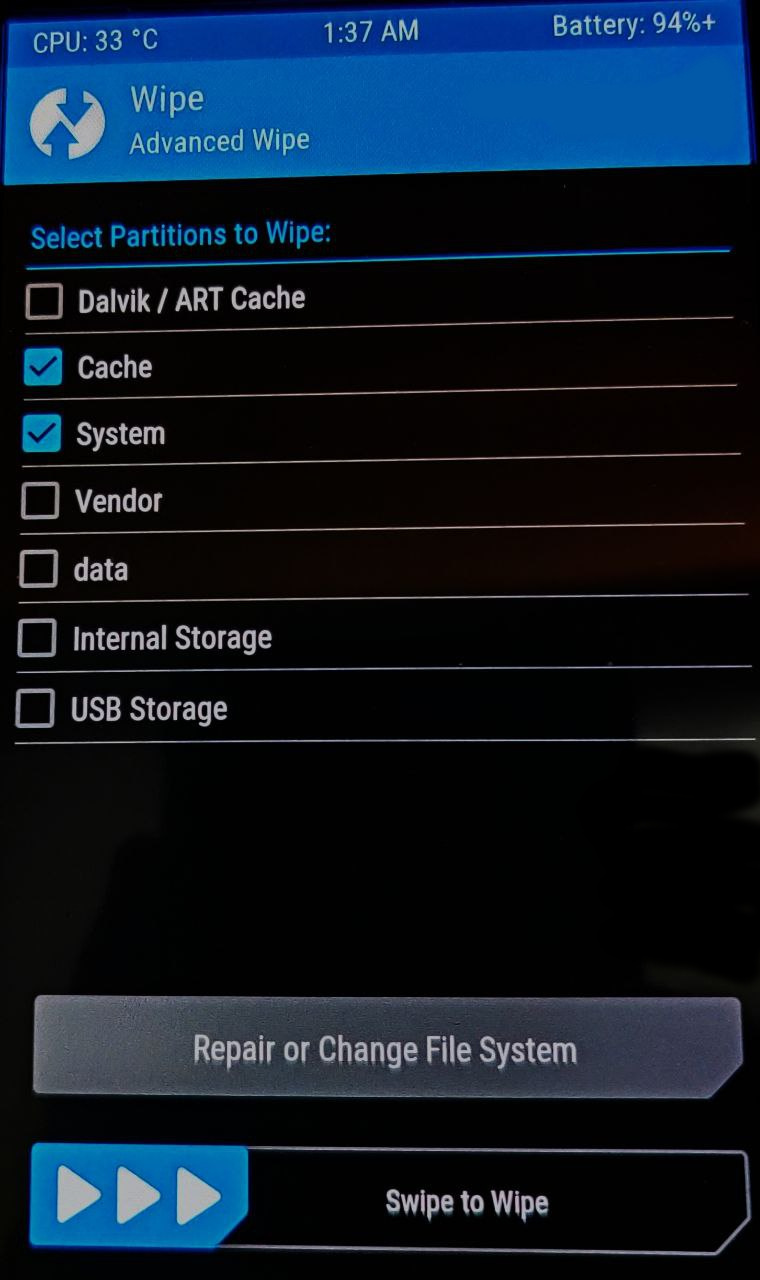
Return to the previous menu and tap Advanced Wipe.

Select the Cache and System partitions to be wiped and then Swipe to Wipe.
Once done a successful result as seen in the image below appears.

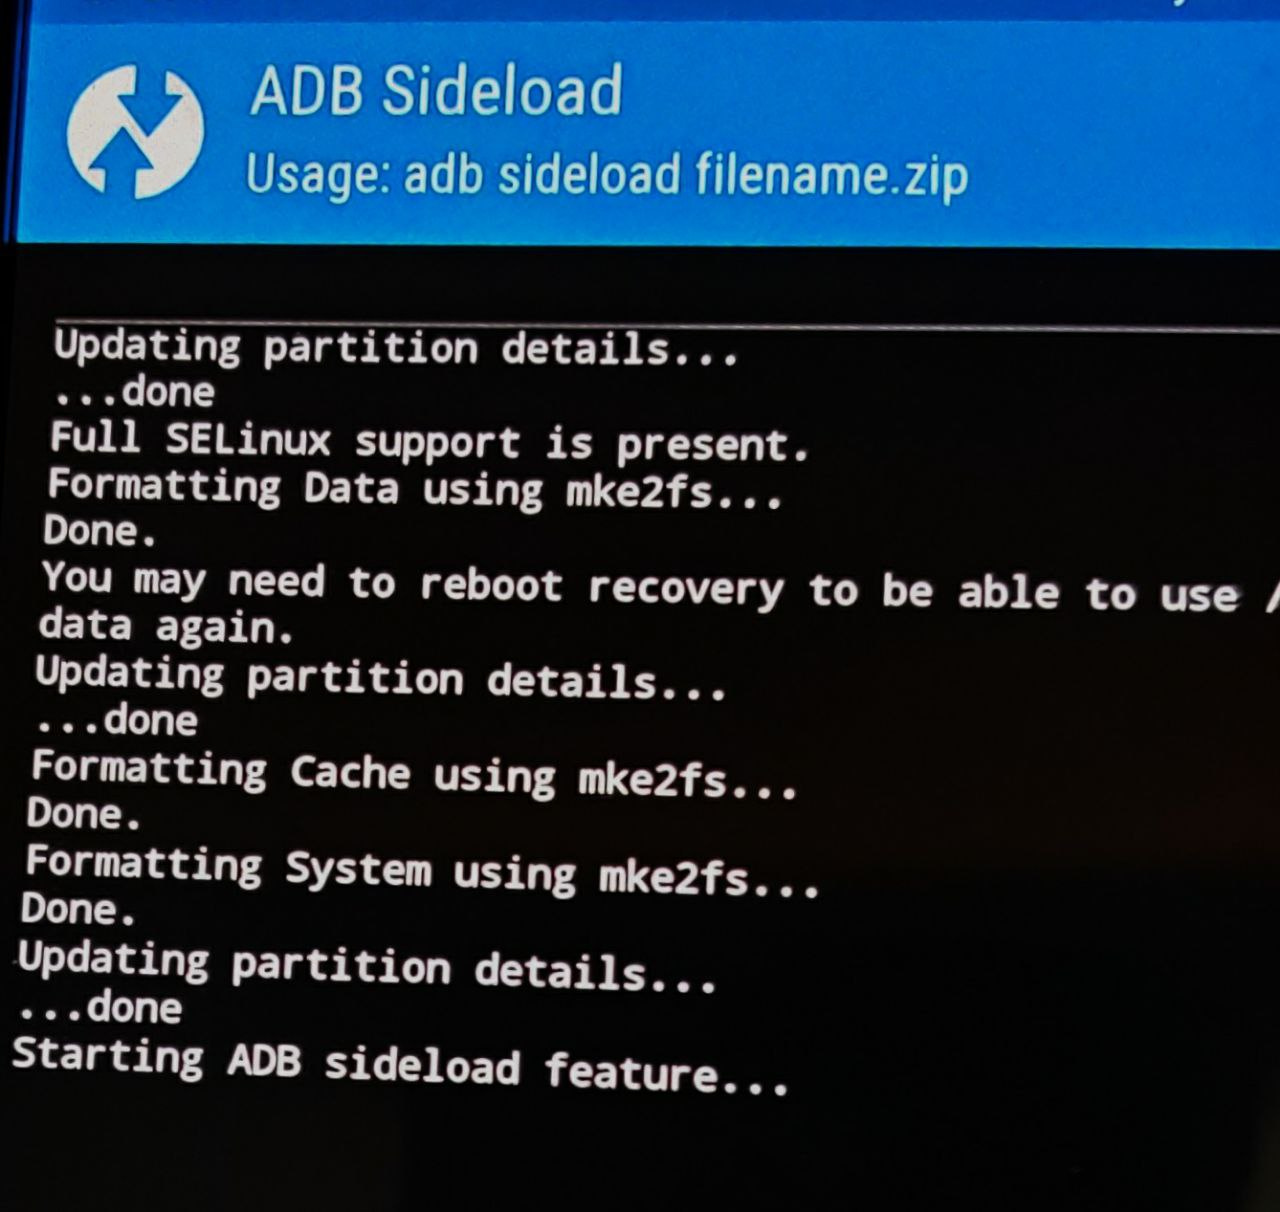
From Main Menu, select Advanced, ADB Sideload, then swipe to begin sideload.


ADB Sideload initiates on smartphone.
In the terminal application on your GNU/Linux PC, navigate to file path where you have downloaded /e/OS ROM to execute the following command:
adb sideload e-0.8-n-2020041549770-dev-cheeseburger.zip
It will result in the following output on PC when finished:
serving: '/home/modi/Downloads/e-0.8-n-2020041549770-dev-cheeseburger.zip'  (~47%)
Total xfer: 1.00x
On your smartphone, a successful result as seen in the image below appears.
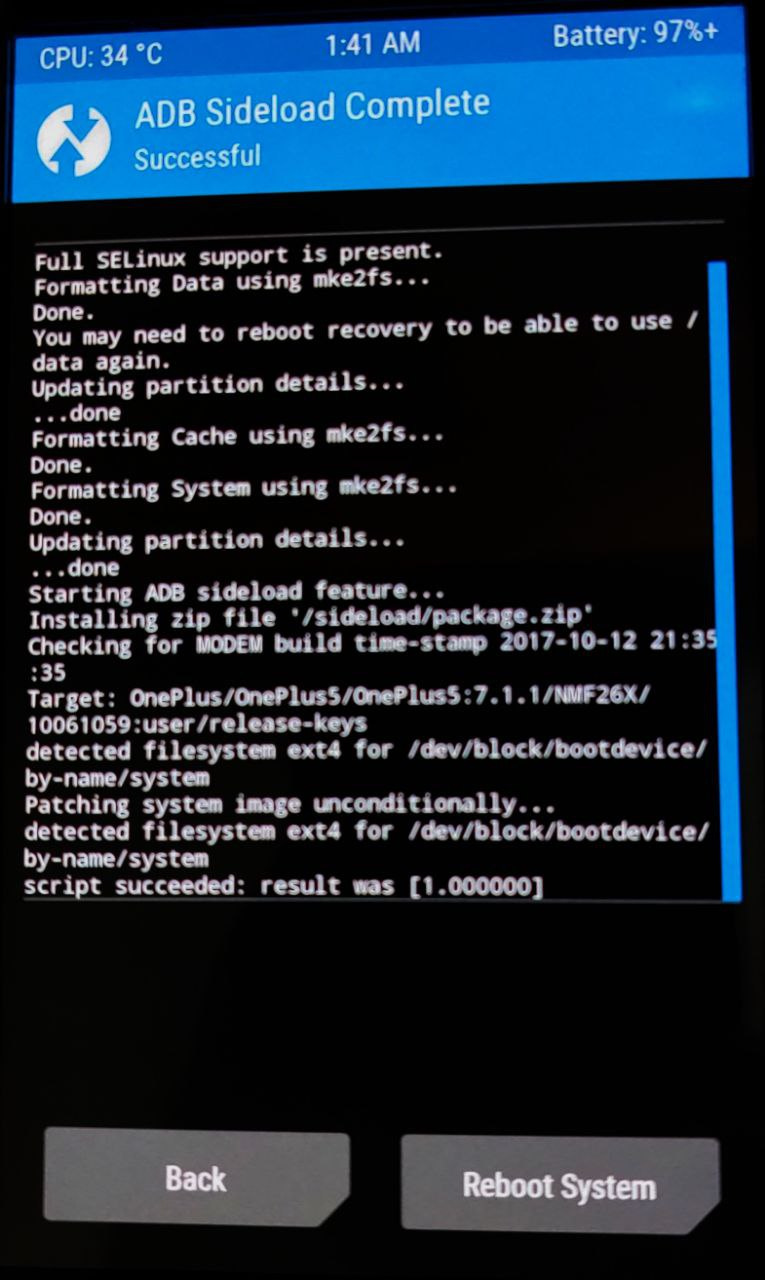
Tap Reboot System to boot into freshly installed /e/OS on your cheeseburger phone.
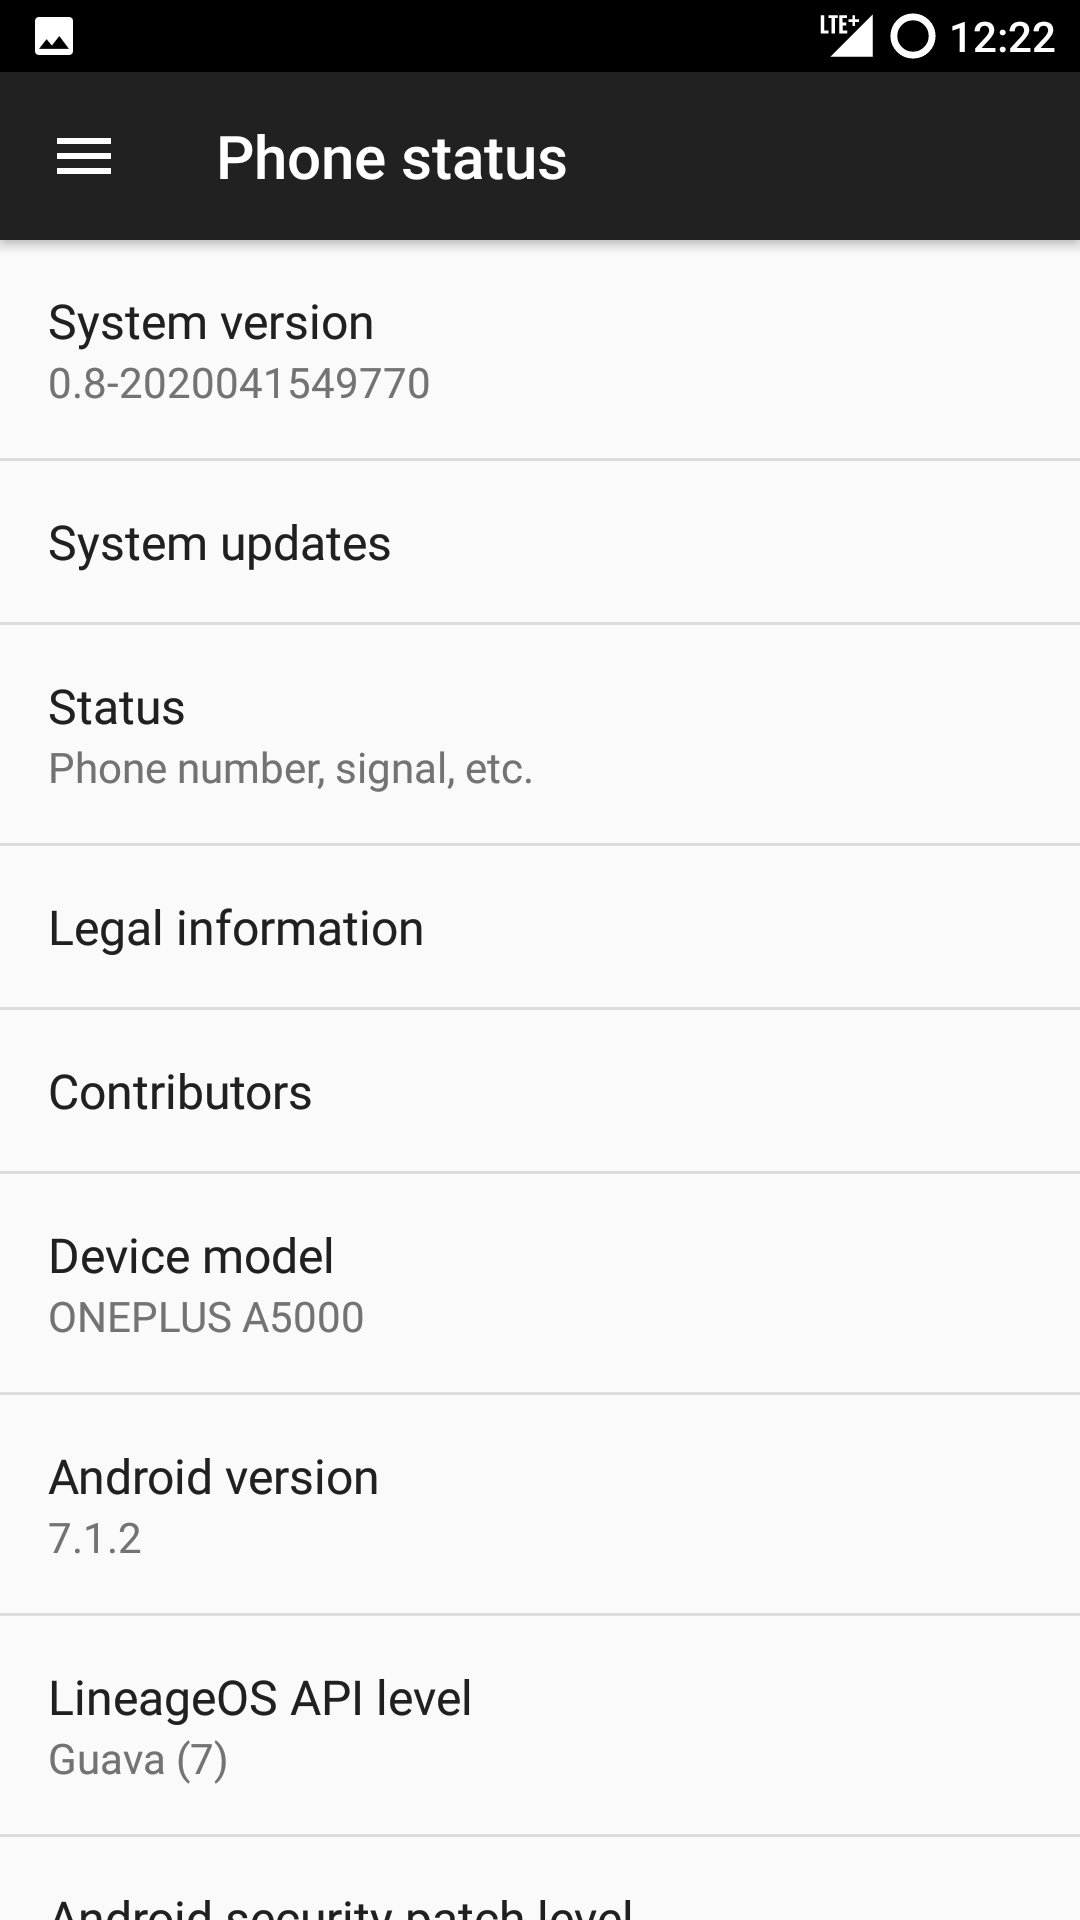

Voila! Easy, isn’t it?
Troubleshooting note: If you have downgraded from OxygenOS Android 8 or 9. Because current /e/OS ROM is still based on Android 7.1.2, you might not even be able to boot into /e/OS as of yet. If it is the case, download this firmware and sideload it or flash it from TWRP recovery. It should fix your boot issues. There might still be some performance related issues, the solution as of yet is to wait for Android 9 or 10 based /e/OS ROM.
Thanks for reading!
