[HOWTO] Building unofficial /e/ rom on a cloud VM - various options

Hi, a lot of you knows me as a unofficial /e/ roms builder, and i want to tell you how i build my unofficial roms, so you can build yours. I have old PC, so for my builds i use Vultr.
First of all we need register with this link ( not a referral) you will get 50$ credit https://www.vultr.com/promo/try50/![Screenshot_2019-09-11%20Vultr%20High%20Performance%20SSD%20Cloud%20|690x350,100%](upload://lDOQOUS4Jz6LXCVh4RDBQACBCQ0.png)
After entering your email and password you will need link your credit card (you need have at leat $5 on it, but it return back on your card). Also dont forget check " I just want to link my credit card - $0.00 deposit"


If everything is good you should have 50$ credit available here https://my.vultr.com/billing/

Now we can create our server, go https://my.vultr.com/deploy
Check this:

Choose Server - Cloud Compute

Server Location (Choose what you want)

Server Type - Apllication - Docker - Ubuntu 18.04

Server Size (Well for one android version you need at least this one

320 GB SSD $80/mo $0.119/h 6 CPU 16384MB Memory 5000GB Bandwidth

but i prefer this

640 GB SSD $160/mo $0.238/h 8 CPU 32768MB Memory 6000GB Bandwidth ( its enough space for Nougat, Oreo and Pie sources)

If you want make you build as fast as it possible choose most higher priced server in location you choose, on that server you can run Nougat, Oreo and Pie builds at same time.

Then check

Additional Features - Enable IPv6

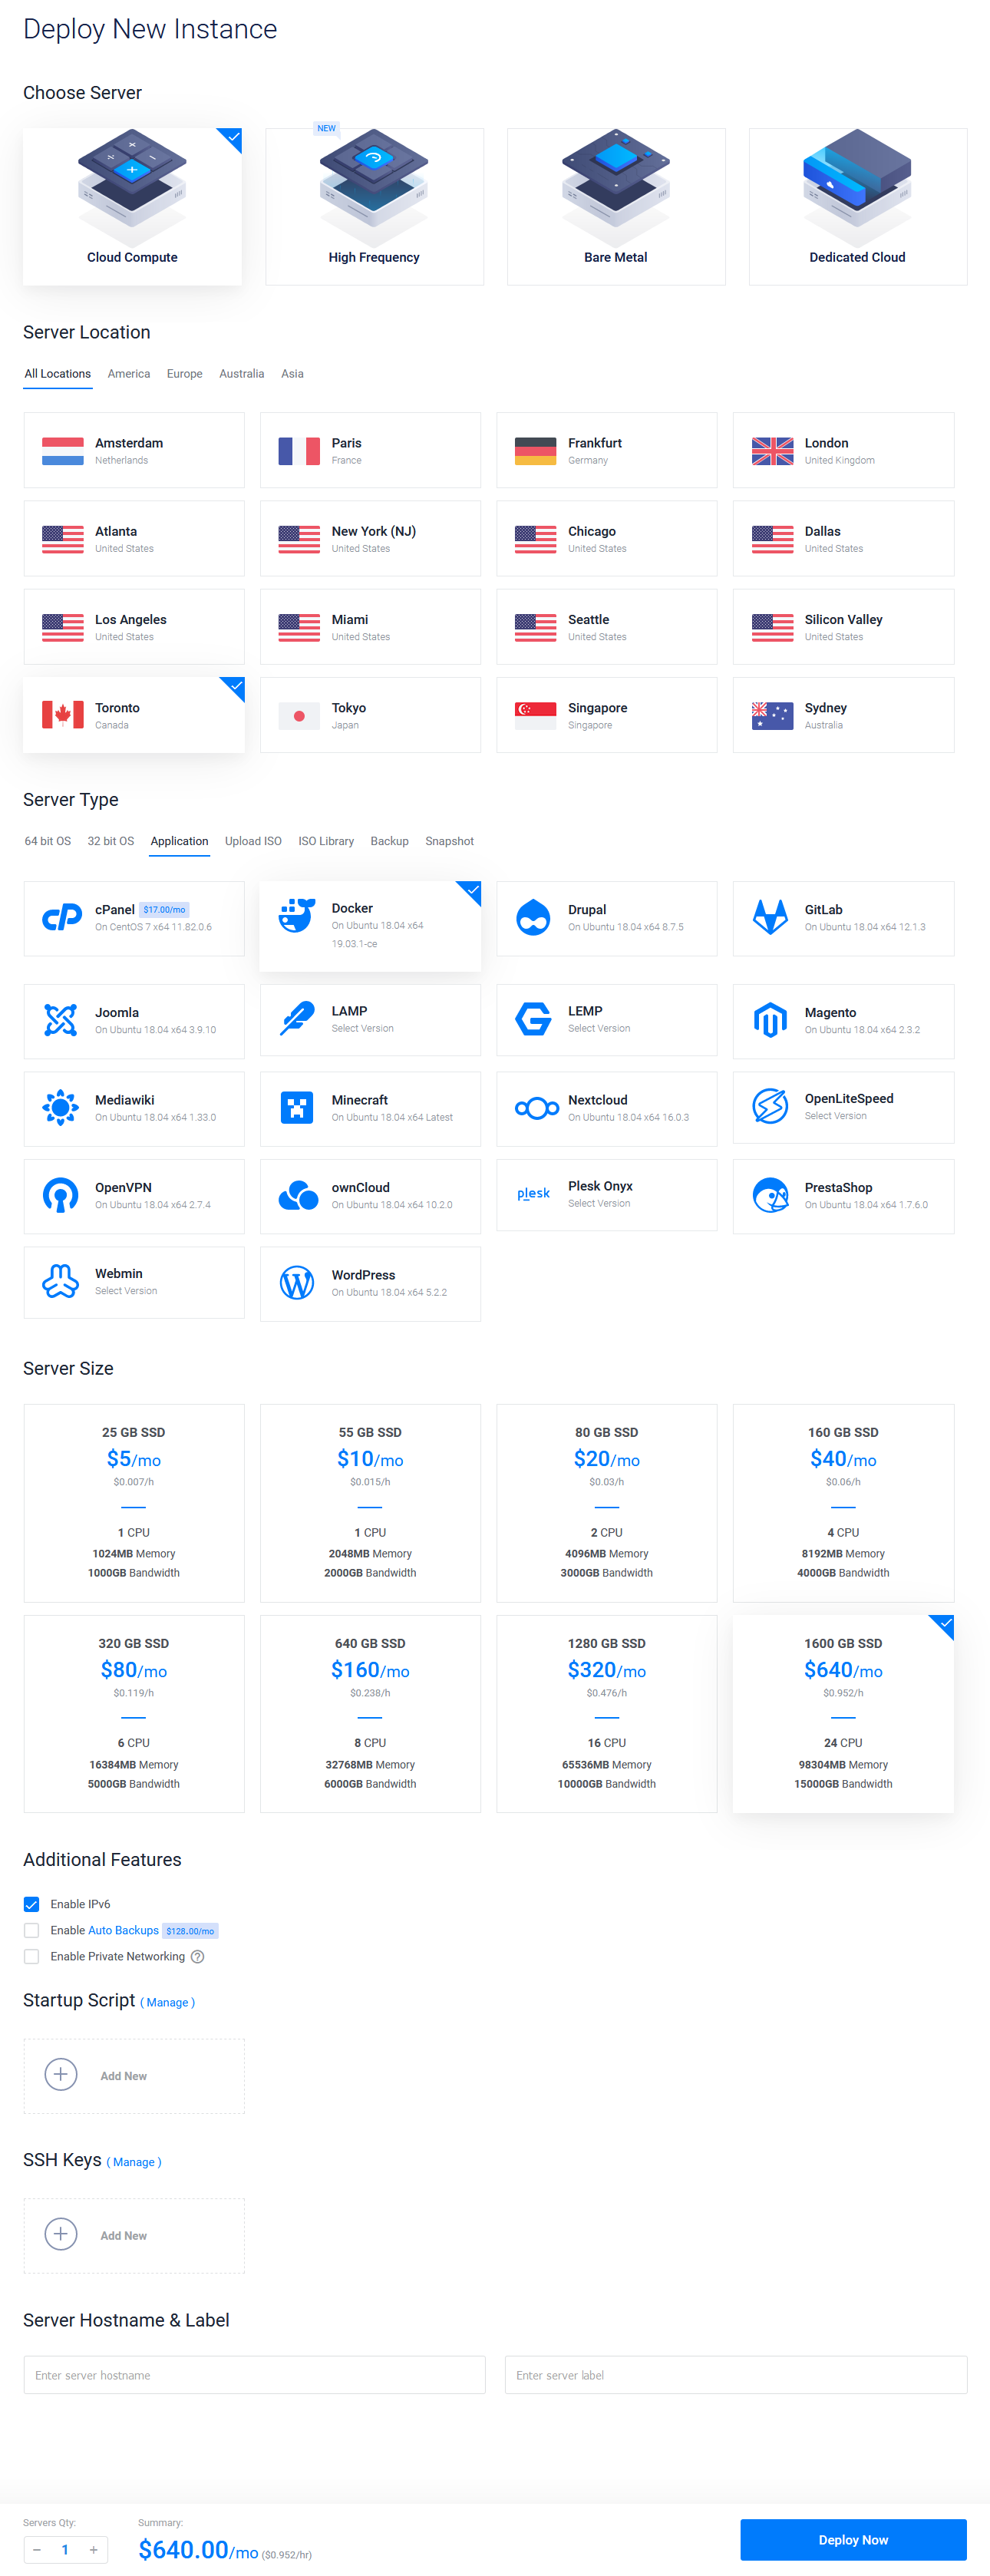
After this click on “Deploy Now”

You will see that server running after you wait some time


Running server its good but we need connect to it.
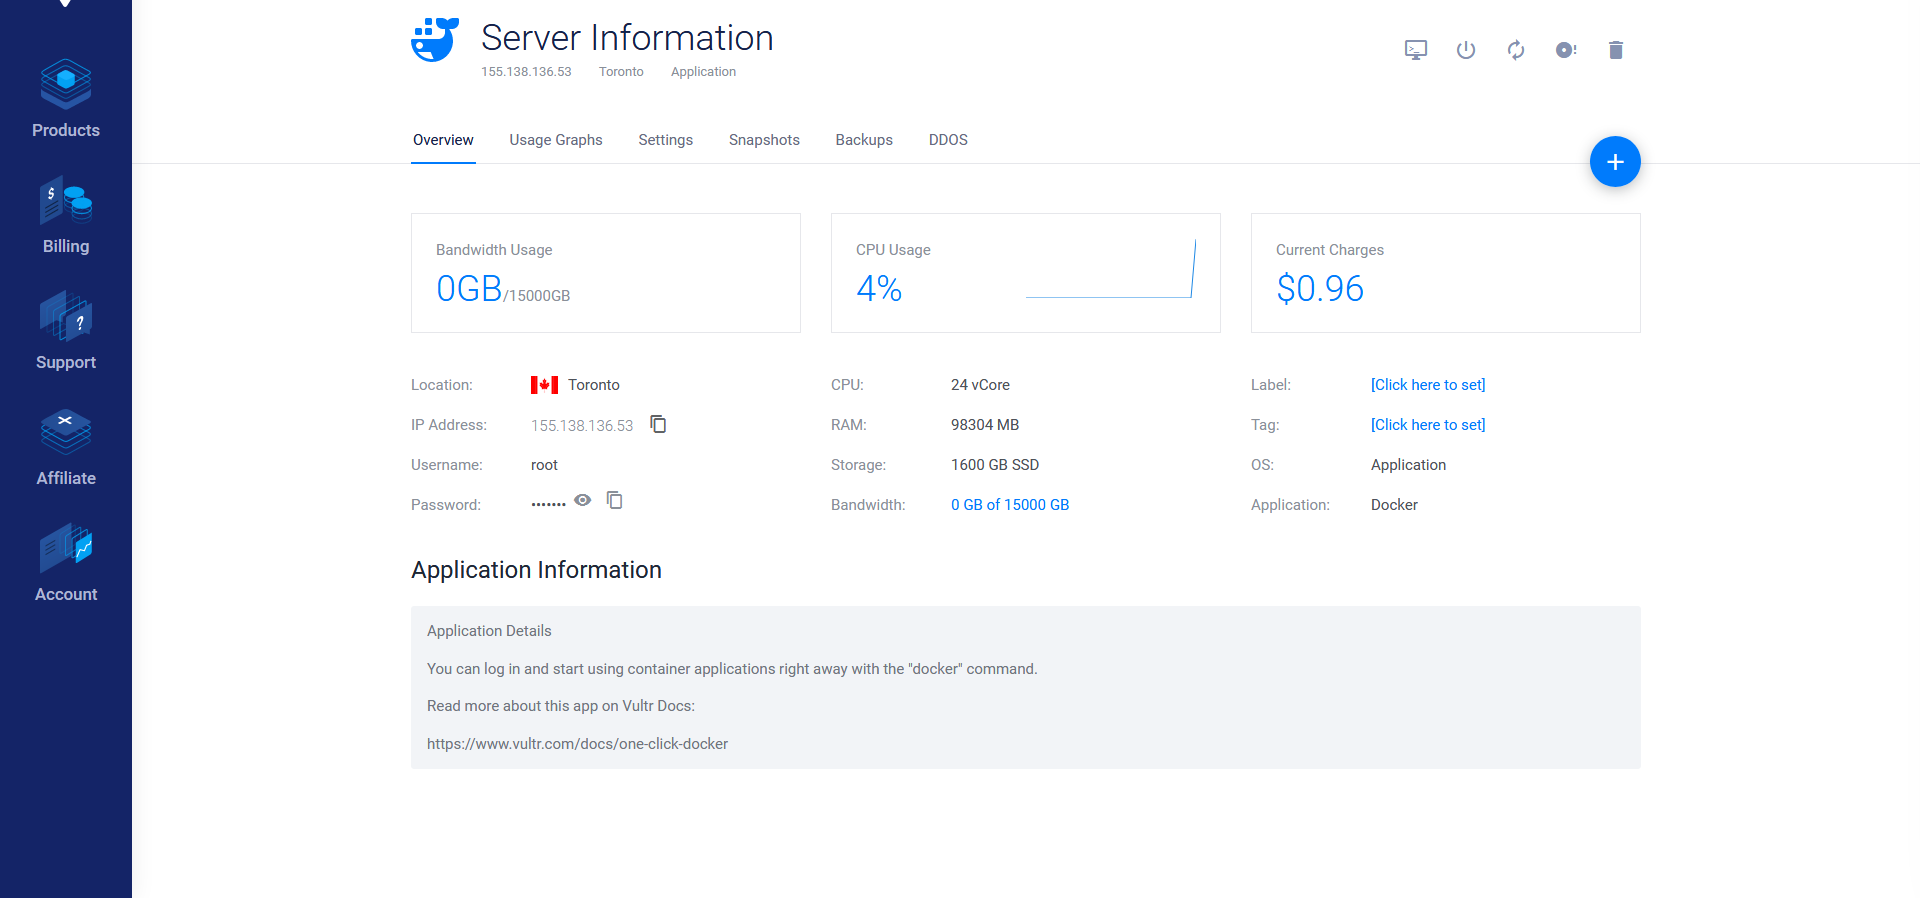
Click on ‘’…" then “Server details”

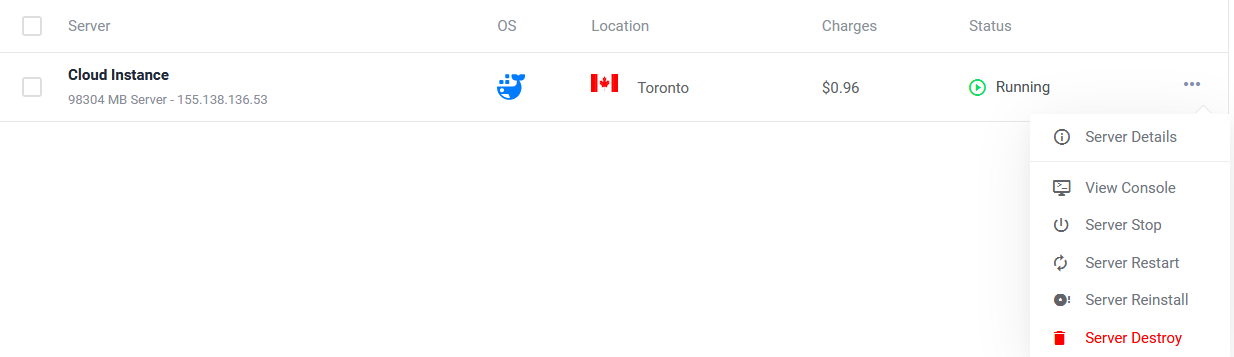
Here you need to copy IP Address, Username (its always “root”) and Password, we will need all this later.

To connect to our server we need to install Putty https://www.chiark.greenend.org.uk/~sgtatham/putty/latest.html
Better check “Add shortcut to PuTTY on the Desktop” in during your installation
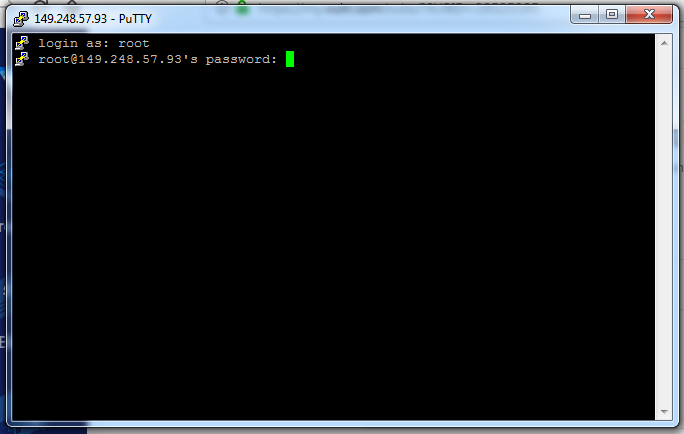
After installation complete, run Putty and put your server IP address in Host Name (or IP address), you copied it earlier.
Screenshot_1

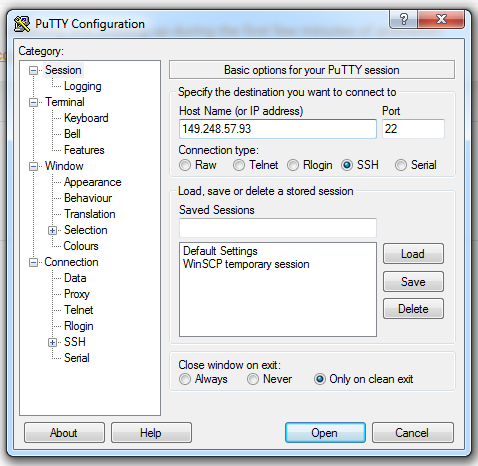
click Open, ignore the warning just press yes, now paste(to paste you need just press right mouse button in Putty terminal) your login (its root) and password ( you copied earlier) and press Enter
Screenshot_2

Gongratulations, if you see something like this you connected to server
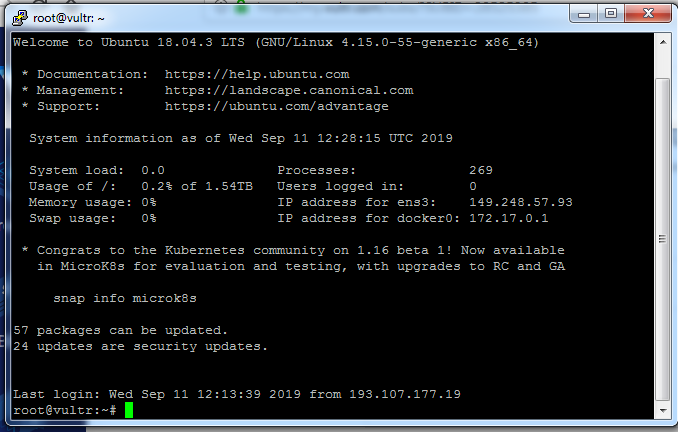
Screenshot_3

Now type this
screen
and pres Enter twice, this command allow your server session run in background

Now just simple paste this command to get /e/ docker image:
https://gitlab.e.foundation/e/wiki/en/wikis/build#2-get-our-docker-image
wait when its downloaded and unpacked, now just follow this to start your build

https://gitlab.e.foundation/e/wiki/en/wikis/build#4-start-build

or you can follow my previous guide Fastest and easiest guide for building unofficial /e/ rom

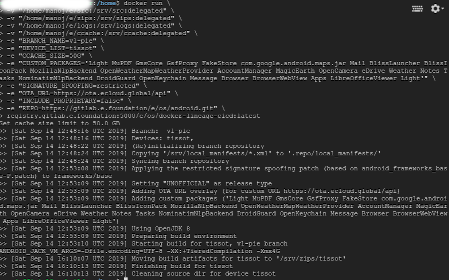
If you make everything right you will get something like this
Screenshot_4
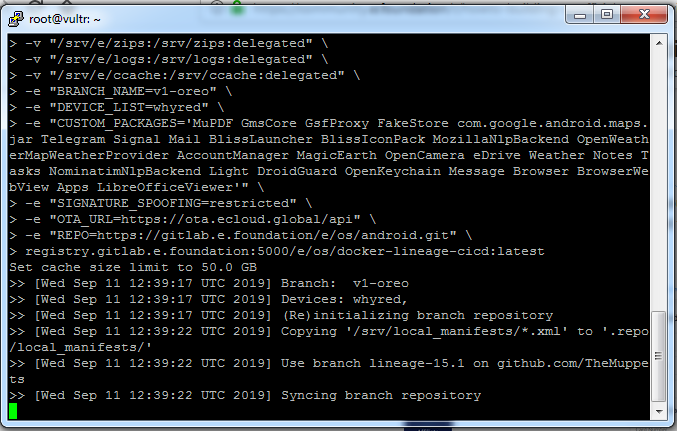
Now server syncing sources and after that it will automatically build rom you not need do nothing jut wait, how long its depends how powerfull your server is, it can be like from 3-6 hours or more.

When you got this, its mean that your build is ready
Screenshot_5

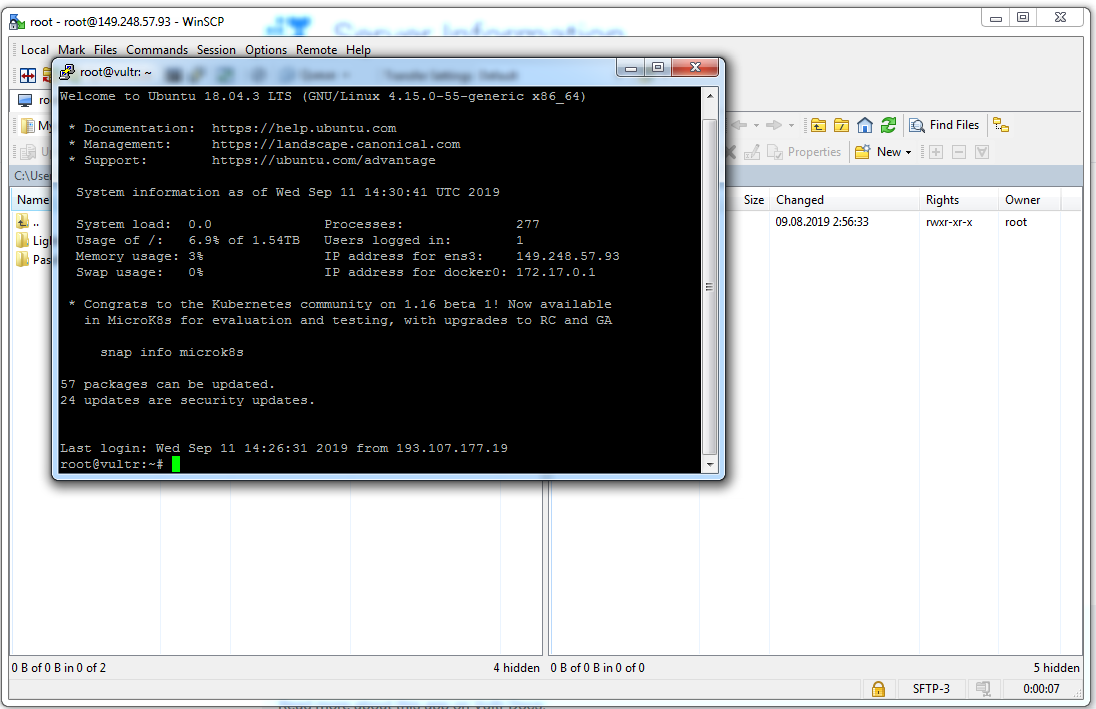
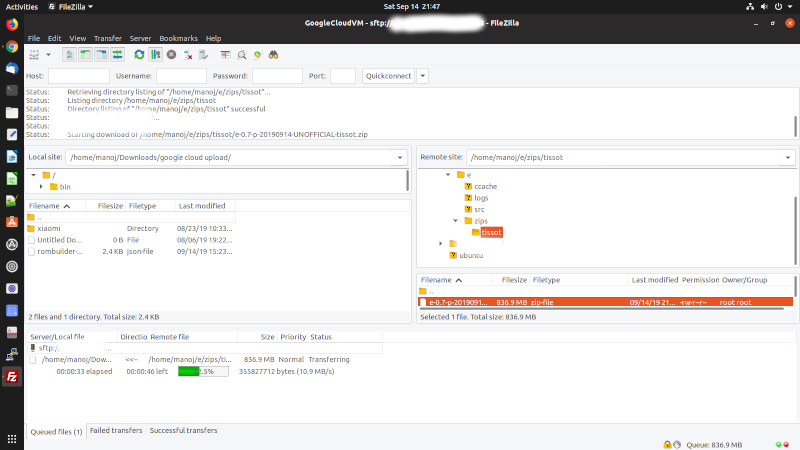
Yeah, build is ready its cool, but its located on server, so how copy it to your pc, I use WinSCP but its Windows only for Linux search for alternative or try run with Wine.
Install WinSCP https://winscp.net/eng/download.php, after installation complete run it, paste IP Address, Username (its always “root”) and Password (same as in Putty), and press Login


Ignore warning and press yes

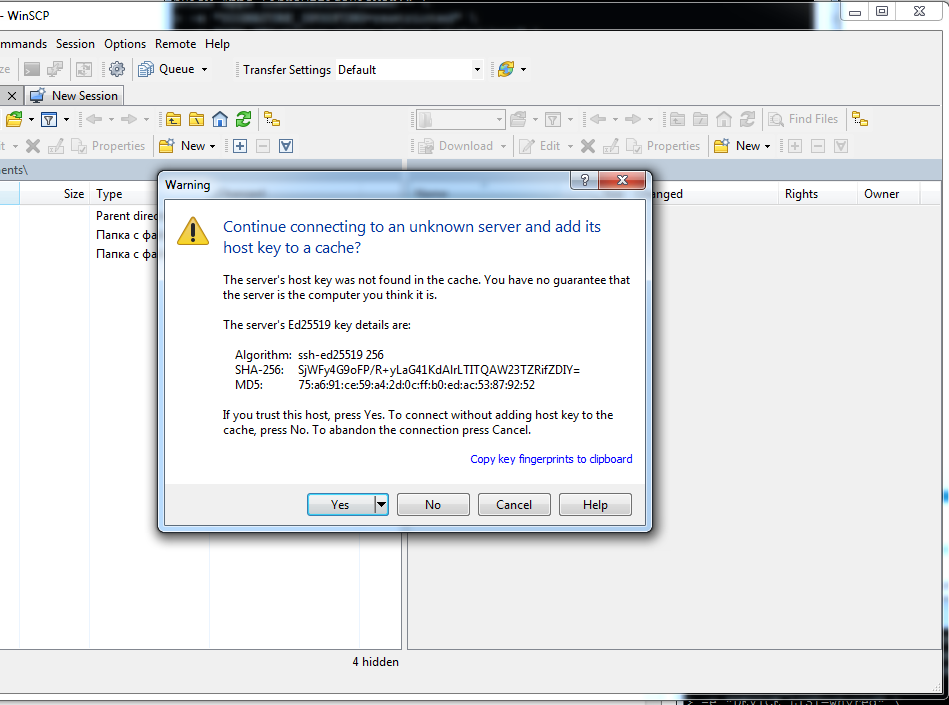
Now you connected to server, in left side its your local pc folders in right your server folders, you now in root directory of your server

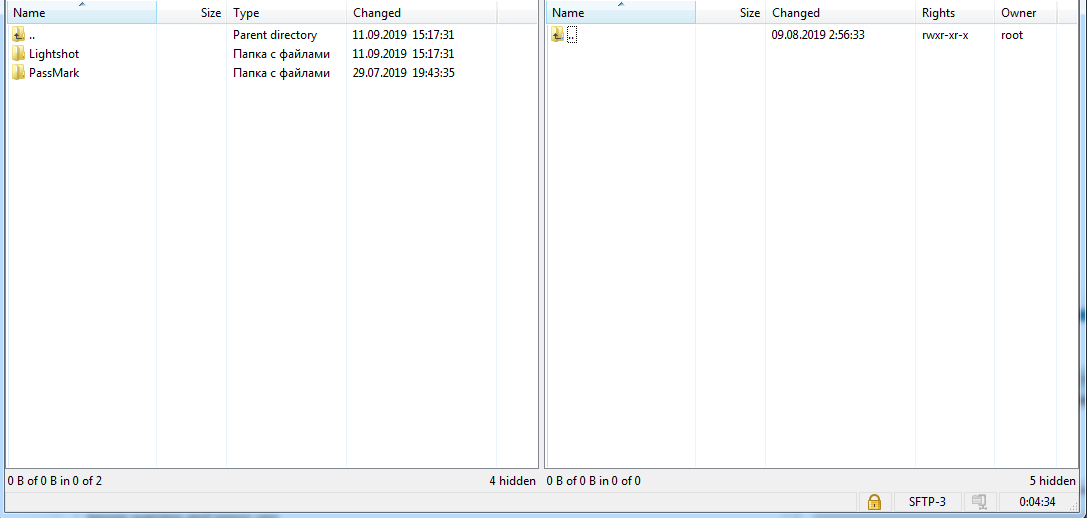
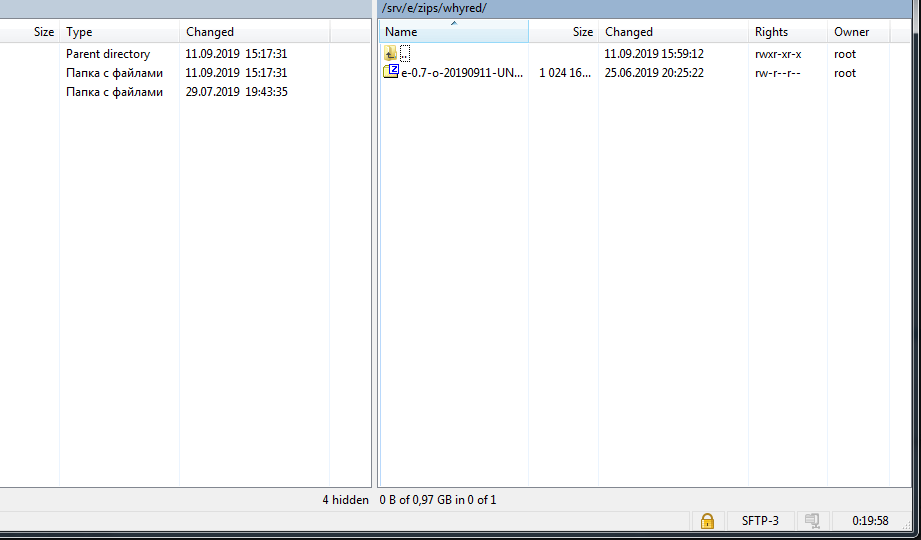
Click on “…” the go to /srv/e/zips/your device codename/ you will find .zip file, it is your build.

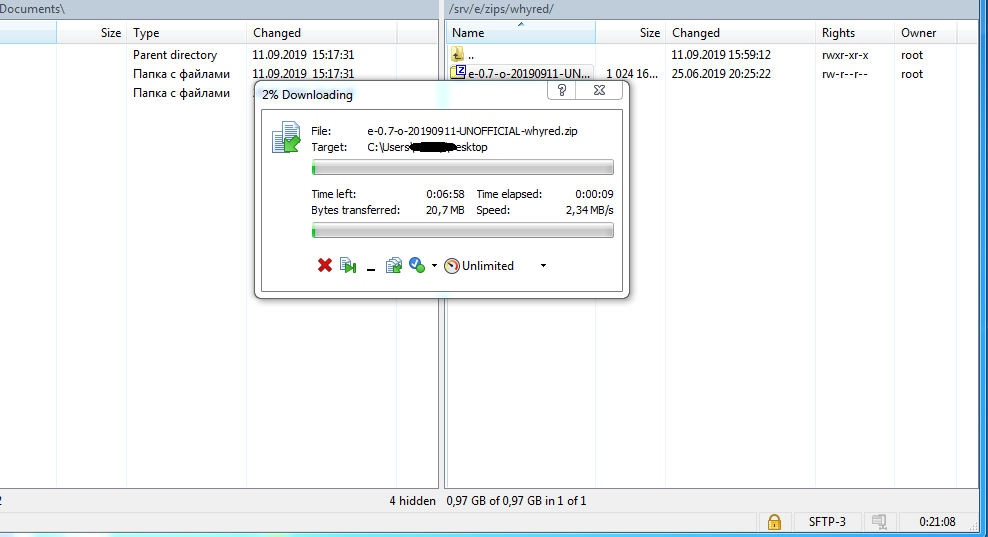
Now just drag and drop it on your desktop or in any folder in left panel inside WinSCP


Now you are done, enjoy!
Screenshot_11

Also you can go in WinSCP Options-Preferences-Integration-Aplications and check all

so you only need login WinSCP once to connect server and it automatically will open session in Putty

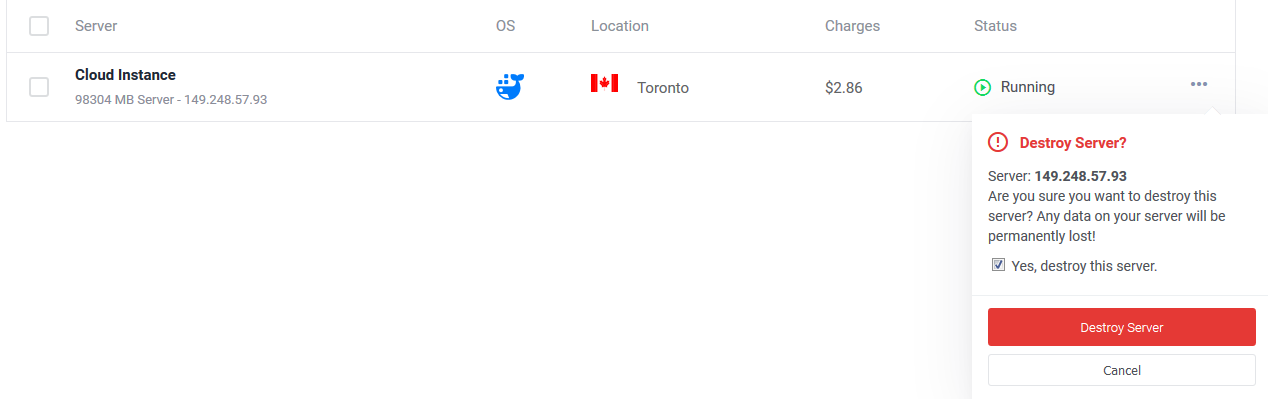
Also if you not planing make a new build soon, you better destroy server, because it takes credit amount even if you not use it, so if decide make a new build create a new server and follow this guide again.

Feel free to edit and comment!

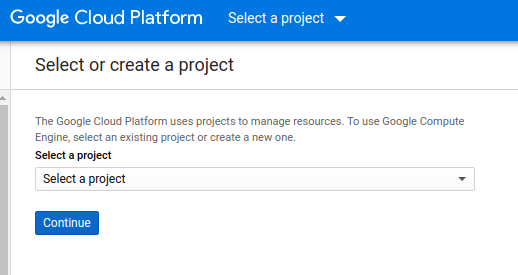
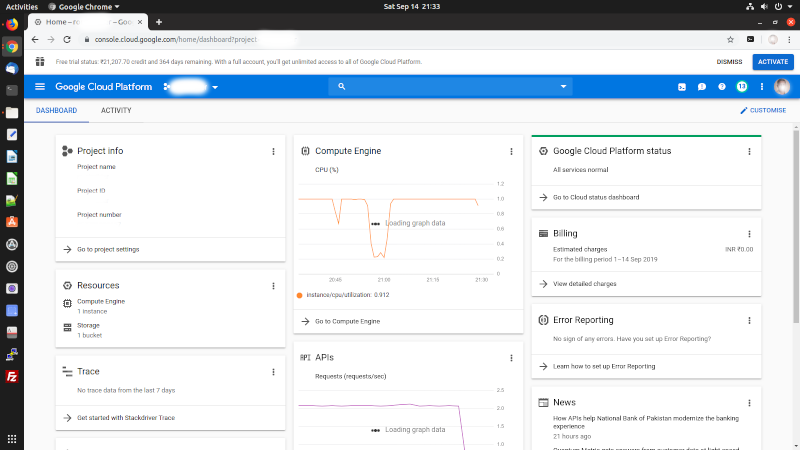
also Im waiting for @Manoj Digital Ocean guide.

P.S. Sorry for mistakes, im not native English speaker.

7 Likes

Thanks for putting up this simple HOWTO @Unknown . It should help folks who are interested in building a ROM but do not have a PC at home with the required specs.
There could a number of other options available so it would be good if other users can also share their recommendations. End of the day we want to demystify the world of ROM building.

1 Like

Thank you for this guide!
One suggestion:

we should maybe add -d flag to the docker command line (also in official wiki, was not aware it is missing there. It backgrounds the build/container so that you don’t need to maintain the putty/ssh connection all the time during build and risk using your progress upon a dropped connection.

When a container is running in background and you want to check its status you need to execute:docker ps and to view the logs and follow it docker logs -f ‘containername’ where container is the name of the running container you found using docker ps. In case you added also --name ‘my container name’ to the docker command line when starting the build you can use the name you specified instead of the randomly generated one

2 Likes

Also you can open another Putty terminal window and use this command:
tail -f path to your logfile to see building process logs. For example for OnePlus One - bacon:
tail -f /srv/e/logs/bacon/eelo-0.7-20190912-UNOFFICIAL-bacon.log
you dont need write log file name, just use Tab button when you in your device logs folder.

2 Likes

I cheked this server and it has not enough space for OnePlus One Pie build, so i think its

cheapest server you need for /e/ build for one android branch, so for building one rom you will need less than $1.

Also i found this “GOVULTR” Promo Code it gives you $10 credit if for some reasons you dont get $50, but if you got 50$ it will not work for you, well at least it not work for me. $10 is enough for you to make like 10-20 builds, depends on server you choose.

Thank you for this excellent guide @unknown. I managed to build my very first unofficial build for my S5 Neo. It works like a charm…

1 Like

I was checking out Google Cloud Platform …Yes I know we do not say the G-word on this site… they offer 300$ credit for 365 days. Built a ROM on their VM. The configuration part is a bit complicated there are too many different resources offered. All you need is the compute engine on which you set up the VM. One way to burn out the old un-used gmail ID. Good way to learn how to build on a remote VM.

I was checking out different ways to build a custom ROM on a cloud VM and found the Google Cloud Platform. Yes, yes I know we do not use the G-word on this forum but I had a ‘hardly’ used gmail ID and thought it was worth a try. This is my side of the story.

To start with this is the link You get $300 of free credit to start off with.

Sign up: As I mentioned I had a gmail ID which I used to sign in. Some years back I had purchased a google drive storage for 100GB. That account was closed but I think the credit card credentials were still there in their database so was not asked to sign in or do a default payment.

Configuring the Google Cloud Platform

I spent about 2 whole days trying to figure out the various options and settings. Believe me with all the options and resources available the dashboard looks more complicated that the NASA main switchboard! I am sure I may have missed a few steps but in general this is what I did.

I realized you need only one resource since all I wanted to test was on how to build a custom ROM on a VM. For that you need to access the Compute Engine resource. This is were you set up the VM. Select the specs carefully. I choose

Ubuntu 18.04 + 30 GB RAM + 350 Gb Hard disk space… all this is charged against the free credit

The dashboard asks you to set up an organization – no need for that if you are just trying to get a build done. It will say ‘ No Organization’ that is ok. Ignore it.

Steps

  • Create a project

  • Add a VM

Ubuntu 18.04 with at least 350 GB of HD and 30 GB RAM

  • Get Service Account name will be needed for ssh access

  • Install Docker on VM check it is working with docker run hello-world

  • delete all containers…we need all the space we can get

  • add user to the docker run group

  • On local PC

sudo aptitude install putty-tools

then run this on your PC …assuming you have ubuntu

puttygen -t rsa -b 2048 -C “user@host” -o keyfile.ppk

where
user@host is the service account set a password here and remember it !!`

On your PC run the below command

puttygen -L keyfile.ppk

this will extract ssh public key pair … for more details refer

  • Install Filezilla on your PC

  • Add the key pair to it -Add key pair on the VM instance by editing it

  • this will help with SSH connect
    for more details refer

  • Once VM has docker installed open ssh console by clicking on ‘ssh’`
    In the ssh console run the docker build command as given here

To upload / delete folders on the VM you have to provide right to your user which is done with the below command in the ssh console

sudo chmod 777 / path / to / file or folder

an example of how this looked in my case is given here

sudo chmod 777 / home / manoj / e / src / PIE / vendor /

  • In Filezilla the details you need to fill in are as under

sftp://ipaddress

username: username on VM

rest it will ask for password set during the ssh key pair creation

Once your build is done – Delete the VM and close the project . That will save your credit , but remember the next time you want to build you will have to start from scratch.
Posted some screenshots below in case they are helpful to anyone

Screen 1: Where you are asked to select or create a project

Select%20or%20create%20a%20project
2. Dashboard when the build is running… you can see the graph in the compute engine

  1. Dashboard when the build has stopped…


4. ssh Konsole looks the same as when run on the local machine

sshConsoleScreen
5. This is how I connected from FileZilla to upload and delete files on the VM

@unknown, will this build instructions included here work for non Los supported devices?
Thank you!
I am trying to build for Mi Pad 4 Plus.

Thanks very much!

Hetzner is now offering pre-installed Docker for their VM : https://docs.hetzner.com/cloud/apps/list/docker-ce/
Tested succesfuly :slight_smile:

Krystal Hosting in Edinburgh, UK currently have an offer of £100 free credit which can be used on their Katapult public cloud compute instances. These look promising for building /e/OS (or other custom ROMs), and their pricing seems to be competitive. e.g.

  • their ROCK-96 product offers 96GB RAM, 32 vCores, 800GB NVMe SSD, 1TB Outbound bandwidth for £480.00/mo £0.7143/hr.
  • Vultr.com offer 32 vCPUs, 64 GB RAM, 500 GB NVMe SSD ,9 TB $640/month $0.952/hour

I’ll be giving them a try, and I’ll report back

1 Like