Mission:
Install and connect Nextcloud app to /e/cloud drive to be able to perform following things:
- Auto-sync files from a custom folder on your /e/ phone to /e/cloud drive.
- Upload custom files other than Media (Photos and videos).
- Shoot and upload uncompressed pictures directly from your front or back camera.
Prerequisites:
- A phone running /e/OS
- Credentials to your /e/ account
Let’s roll.
1. Install Nextcloud from /e/ Apps Store
Open /e/ Apps Store
Pro tip: Did you notice the green notification dot on the top-left? It indicates there is an unread notification. Check your notification tray!
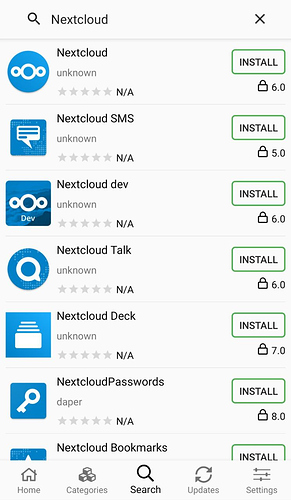
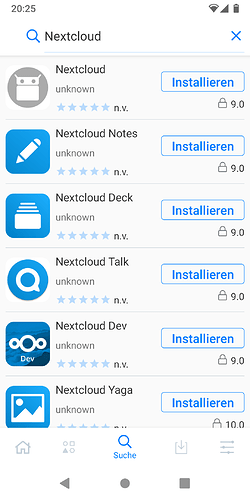
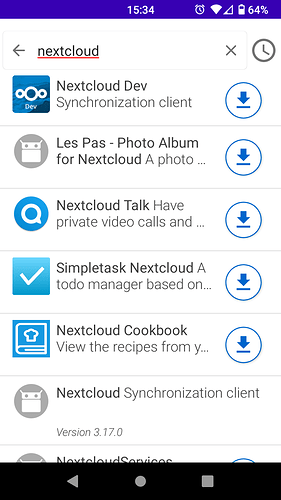
Tap on Search from bottom menu to look for ‘Nextcloud’.
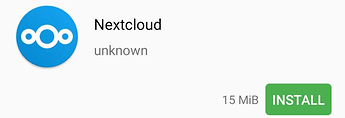
Install it and open once done.
2. Configure Nextcloud to access your /e/ cloud drive.
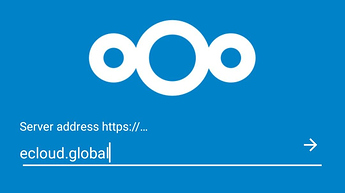
Once greeted with home screen, enter ‘ecloud.global’ in the text field and tap on the arrow to continue.
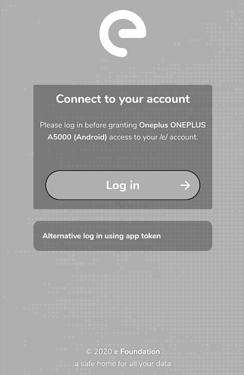
Once asked to “Connect to your /e/ account”, tap ‘Log in’ to continue.
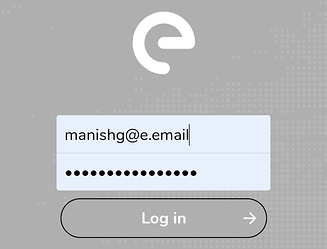
Enter your /e/ account credentials and tap ‘Log in’ to continue.
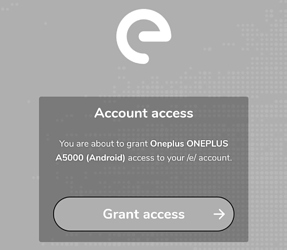
Tap Grant Access to allow Nextcloud app to access your /e/cloud drive to continue.
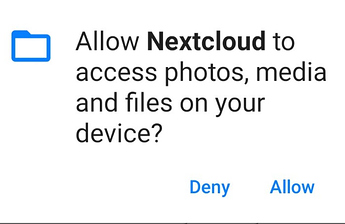
Allow Nextcloud to access photos, media and files on your device.
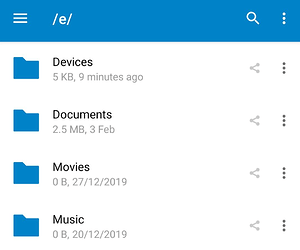
You have successfully connect Nextcloud to your /e/ cloud drive.
3. Sync files from a custom folder from your /e/ phone to /e/cloud drive
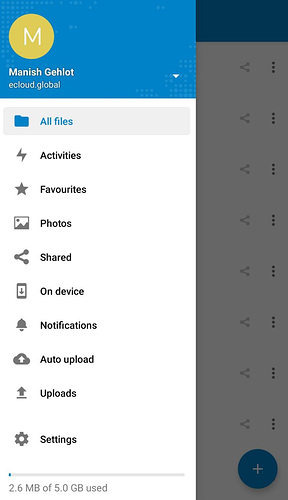
Upon successful login of Nextcloud app, from home screen tap on top-left icon to reach ‘Auto-upload’ option.
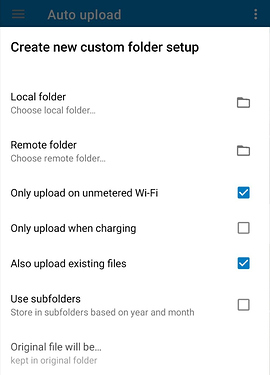
In ‘Auto-upload’ section, tap on top-right icon to ‘Set up a custom folder’.
‘Create new custom folder setup’ settings appear.
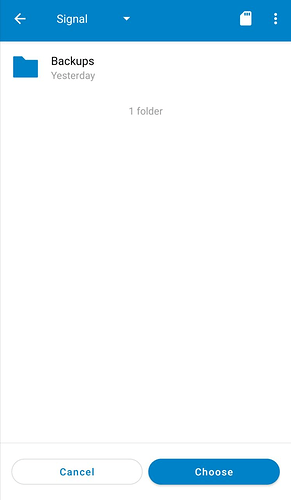
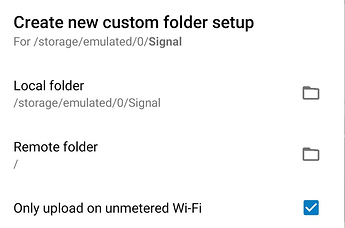
Tap Local folder option therein to ‘Choose’ a folder on your phone. For example, I have selected a folder named Signal.
Tap Remote folder option therein to ‘Choose’ a folder on your /e/ cloud drive. I have chosen to use root for the purpose of this guide.
Pro tip: You should untick ‘Only upload on unmetered Wi-Fi’ option for obvious reasons provided that you have a good data plan or if you do not Wi-Fi only. Other option that you might want to tick is ‘Only upload when charging’ if you travel a lot and prefer to save battery.
Tap ‘Save’ in the bottom to finalize custom folder sync setup.
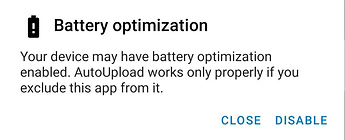
This might conflict with battery optimization, so tap on ‘DISABLE’ to exclude this app in order to avail robust sync of your custom folder in background.
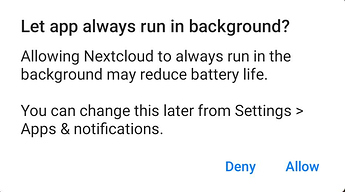
Yes, Allow to Let app always run in background. Tap ‘Allow’ to continue.
Once done, now all the files from Local folder will auto-upload in background to your /e/ cloud drive.
4. Upload custom files
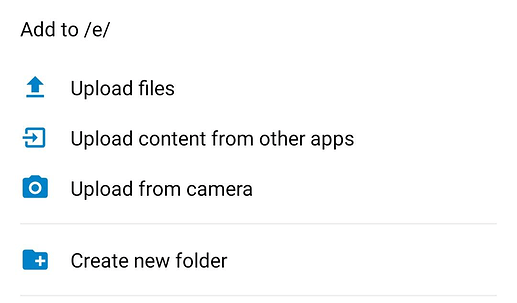
In the home screen, tap on the bottom-right ‘+’ icon in blue to open upload options as seen in the image below.
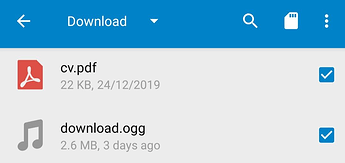
Tap on ‘Upload files’ to selected one or multiple files from your phone and tap ‘Upload’ from bottom-right to start the process.
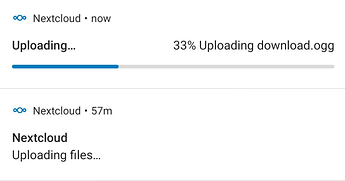
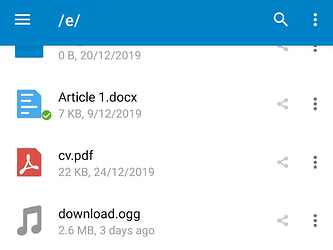
Upload progress should appear in the notification tray immediately. Once complete, you can access these files from any device using your /e/ cloud drive.
Pro tip: It is best to create a new folder by tapping on ‘Create new folder’ option from the Nextcloud upload menu to sort out your uploaded files.
5. Shoot and upload uncompressed pics directly from your phone camera
In the home screen, tap on the bottom-right ‘+’ icon in blue to open Nextcloud upload options again as seen in the 4th step.
Tap on ‘Upload from camera’ to continue.
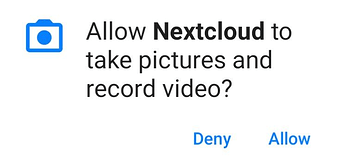
‘Allow’ camera access to the Nextcloud app to avail this function.
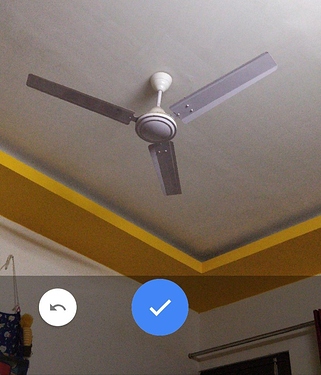
Once the camera is ready, select the back or front camera and click a picture. Tap on the big ‘blue tick’ mark to upload or the icon to the left to retry.
An uncompressed picture or image is uploaded and appears in your /e/ cloud drive now.
Pro tip: This upload method can really help some of the professionals like investigative journalists etc
Thanks for reading!

