[HOW-TO] Flash /e/-OS on Fairphone 3 using Debian based GNU/Linux

Mission:

Install latest /e/OS on your Fairphone 3.

Prerequisites:

  • A Fairphone3 smartphone, with Possibility to Unlock Bootloader (you got the key from Fairphone and applied it)
  • Downloaded copy of latest /e/OS ROM from here .

  • Patience to follow steps i.e. unlock bootloader and finally privacy-friendly /e/OS ROM on your Fairphone 3 phone.

Let’s roll.

Warning: This process will completely wipe all data in the internal storage of your smartphone, please make sure you have a full backup of critical data on your smart phone.

1. Install Android ADB & Fastboot tools on your Linux machine

Debian GNU/Linux is used for the purpose of this guide. Kindly change the commands and package names, if any for your distribution.

Open Terminal app on your linux machine to execute the following command:

$ sudo apt-get install android-tools-adb android-tools-fastboot

When done check with adb version command to verify. A result as follows shall appear on your terminal screen.

Android Debug Bridge version 1.0.39
Version 1:8.1.0+r23-5

2. Enable OEM unlock and USB debugging from Developer Options on your smartphone

Goto Settings in your phone, scroll down to tap on 'About phone’

Tap on ‘Build number’ a couple times until it unlocks the Developer options mode as seen in the images below. Kindly enter password/PIN when asked.

Yay! You are a temporary developer now without any coding experience whatsoever!

In Phone Settings, navigate to System and scroll down to open Developer options .

Enable OEM unlocking.

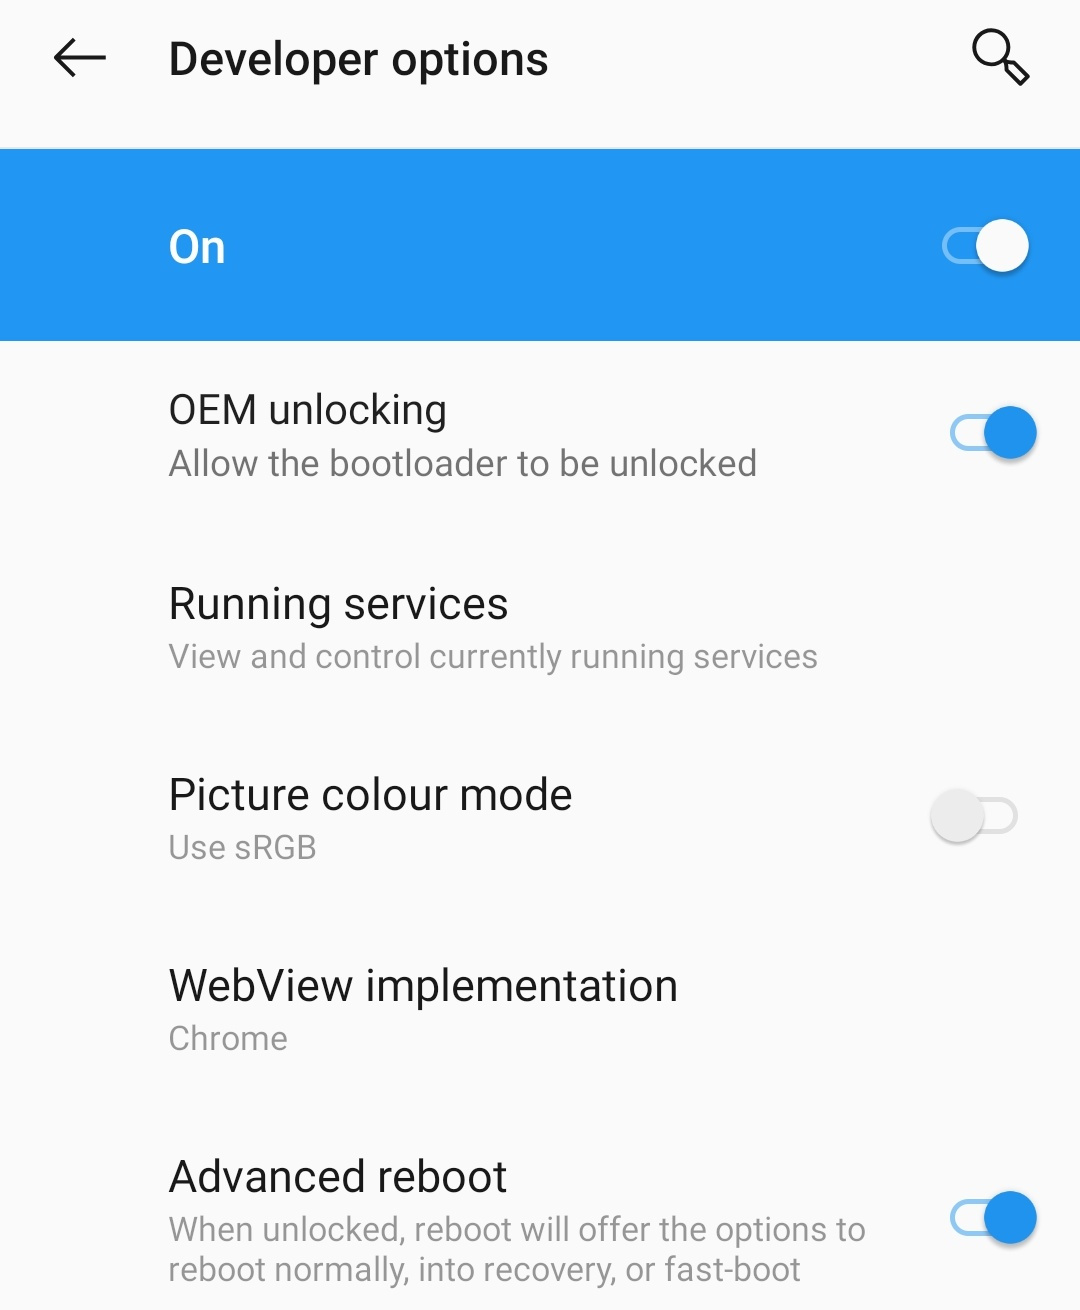
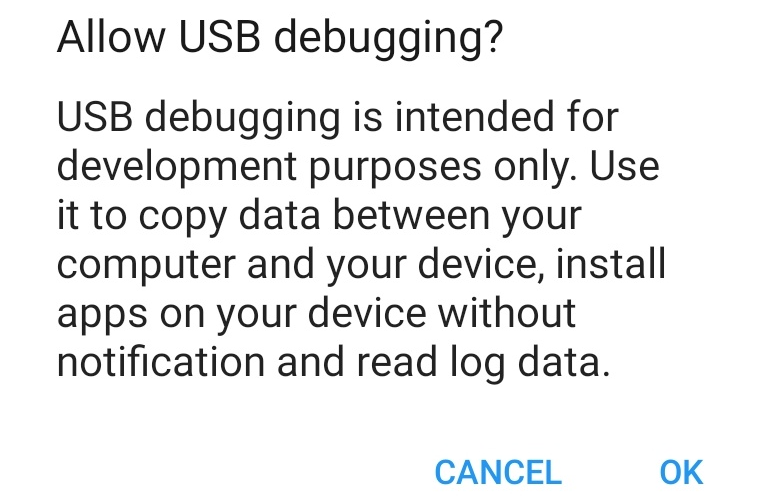
In the now unlocked Developer options in phone enable USB debugging under DEBUGGING

Tap OK to Allow USB debugging and enable it.

3. Connect your smartphone using USB cable to GNU/Linux PC to whitelist USB debugging from it to unlock bootloader .

Tap OK to continue.

Shut off your phone and press Volume Down + Power Button
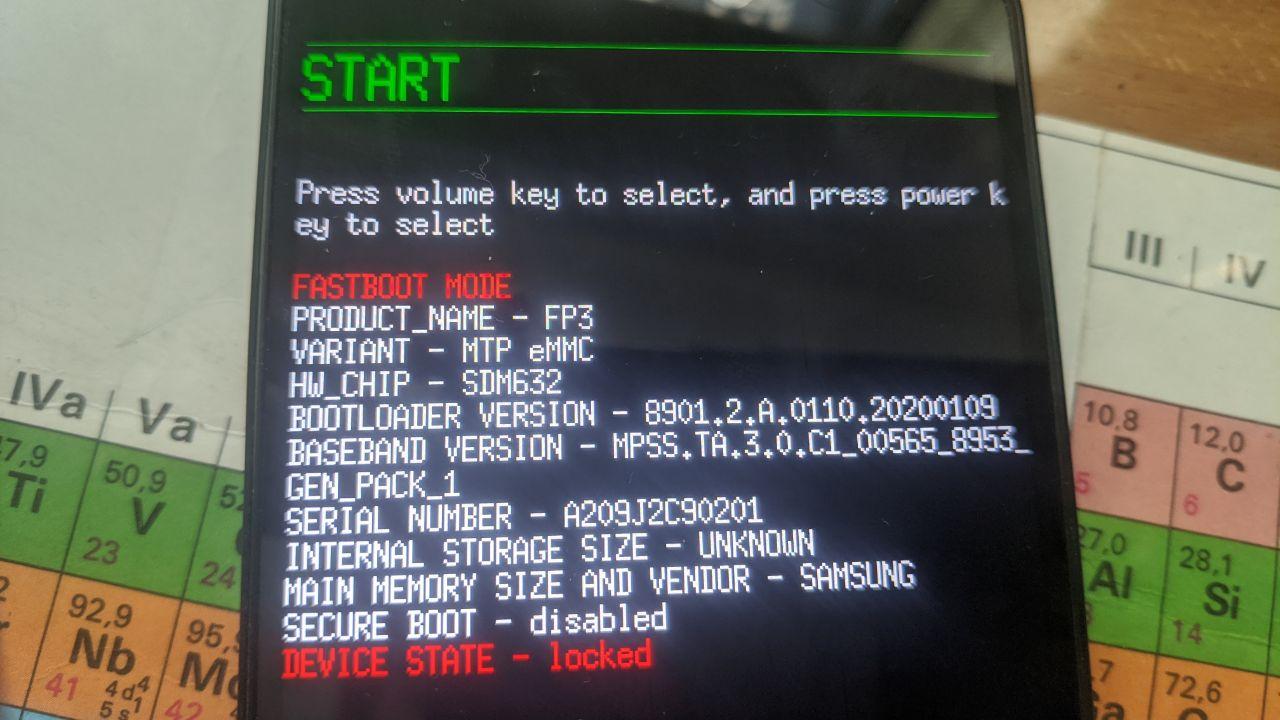
Or simply connect your phone via usb to your computer and type adb reboot bootloader in your linux terminal that will bring you to fastboot mode.
Where you can see the DEVICE State which is LOCKED.

to check if everything is setup correctly and that you are ready to go type fastboot devices in your linux terminal, it will give a result similar to this;

188fd24b9904 fastboot

If you can see a different number/lettercode you proceed with the next step, otherwise recheck the steps or ask for assistance.

When in fastboot mode type on your linux terminal either fastboot flashing unlock or fastboot oem unlock to unlock the Bootloader, this allows to flash other software then the original stock firmware.

It results with following output on PC

...
OKAY [  0.043s]
finished. total time: 0.043s

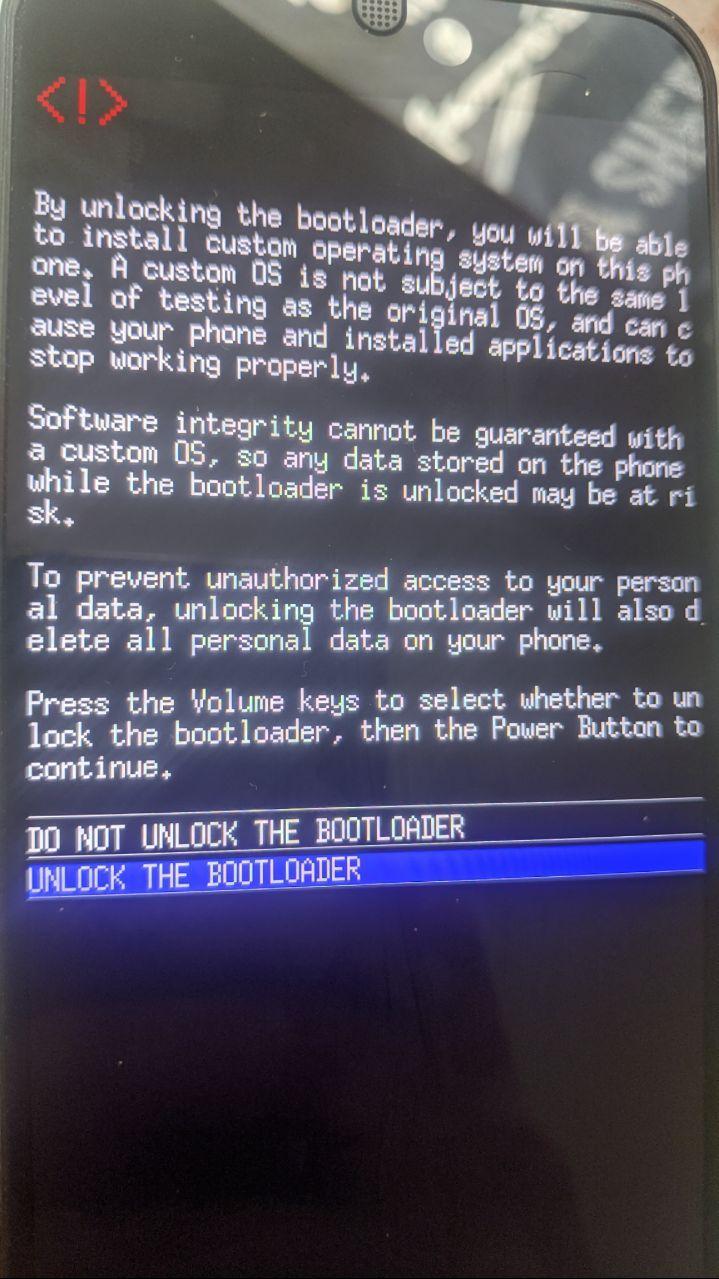
On your Fairphone navigate to unlock the bootloader with volume buttons and confirm with power button.
Now you will receive a warning upon boot as seen in the image below that also acts as a confirmation that your bootloader is unlocked now.

Your Fairphone 3 smartphone is reset now. Either edo the setup quickly. Since all the settings have been wiped from your smartphone. Once done, you have to re-enable USB debugging from Developer options with steps above then type again
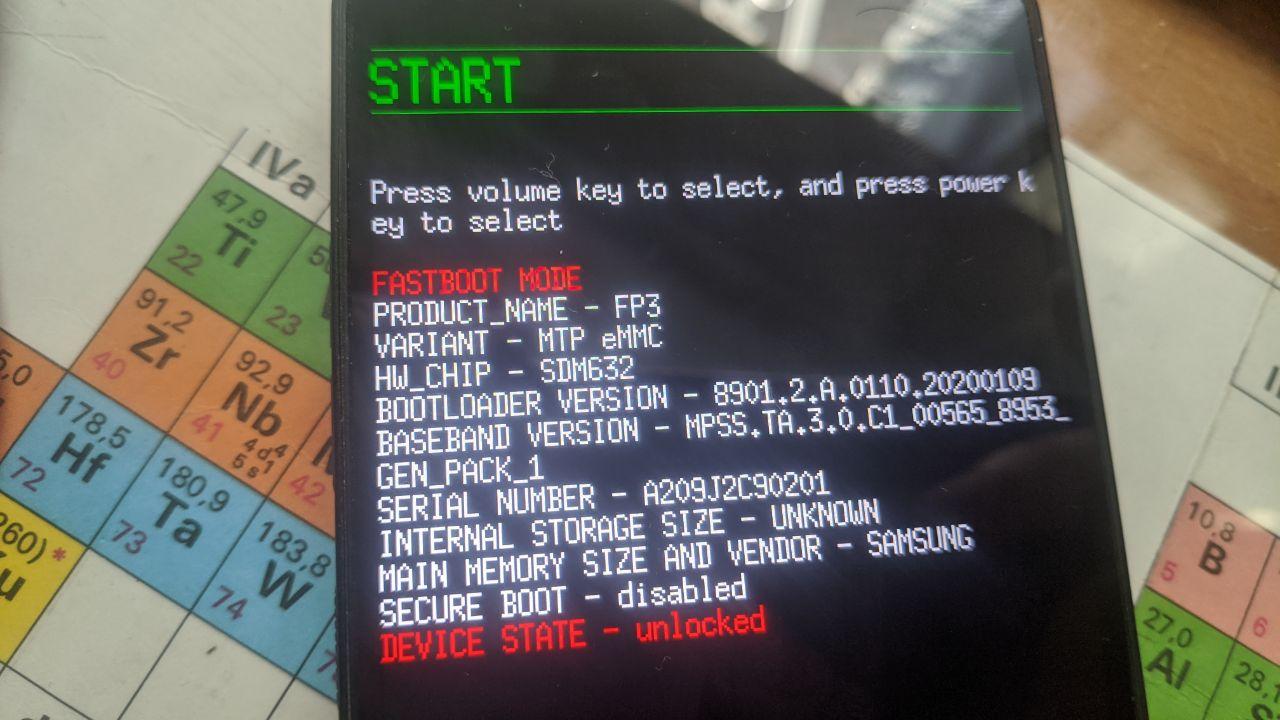
 adb reboot bootloader on your Linux machine, it will reboot your phone to fastboot mode. Another possibility is to shut off the phone and enter fastboot by pressing Volume Down + Power Button at the same time until the phone vibrates shortly.

As in the picture below you can see that your DEVICE STATE changed to unlocked.

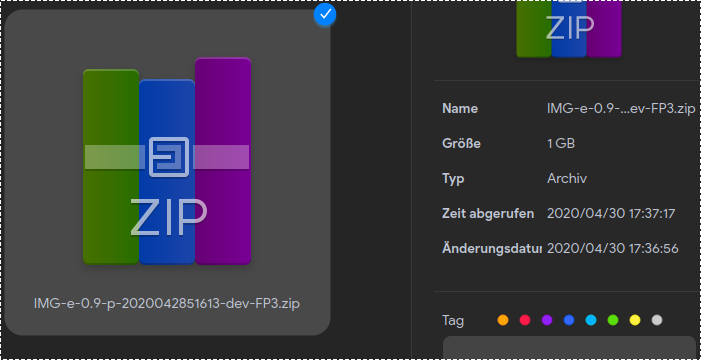
On your Linux Machine open the archive with /e/-OS that you download from /e/ Website and extract the files it contains into one folder.

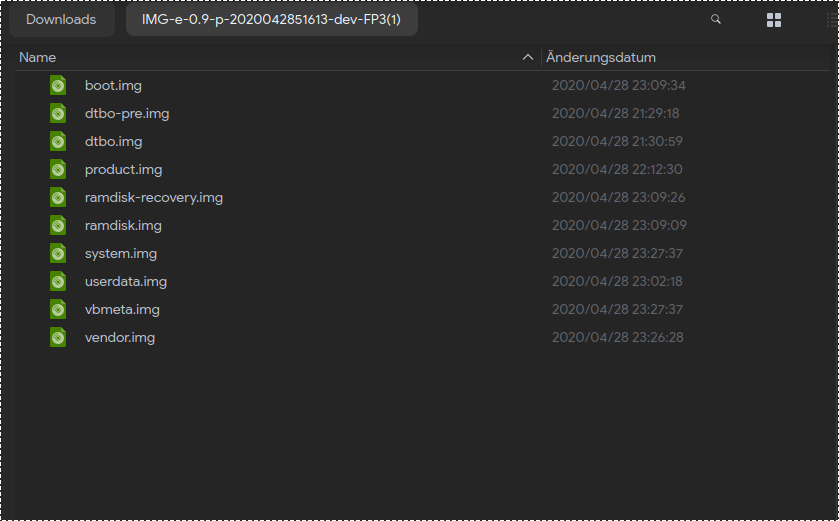
Update May 2023 The unzipped folder now looks as shown in Post #58 and partitions do not now have to be flashed manually – a script is now used for the flashing stage.

From terminal application on PC, navigate to file path where you have downloaded the /e/-OS image,
for example like cd /path/to/your/extracted/files/ on some machines a right click in the folder allows to open it directly in a terminal. Execute the following commands to install /e/-OS:

 fastboot flash system system.img

It will result in the following output on PC:

target reported max download size of 534773760 bytes
sending sparse 'system' 1/4 (522236 KB)...
OKAY [ 13.515s]
writing 'system' 1/4...
OKAY [  2.371s]
sending sparse 'system' 2/4 (522236 KB)...
OKAY [ 13.881s]
writing 'system' 2/4...
OKAY [  2.366s]
sending sparse 'system' 3/4 (522236 KB)...
OKAY [ 15.326s]
writing 'system' 3/4...
OKAY [  2.351s]
sending sparse 'system' 4/4 (218904 KB)...
OKAY [  6.729s]
writing 'system' 4/4...
OKAY [  1.009s]
finished. total time: 57.549s

the next command is

 fastboot flash boot boot.img

the linux terminal output looks like this:

target reported max download size of 534773760 bytes
sending 'boot' (65536 KB)...
OKAY [  2.027s]
writing 'boot'...
OKAY [  0.314s]
finished. total time: 2.342s

The next step is done by this command:

 fastboot flash vendor vendor.img

which gives us the following in terminal:

target reported max download size of 534773760 bytes
sending 'vendor' (368004 KB)...
OKAY [ 10.438s]
writing 'vendor'...
OKAY [  1.672s]
finished. total time: 12.111s

half of the commands are done, the next one is:

 fastboot flash dtbo dtbo.img

which gives us:

target reported max download size of 534773760 bytes
sending 'dtbo' (8192 KB)...
OKAY [  0.661s]
writing 'dtbo'...
OKAY [  0.054s]
finished. total time: 0.714s

and finally the last flashing command,

 fastboot flash vbmeta vbmeta.img

which throws this at us.

target reported max download size of 534773760 bytes
sending 'vbmeta' (4 KB)...
OKAY [  0.130s]
writing 'vbmeta'...
OKAY [  0.021s]
finished. total time: 0.150s

5. to finalize the flash while still being in fastboot mode we can now relock the bootloader to get rid of the warning messages during boot.

Therefore we simply type fastboot oem lock or fastboot flashing lock.
Which will give us again a warning asking us if we really want to relock the bootloader, this erases everything from the phone. Once that is done the phone will start its new /e/-OS system automatically

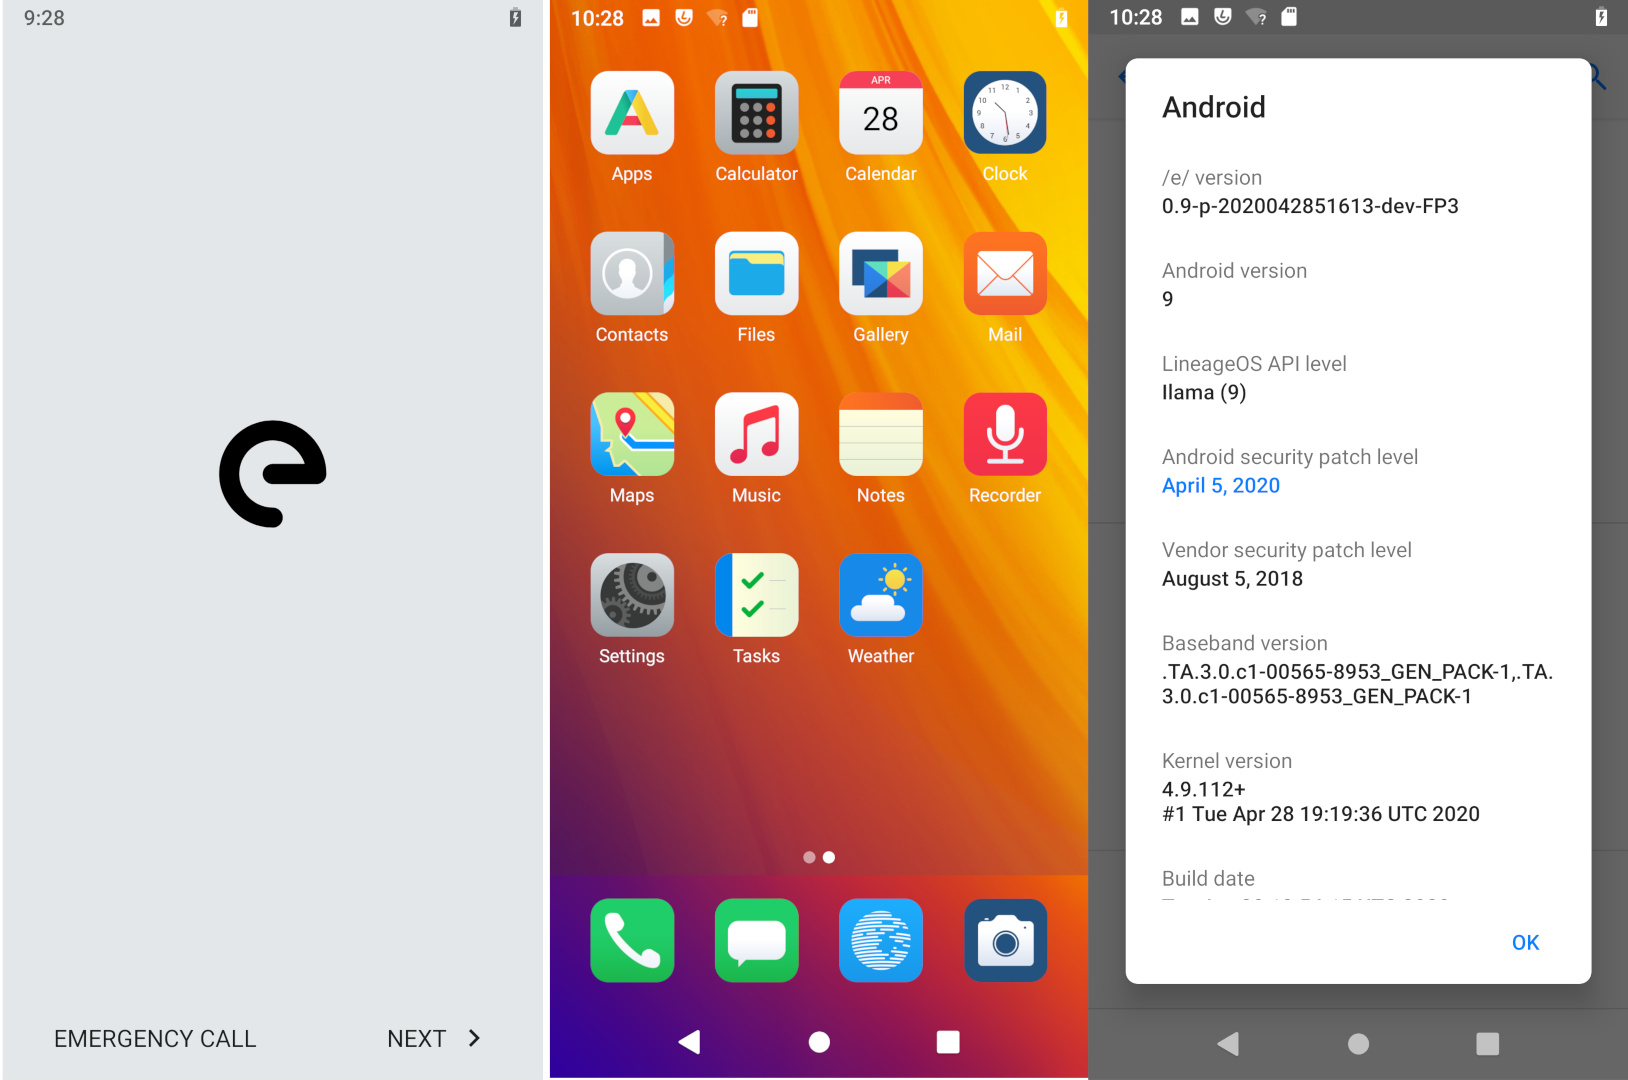
Voila! Easy, isn’t it?

Thanks for reading

17 Likes

Great Job !.!
I would like to do that kind of work if I had electricity at home to plug a PC

1 Like

Before command :

there is not flashboot -w ?
Isnt’it usefull in the process ?

for me that command did not work and just threw an error…
after some reading now i saw it is to erase the userdata partition if i understood correctly, but it should work without it as it did for me…

1 Like

I had same problem.
It was because I had installed adb & fastboot via apt install on my kubuntu.
Someone explained me to download the Android SDK platform tools here.
With that, all the process were good :wink:

1 Like

good to know…well it works either way…

1 Like

At first I had no success, because I got the following error:

$ fastboot flash system system.img
Sending sparse 'system' 1/4 (522236 KB)            OKAY [ 20.035s]
Writing 'system'                                   FAILED (remote: 'partition table doesn't exist')
fastboot: error: Command failed

Then I remembered from other installations that I had to set a specific slot. I then did the following and succeeded:

fastboot --set-active=a 
fastboot reboot bootloader 

fastboot flash system system.img
fastboot flash boot boot.img
fastboot flash vendor vendor.img
fastboot flash dtbo dtbo.img
fastboot flash product product.img
fastboot flash vbmeta vbmeta.img

fastboot --set-active=b 
fastboot reboot bootloader 

fastboot flash system system.img
fastboot flash boot boot.img
fastboot flash vendor vendor.img
fastboot flash dtbo dtbo.img
fastboot flash product product.img
fastboot flash vbmeta vbmeta.img
3 Likes

Hi @mdoering
Welcome to /e/land !

I could have wrong understanding, have we the possibility to run dual boot on those a/b slot devices ?

Yes. I’m also new to all this stuff, but as far as I understood you can flash one slot at a time and jump back to the other one, if the newly flashed system doesn’t work.

It is normally meant to flash just one slot at a time and then test. So flashing both of them is a matter of trust. :wink:

Not in the way you want :wink: .
The data partition is shared, there are not two of it.

There are two slots for the OS partitions, however, so you can indeed boot 2 versions of an OS or even 2 different OSes by switching the slot, but typically they would then need a factory reset to boot successfully, and with this the data partition would be emptied with every successful slot switch.

The slot system makes it possible to do updates in the background. The updater updates the other slot while you can still use your phone and then switches to the updated slot on reboot, using the data partition just as you left it.
And, connected to that, this way there is a fallback version of the OS to go back to if something fails.

2 Likes

Thanks,
I was thinking about use an hypothetical dual boot with two OS, like for linux on the PC or MAC.
typical example : it could allow switching between the Stock-OS and the /e/OS for still Gogol corrupted apps users.

First, thank you for writing this guide. I’ve been using Ubuntu some 15 years, so I’m somewhat familiar with the command line, but it’s not like I use it regularly, and I’ve never played around with a phone (adb and fastboot completely unknown), so the official instructions seemed a bit sparse for me.

I did however have some minor bumps on the way, so I thought I’d describe my process in case someone else would benefit from it.

(tl;dr: scroll to end)

My computer currently runs Xubuntu 16.04.6 LTS (Xenial Xerus), the 32 bit version (the computer itself is from 2007 or some such, it’s a business version I bought used and still has a sticker on it that says Windows Vista).

Step 1:
Okay, I’ve used apt-get, so that shouldn’t be a problem… Terminal gives error report and says partially installed package. Is it one of these or some old package? More research, but I get it solved thanks to some kind person having posted exactly what to write into the terminal to fix it. That done (which had nothing to do with fairphone or adb), onwards with adb and fastboot, and to step 2.

Step 2:
Now I have to start my FP. I got it a few weeks before /e/ announced beta-testing, but I’ve hardly used it since because of how googled it is. I’ve been thinking of buying a Fairphone since the original one, but I had a pretty new phone then, so I always thought I’d leave it to when I next needed a new one.

Well, I’ve used that phone about 10 years now, and it’s getting pretty outdated (still has Android 2-something…), but calling and texting still works even if other things have become difficult or impossible (I’ve been going crazy with Google Play Services from about when they appeared – because when I started using that phone they didn’t exist even if the Store did – and a lot of apps either don’t work with the old system or they are just too BIG for the phone to handle) so I just haven’t been bothered to upgrade (and I have to say I’m impressed it’s still working, as many times as I’ve dropped it on the floor; the screen is still whole and I haven’t noticed any dead pixels, even if the back is so loose it hardly stays on; and it isn’t even a Nokia…)

Reason I decided to finally buy my FP now is that due to corona I suddenly had to do meetings though video conference, and with a 32 bit system on the computer Skype is pretty much an impossibility (I didn’t get Teams to work either, but I don’t know if it would be possible) and though I did get Zoom to work my poor old computer started lagging the video and sound after 20-30 mins.

So I got my new phone (very speedily and niftily through a local vendor), and I was horrified at the mass of google that greeted me.

Now, I haven’t ungoogled my old phone, and it’s not like it’s that secure either, but google is really unobtrusive there (though Play Services keep popping up at times and hogging space) so it hasn’t felt like a priority.
The FP however was seeped in google, which I hadn’t been prepared for. Oh well, I knew there were alternative OS out there, I had a vague idea I’d try one even before being horrified, so off to search I went. And read a ton of discussions on the fairphone-forum, only to find out that there wasn’t yet an alternative for FP3. What a letdown.

But there were several in the works, so I decided to wait a little to see what would happen, only using my FP when I needed to do video calls. And lo and behold, /e/ came out surprisingly quickly after that, so then I just had to do it… a little scary when diving into something completely new.

Anyway, following this guide I got to “Developer options”, although as I’d set the phone to my own language I didn’t find everything as quite as easily (and thankfully I remembered reading somewhere else it takes seven single taps on “Build number”, a couple of times doesn’t really cut it). I activated “OEM unlocking”, and then couldn’t find an option which seemed to correspond with “Advanced reboot”.

By this point I got fed-up with the language difference, so I set out to change the phone to English. And I found where to set new languages, but then I couldn’t just seem to change to the one I wanted. Took me a while to figure out I had to press down and then drag the new language to the top to activate it.
Not the most intuitive way in my opinion (but maybe that’s just because I’m not used to modern Android; my old phone is in no way comparable, and my Mom is in iLand, so although I’ve used her phone and tablet at times, they’re not really the same either).

So phone now in English, I went back to search for “Advance reboot”. Still couldn’t find it or anything like it. I don’t know if it is because I never updated my phone from how I got it, or what, but it just wasn’t there.
After looking and thinking about it a moment, I decided to just go on. “USB debugging” at least was there.

Step 3: connect the smartphone
I had gotten myself a proper charge cable (which took some searching after reading on fp-forum about the problems people had had with cables, so I didn’t want to just buy the cheep one at the local store, and as I got my FP from a local vendor I couldn’t buy FP charger and cable at the same time) which meant connecting wasn’t a problem. But then I got stuck.

It didn’t offer me a screen to accept the computer, in fact it didn’t offer anything, except inform me phone was now charging.
I finally figured out I had to roll down the notifications, tap on the one about charging, tap again on options and there set allow file transfer (or FTP, though I have no idea what FTP is) to get the “Allow USB debugging”-screen as shown in picture. Felt a bit stupid once I’ve got it, because I have to do something similar when connecting my old phone to the computer too, but the instructions in this guide are otherwise so detailed I got a bit stuck there.

I downloaded the OS-image from /e/ while I was searching for the missing options on my phone, which otherwise went smoothly except there were several options on the download page and no mention which to select or if it matters (I’m aspie, such things makes me confused).
Ubuntu has made extraction very easy, so no problems there either.

Step 3: unlocking
Okay, time to try the bootload, despite not having had the “Advanced reboot” option. I got the right screen on the phone, but I got nothing when typing “fastboot devices” in the terminal (confused again…). I did get something with “adb devices”. After rereading this and other pages and trying different options (including sudo) I decided to try the unlock anyway.

Which of course didn’t work, the only output was “waiting for device”. When nothing seemed to happen I pressed Ctrl+C to stop the process. And tried a couple different variations, then reread the pages (both the fairphone official one and the community forum one) on how to unlock bootloader.
I got my code (I’d managed to overlook the mention about it in the beginning, and it’s not mentioned later at all), and after testing adding it after “fastboot oem unlock” I did one more test, this time adding “sudo fastboot oem unlock code”. Finally success. And time for a short breather.

Step 3: flashing /e/
Now eager to finish, I right clicked on the folder to get a new terminal with the right path, and tried the next command. Of course it didn’t work (I think it said insufficient permission, which made me think about that “Advanced reboot” I was missing), but wise from my previous progress I tried with sudo, and the rest of the installation went smoothly, just adding sudo before each command.

And now I have my relocked phone running /e/ instead of Google. Next project: finding the right (for me) launcher and browser and music player and so on (and hopefully finding a way to port my contacts and messages and such from my old phone to my new one).

That was my experience. Not too bad, despite the hiccups.

tl;dr
at least for me, using Ubuntu (32 bit), I had to preface all commands with sudo to get it to work

2 Likes

Hello,

I just bought a FP3 and am trying to install /e/ from a Linux Mint PC,

I am stuck at the part where the “Allow USB debugging?” should pop on the phone and doesn’t.

I installed adb and tried “adb devices” on the command tool and it says: AXXXX (phone serial) unauthorized.

Can someone help me ?

I must say I am a total newbie to Linux but eager to learn :slight_smile:

Thanks !

Hello.
After being allowed as “déveloper” (7 touch on build number), when you connect your phone via USB it asks you to allows connecting (for debugging) to THAT PC. Then, adb will works.

PS : it needs to enable debug mode in phone’s settings, too… Did you found… and solved ?

Hi All!

Sorry my English knowledge (not the best).
So, I bougth my first Fairphone3 and the phone has Android 10.
I would like to install /e/OS and I use my Ubuntu 20.04 LTS.

I have a problem, I haven’t active OEM unlocking, so I couldn’t go next step.
The “USB debugging” is working fine, the “adb reboot bootloader” is ok, the “fastboot devices” is working fine, but the “fastboot flashing unlock” or “fastboot oem unlock” doesnt work.


Thank you for your helping.
Peace

Is there trouble with any of the steps given here? …

Thanks, it’s woriking, but I think the main problem: the phone didn’t connect to internet. After I connected, it’s working. I unlocked the phone.

And the e/OS/ on my Fairphone, thanks :smiley:

2 Likes

OK, I tried this and it didn’t work. I managed to flash the system.img Ok - though it didn’t give me the “target reported max download size of 534773760 bytes” message, which was a little worrying. it did give the correct output for the others though and flashed all 4 parts on. But when I tried to flash the boot.img, it returned an error of “fastboot: error: Couldn’t parse partition size ‘0x’.”

So, I’m stuck here. Anybody able to help?

Hello, welcome in the forum :slight_smile:

If you encounter an error at the fastboot flash boot boot.img step, the solution is available here.

2 Likes

Hi, thanks, I tried that, and it flashed it, but then booted into Android after I’d finished. Scanning here, I noted that there are two slots and I should really flash the OS onto both of them, like mdoering says above. So, I followed his thing, only after flashing the whole OS onto one slot, i then changed to the other slot, rebooted the bootloader (flashboot reboot bootloader) and then flashed the boot.img onto the previous slot (ie, the one that I wasn’t using). It seems you can’t flash the boot.img onto the active slot.

Anyway, it then booted into /e/. Success!

2 Likes