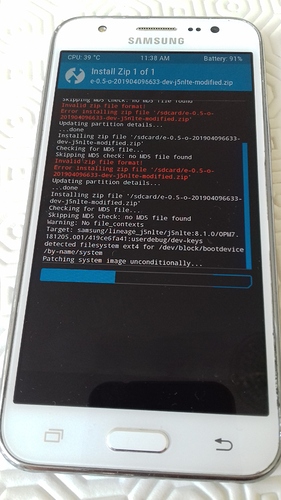
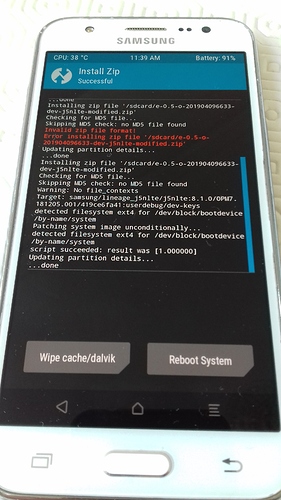
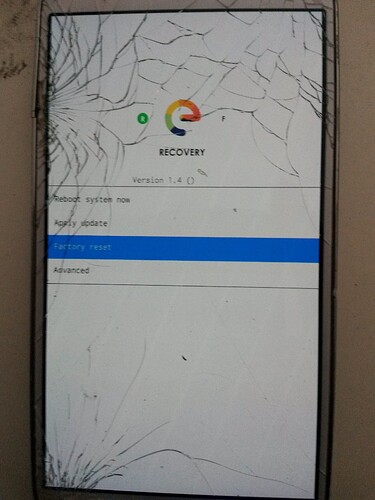
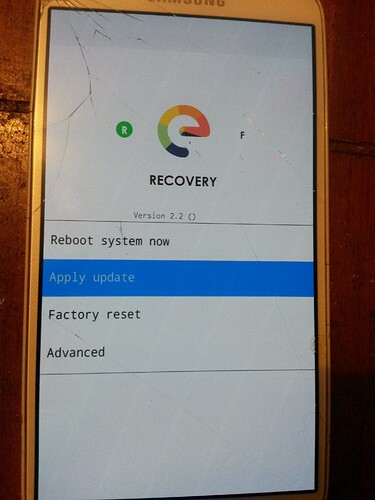
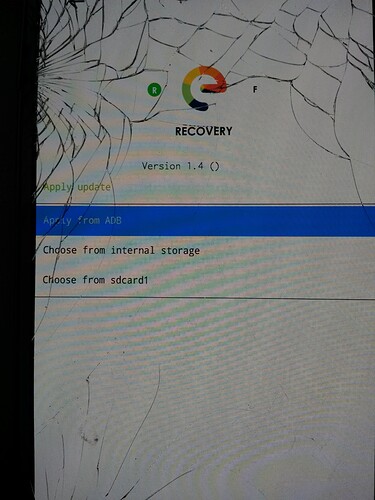
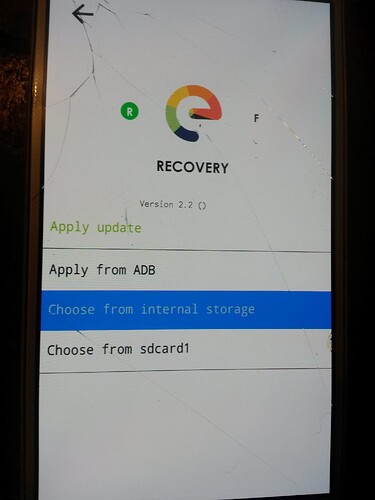
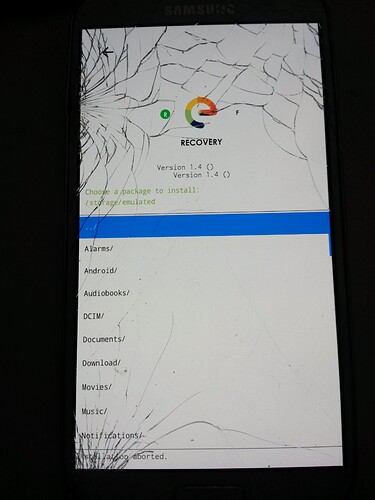
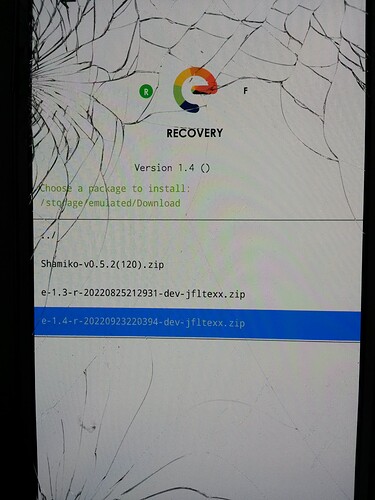
Now the easiest part : install /e/ !
.
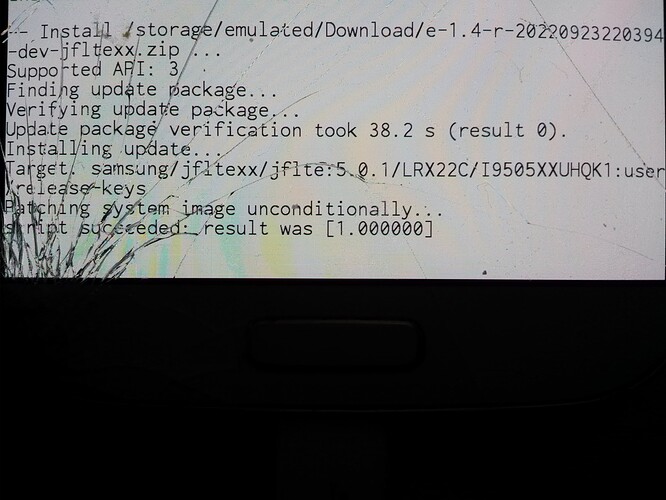
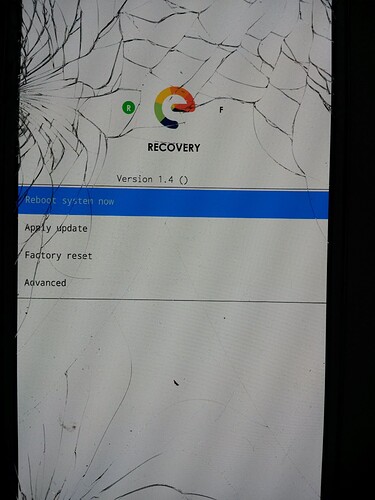
8) Install the image of /e/OS on the ROM of your device without computer, from the “custom recovery manager” using the SDcard or internal storage method
(forked from @Anonyme)
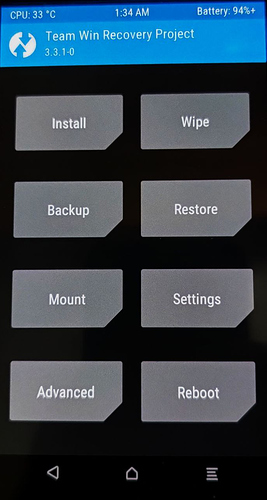
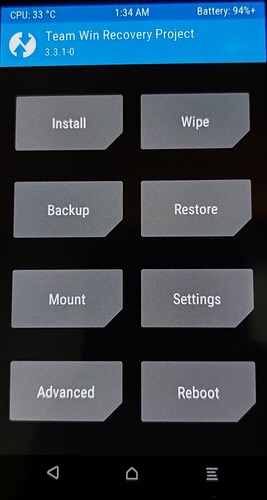
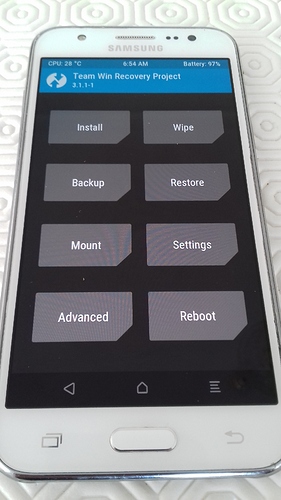
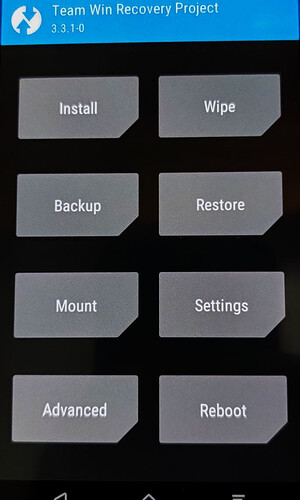
Now you’re in TWRP, congratulations, you’ve done the hardest part.
using TWRP
.
A) Delete existing smartphone content
-
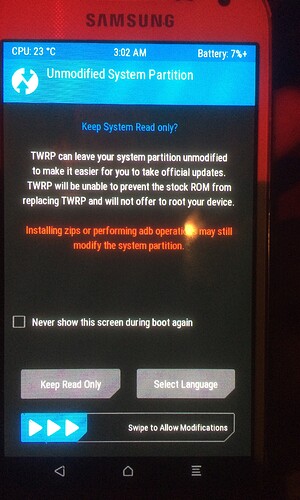
Before you reach the main menu, a message may ask you if you want to open TWRP read-only (i.e. no risk of deleting or changing anything) or not. This option shouldn’t be chosen (since we want to install a new operating system). Slide the bottom arrow from left to right.TWRP may also ask you for a password, which is your phone password.
-
a)
.
-
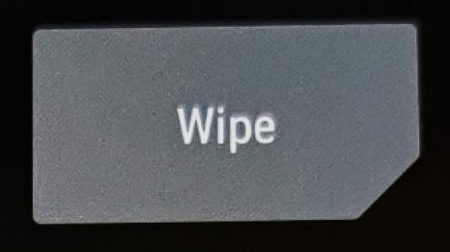
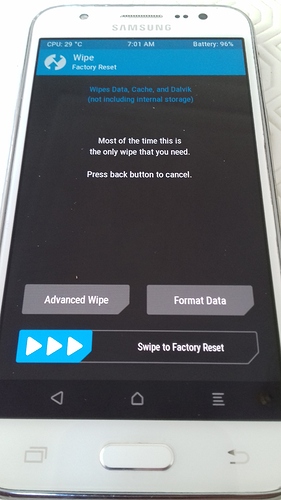
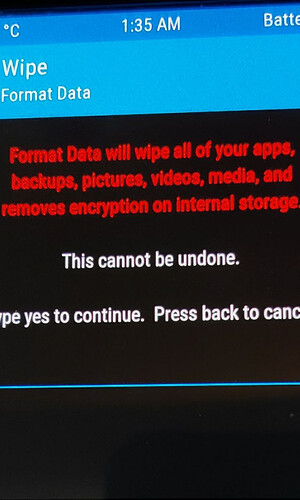
Tap Wipe from Main Menu.
. -
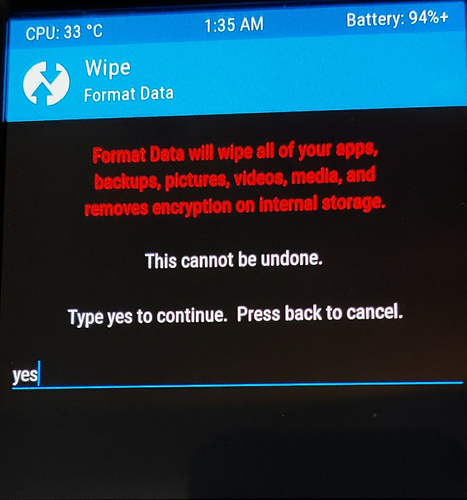
Ta.p Format Data (only for new install, not for Update)
. -
Type yes in the text field to continue.
.
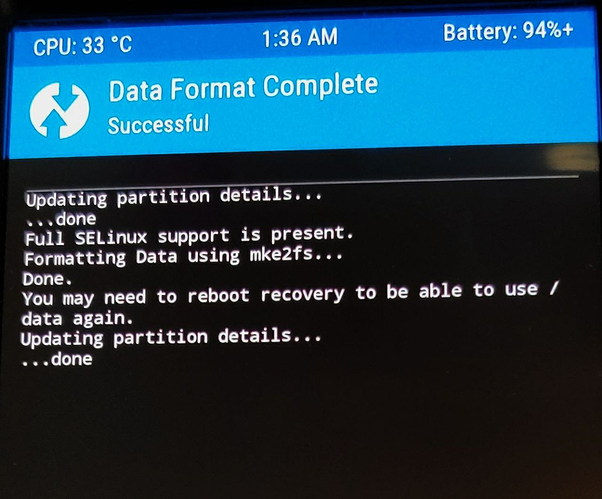
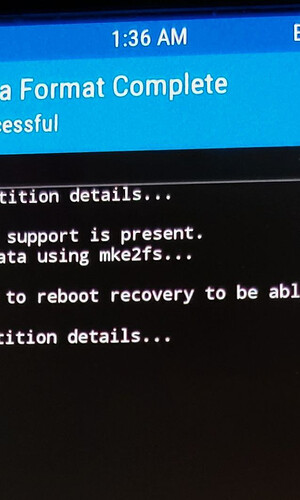
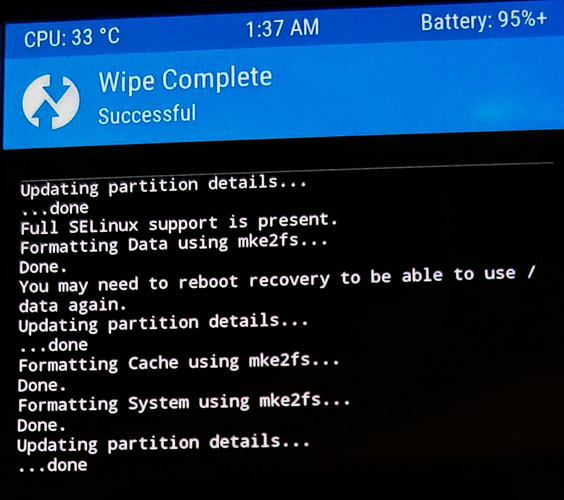
- Once done a successful result as seen in the image below appears.
This will remove encryption as well as delete all files stored on the internal storage.
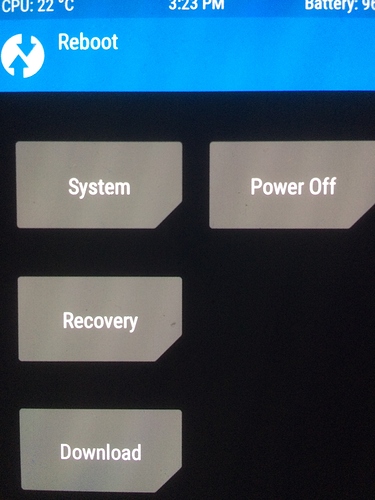
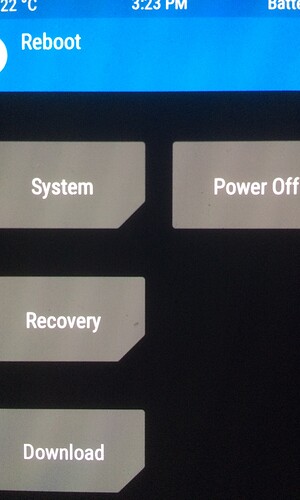
- T.ap Back, return to the main menu, choose reboot ,
- and tap recovery
the device reboot to TWRP
- b)
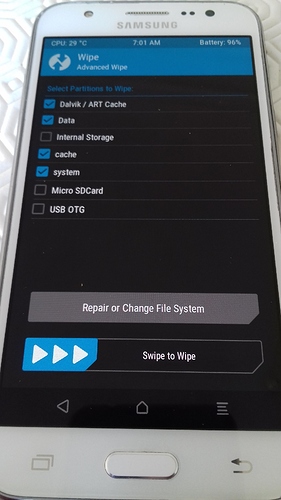
- From the main menu, choose wipe ,
.
.
.
.
and tap Advanced Wipe .
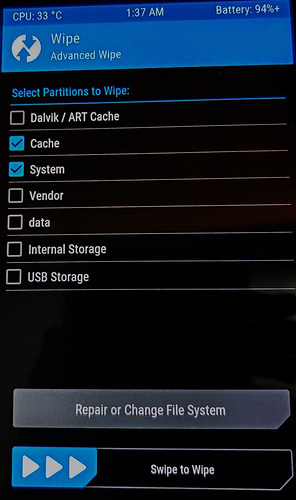
- Select the following items to delete and nothing else :
- Dalvik / ART Cache
- system
- Data (only for new install, not for Update)
- Internal Storage (only for new install, not for Update)
- cache
.
4. Validate by dragging the “Swipe to Wipe” arrow from left to right.
If red error messages show up, your phone is probably encypted but TWRP can’t decrypt the /data partition (it’s a common issue on Samsung phones).To solve that problem, go to Wipe > Advanced wipe, select “data”, click on “Repair or Change File System”, then on “Change filesystem”. Select exFAT (or another one if it doesn’t work, it doesn’t matter), then swipe from the left to the right. Redo the manipulation but this time select ext4 (which is the original file system) then slide from the left to the right.
Go to the 8)A)1. part of the howto.
- Return to the main menu using the virtual buttons at the bottom of the screen.
B) Transfer the /e/ ROM to the internal storage of the smartphone
The previously downloaded /e/ ROM is waiting in the warm on your computer, so you need to transfer it to your smartphone’s internal storage so that TWRP can use it.
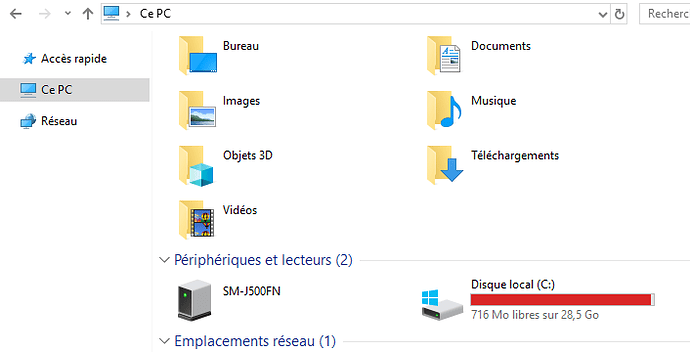
- Connect your smartphone to the computer.
- Copy the ZIP file of the /e/ build (without unzipping) (right click on it and then “Copy”).
.
3. Paste it into the internal storage of your smartphone. To do this, in the file explorer you are in, clic.k on “This PC” then on your smartphone, then on “Internal storage”. Paste here, next to the “TWRP” folder (not inside).
- Unplug your smartphone once the transfer is complete.
C) Install /e/
Everything is ready, all that remains is to install /e/.
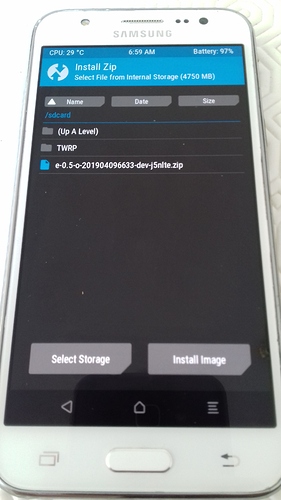
- In the TWRP main menu, click on “Install”.
.
2. Select the .zip file you just copied/pasted. It should appear directly if you have pasted it at the right place.
.
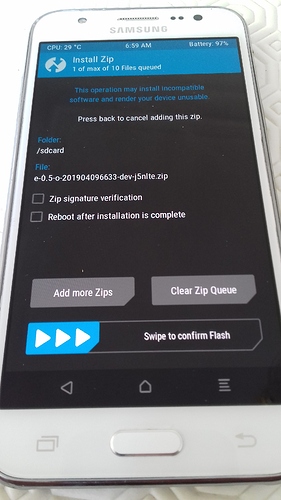
3. To confirm the flash of your smartphone, slide the “Swipe to confirm Flash” arrow from left to right.
- A blue loading bar or a shiny empty bar should appear. After a few minutes at most, the installation is completed.
If you encounter an “error 7”, refer to this topic .
This could also be due to the fact that :
- your TWRP version isn’t compatible with the ROM you are trying to install,
- Click on “Wipe cache/dalvik” at the bottom left, confirm if necessary.
.
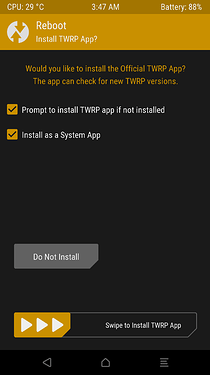
6. Click on “Reboot System”. You can choose whether or not to install the TWRP application on /e/ and choose whether or not you want this application to be a system application. Since it’s not useful, I preferred to click on “Don’t install TWRP App” and DO NOT INSTALL drag the arrow from left to right (this. would have resulted in its installation).
.
using recovery-e
Copy the “e…your-device-codename.zip” into your sdcard
Boot your device into " recovery mode"
and peform a “Factory reset” (only for new install, not for update)
Then select “Apply Update”
Then select “Apply Update”
Choose from internal storage
or
Choose from sdcard1
Select the folder where you put the downloaded file
Choose from sdcard1
Select the folder where you put the downloaded file
Choose the last /e/build
Choose the last /e/build
wait severals minutes …
Go back to the main menu
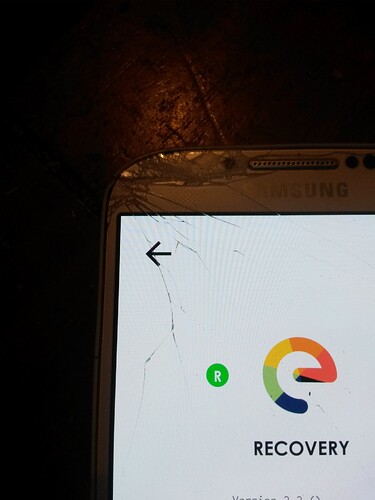
Using the “<–” bouton at the top left of the screen
wait severals minutes …
Go back to the main menu
Using the “<–” bouton at the top left of the screen
Choose “Reboot the device now”, it’s done !
Choose “Reboot the device now”,
it’s done !
.
9) Install the image of /e/OS on the rom of your device from your Computer using the ADB sideload method.
.
using TWRP
this is the Welcome screen of TWRP recovery
.
- ==i> Swipe to Allow Modifications
this is the TWRP main menu
.
- Tap Wipe from Main Menu.
. - Tap Format Data (only for new install, not for Update)
. - Type yes in the text field to continue.
.
Once done a successful result as seen in the image below appears.
.
This will remove encryption as well as delete all files stored on the internal storage.
- Tap Back, return to the main menu,
.
- choose reboot,

.
.
.
- and tap recovery
.
.
- unselect “prompt to install TWRP app…”
and “install as a System app”, - tap on “do not install”.
the device reboot to TWRP
.
- From the main menu, choose wipe,
.
and tap Advanced Wipe .
.
.
- Select the Cache and System partitions to be wiped and then Swipe to Wipe .
- Once done a successful result as seen in the image below appears.
[quote=“piero, post:4, topic:36234”]
If red error messages show up, your phone is probably encypted but TWRP can’t decrypt the /data partition (it’s a common issue on Samsung phones).To solve that problem, go to Wipe > Advanced wipe, select “data”, click on “Repair or Change File System”, then on “Change filesystem”. Select exFAT (or another one if it doesn’t work, it doesn’t matter), then swipe from the left to the right. Redo the manipulation but this time select ext4 (which is the original file system) then slide from the left to the right.
[/quote]
*. tap back to the main menu
.
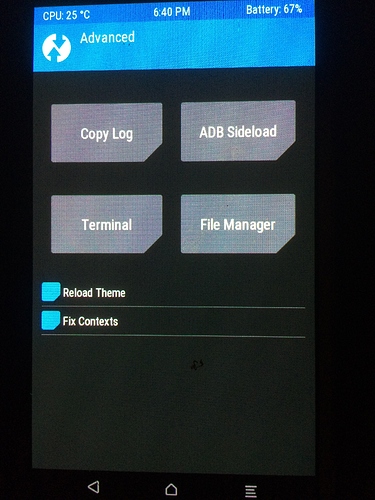
- choose Advanced
.
.
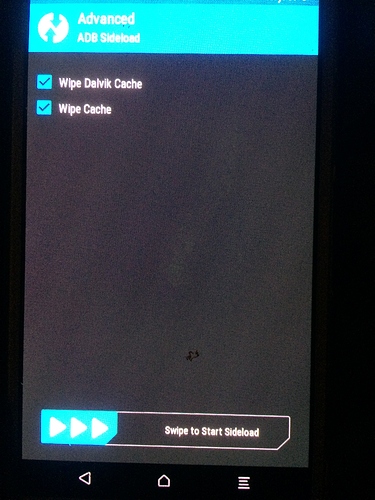
- Tap ADB Sideload
.
- Select Wipe Dalvik Cache and Wipe Cache
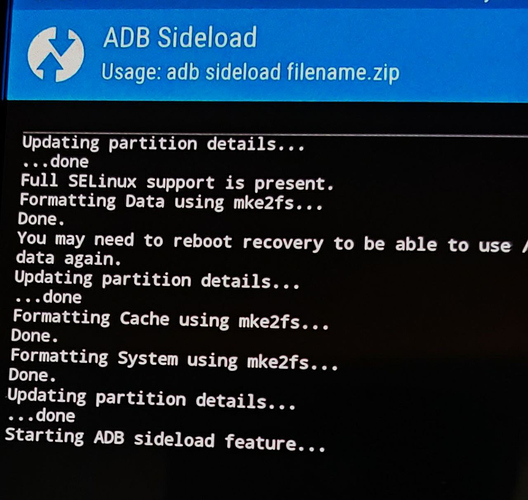
- then Swipe to Start ADB Sideload
.
on your PC
- in the command-prompt on your Windows PC,
or in the console on your MacOS PC
In the Terminal application on your GNU/Linux PC,
navigate to file path where you have downloaded the /e/OS.zip to execute the following command:
adb sideload e-0.11-n-2020082970471-dev-your-device.zip
- It will result in the following output on PC when finished:
serving: '/home/modi/Downloads/e-0.11-n-2020082970471-dev-herolte.zip' (~47%) Total xfer: 1.00x
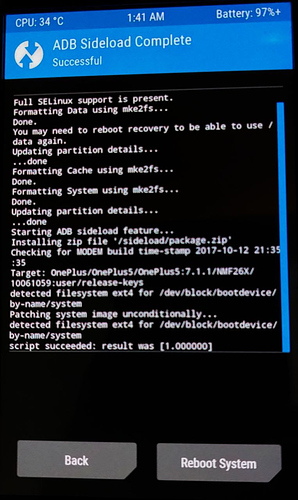
- On your smartphone, a successful result as seen in the image below appears.
.
. - Tap Reboot System
..
- wait several minutes…
…
to boot into freshly installed /e/OS on your Samsung device.
.
- Voila! Easy, isn’t it?
If you encounter an “error 7”,
.
refer to this topic .
This could also be due to the fact that :
your TWRP version isn’t compatible with the ROM you are trying to install,
-
-
-
Samsung.
for installing /e/OS on a recent devices “a/b_slot” or “treble” ( originaly shipped with Android 8 or later ) use twrp version 3.5.x-x
twrp version 3.4.x-x was buggy, don’t choose it
BUT for installing /e/OS on an older device ( originaly shipped with nougat.7, or older), better is to use a version like twrp 3.3.1-0
-
-
.
using recovery-e
The e-recovery.img will perform many of the same functions as twrp and is probably a bit easier in some respects for installing the eOS.zip. There are just a few basic steps to carry out:
- (only for new install, not for update), select Factory Reset, then Format System* and Format data / factory reset and continue with the formatting process
- Return to Home Screen
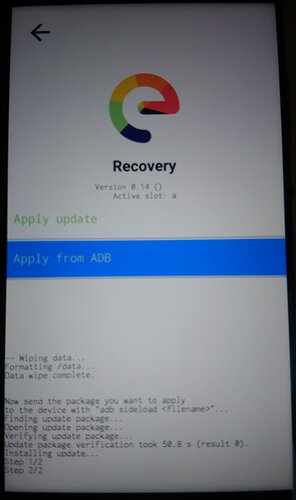
- Select Apply Update, then Apply from ADB
Now turn to your computer and issue the command to sideload the eOS installation zip
adb sideload filename.zip
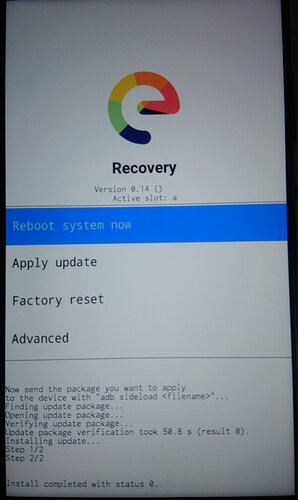
When installation has finished, return to the main menu, tap Reboot system now
Your phone should now boot into eOS.
Step-by-step, with images
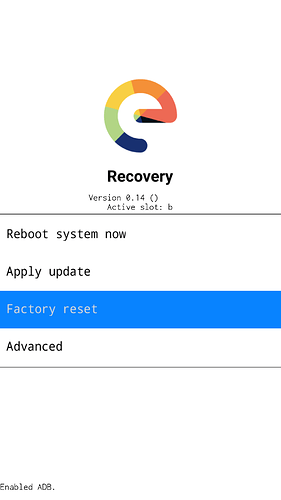
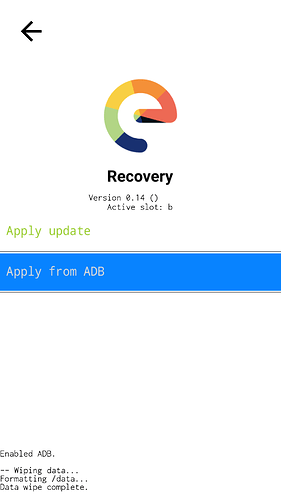
The e-recovery Home Screen. Select Factory reset
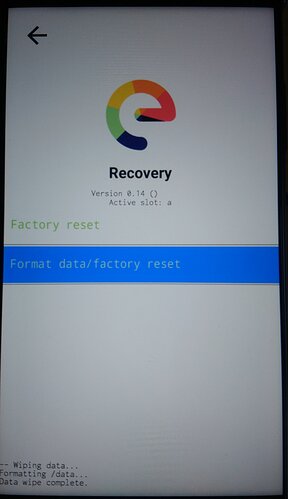
Select Format data/factory reset (notice the output appearing at the bottom of the screen)
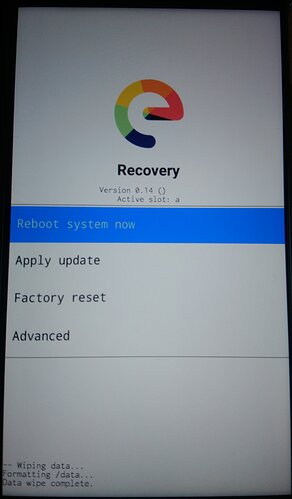
Then press the arrow at the top of the screen to return to Home Screen
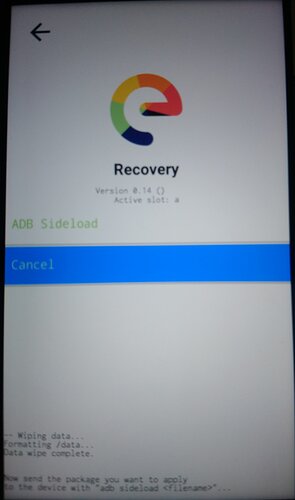
Select Apply Update, then Apply from ADB
The screen should now change and the output at the bottom ask you to send the package from your computer.
On the computer issue command to sideload the eOS installation zip.
adb sideload e-1.18-t-for-your-device.zip
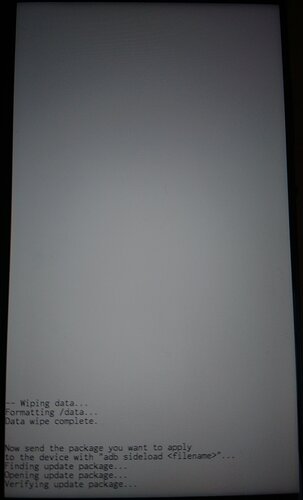
the phone screen will be mostly blank with just the output at the bottom showing progress.
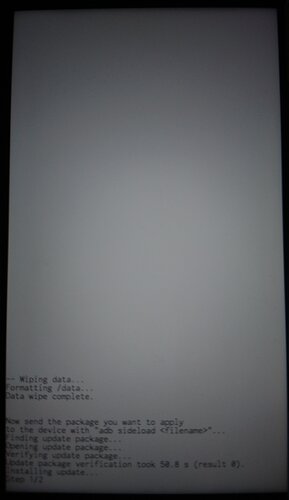
On the computer the sideloading shows progress as a percentage figure that will stop at 47%. The phone will still be installing though (even though it might feel like nothing is happening sometimes!) and you can expect to see the following screens
Then press the arrow at the top of the screen to return to Home Screen
Tap Reboot system now to boot into eOS.
it’s done !
.
Thanks for reading !
Share your feedback.
.
10) Post-Installation Setup
.
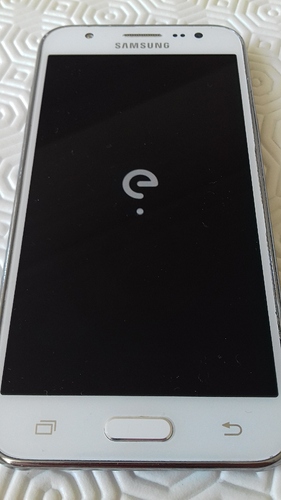
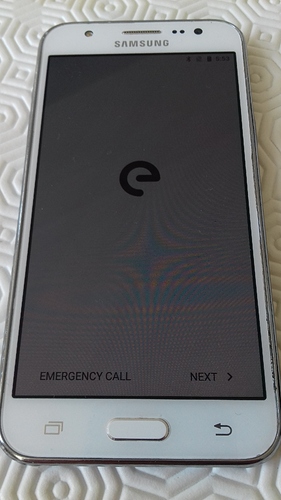
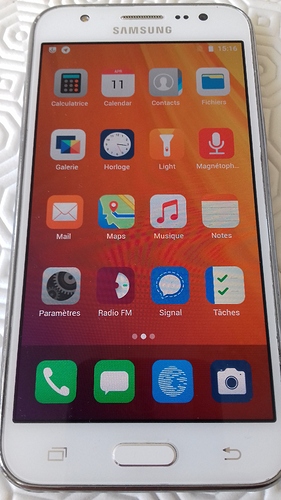
The animation of the /e/ logo should now appear on your screen for several minutes. Wait, then configure your device as you wish.
.
even if /e/OS is privacy friendly, it is wanted to be working “out of the box” for non android-technician people,
so some maybe unnecessarily features are enable by default, making compatibility with “évil” mainstream apps or certified security protocols ( not fully efficient for some of them ).
.
see configuration détails
From My Point Of View, some “precautions” have to be taken, I hardly recommend Not to insert any SIMcard and not to connect wifi service for the moment…
- turn off wifi and Bluetooth for the moment
- You whould check all pre-intalled “apps permissions” and “apps data usage”.
I found some inappropriate or questionable :
BLISS_LAUNCHER have storage and location ?
BROWSER have location ?
MICRO_G permissions are greyed since android 10 ! - also in -->settings -->system -->microG, if not needed, disable the features : Gogol Safetynet, Cloud Messaging, Device Registration ( start from the bottom to the top )
- you may want first of all install " TrackerControl" to stop connection buy unwanted trackers embeded in aditional app or “Blocada” to stop connection to unwanted domain called by additional apps
Using a PC browser or another device, you can go to https://F-droid.org and dowwnload the needed .APK then transfert it to your new /e/ device, and install it. - you can add F-droid and AuroraStore to have official and up to date apps
in aurora’s blacklist, select all Open-sources additional apps you installed from F-droid, and all native apps to not be updated excepting Magic-Earth (/e/Maps) and the non open-source additional apps you installed from Aurora - if you need root permission for some apps, install magisk
- if the OS on your device don’t have root access permission (like basic /e/OS), but is recognized by a mainstream app to have been rooted (because running a custom “uncertified” OS), a paradoxal workaround, is installing the magisk root manager, the safetynet-fix module, and the shamiko module to hide the “root action” that was unlocking the bootloader and replacing the stock recovery manager (usefull for some Bank-apps)
see Magisk installation details
.
OFFICIAL Installation | Magisk instructions
.
see Magisk configuration details
Open Magisk settings
Hide the Magisk app
Name the app of your choice and click OK
Create shortcut when asked
Open Magisk settings again and enable Zygisk. Do not enable Enforce DenyList
Choose the apps you would like to hide from detection
Reboot to take effect.
This settings usually only work with basic detections. Before we go further, try the apps you want to use, see if it detect root or doing some strange fake bugs like connection error. If not, and you can use the apps perfectly, you do not need to hide more
If the apps are still detecting it, you need to install some modules to hide even more
You need the following modules:
-
Shamiko: Releases · LSPosed/LSPosed.github.io
-
SafetyNet fix: Releases · kdrag0n/safetynet-fix (Works only for REAL devices with hardware attestation)
How to install modules:
Go to modules tab and select Install from storage
.
.
[LIST] Settings for New Users / New Device Setup
Here is an old article about Oreo android 8 based settings references in LineageOS thanks to @AnotherElk
.
.
11) Enjoy your digital sovereignty
.
.
.
If you have any problem or correction to make this tutorial can be accurate to the word, do not hesitate ![]()
.
.
see Videos Installation Reviews :
.
